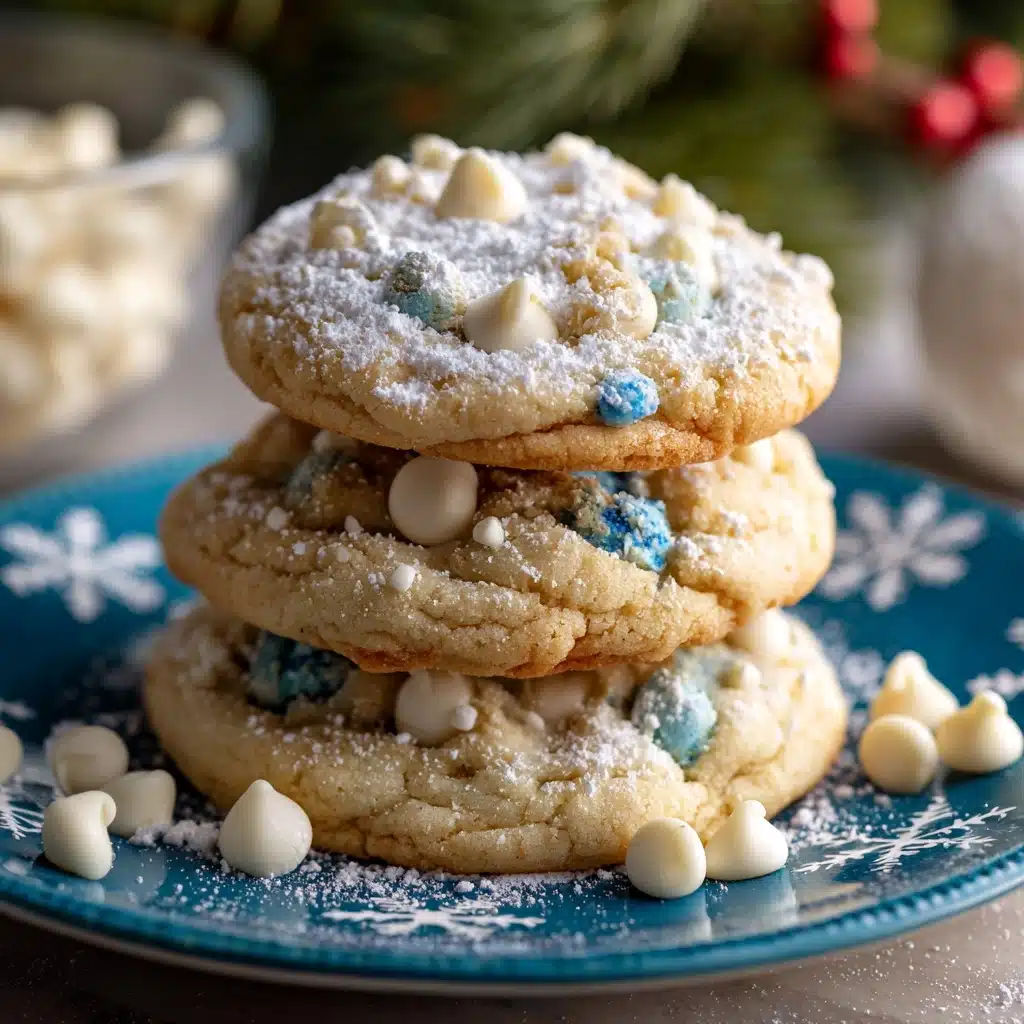
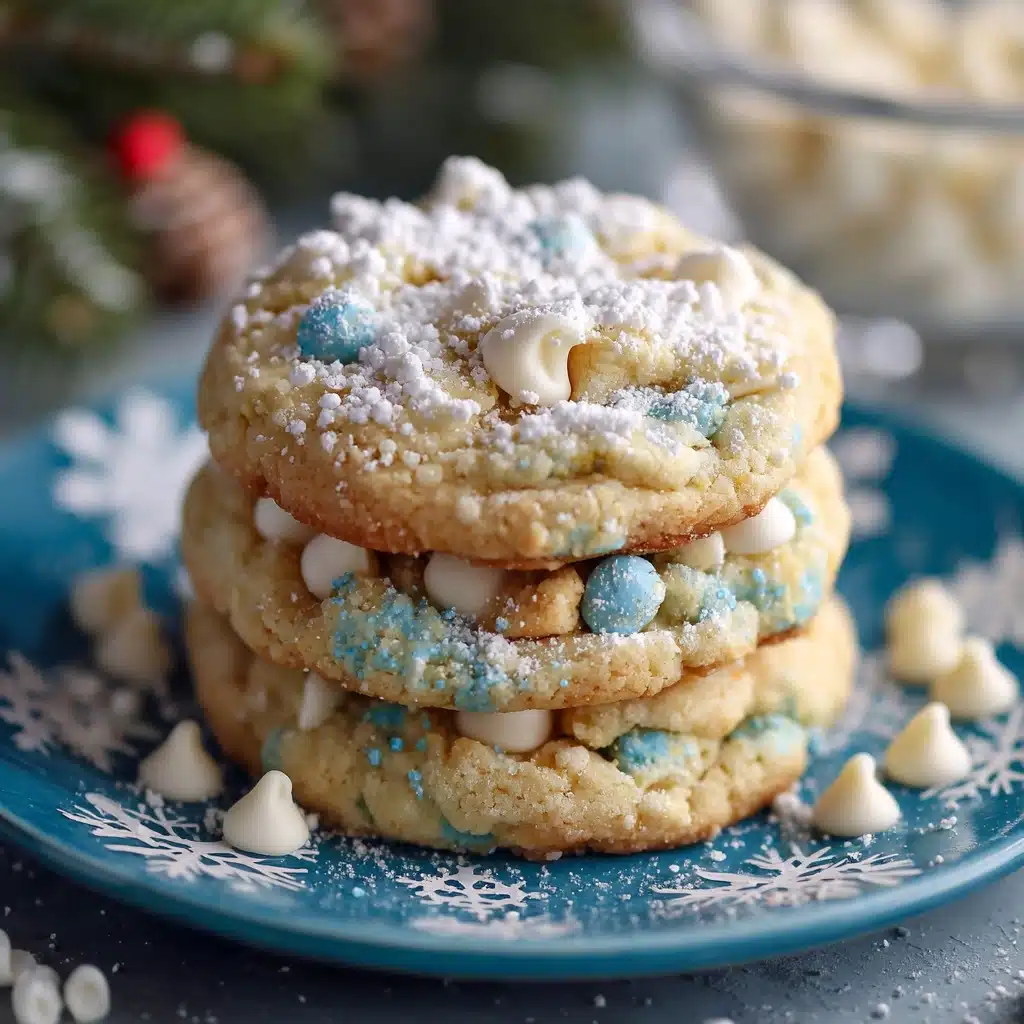
If you’re hunting for a festive treat to brighten your winter days, these Winter Blizzard Cookies are about to steal your heart (and maybe your cookie jar). Buttery, delicate, and crowned with a shimmering coat of white chocolate and holiday sprinkles, every bite is a dreamy mix of melt-in-your-mouth texture and sparkling color. Whether you’re baking for a cozy family movie night or wrapping up a beautiful box for someone special, this recipe is pure snowy cookie joy—with just the right bit of crunch from nuts and a blizzard of sweet white chocolate to finish things off.
Ingredients You’ll Need
Every ingredient in Winter Blizzard Cookies is there with a purpose, making each bite tender, fragrant, and irresistibly wintery. Simple pantry staples combine effortlessly, so don’t skip the little details—this is one recipe where a few perfect basics really shine!
- Butter: The heart of the cookie! Softened unsalted butter creates that melt-in-your-mouth texture and rich flavor.
- Powdered sugar: Finely sifted sweetness that blends into the dough, keeping these cookies delicate and tender.
- Vanilla extract: Just a teaspoon transforms the aroma and gives extra cozy flavor—go for pure vanilla if you can.
- All-purpose flour: Provides the perfect structure while letting the cookies stay soft rather than crisp.
- Pecans or walnuts (finely chopped): Adds subtle crunch and savory depth—feel free to omit or swap based on preference or allergies!
- Salt: A touch ensures all the sweet flavors pop and the richness never feels flat.
- White chocolate chips: Luxurious melted snow for dipping, making these cookies as beautiful as they are delicious.
- Holiday sprinkles or sanding sugar: For that frosted, blizzardy look—choose your favorite festive colors to suit the season.
How to Make Winter Blizzard Cookies
Step 1: Prep Your Oven and Trays
Begin by preheating your oven to 350°F (175°C) for even, golden bakes every time. Line two baking sheets with parchment paper to prevent sticking and make cleanup a breeze—these little winter jewels are delicate, so set them up for success right from the start!
Step 2: Cream Butter and Sugar
In a large mixing bowl, cream together the softened unsalted butter and powdered sugar. Take your time here, beating until the mixture looks fluffy and pale—this step is where all that melt-in-your-mouth texture begins. Once creamed, drizzle in the vanilla extract and mix again to combine.
Step 3: Mix the Dry Ingredients
Grab a separate bowl and whisk together the all-purpose flour, finely chopped pecans or walnuts, and just a pinch of salt. Whisking first ensures an even distribution, so you’ll get perfect flavor and texture in every bite.
Step 4: Create Your Dough
Slowly add your dry ingredients to the butter mixture. Stir gently until everything comes together into a soft, slightly crumbly dough—if you’re using nuts, you’ll see lovely flecks running through! Don’t overmix; keeping the dough tender is key.
Step 5: Shape the Cookies
Take about a tablespoon of dough and roll it between your hands to form smooth 1-inch balls. Place them on your prepared baking sheets about 2 inches apart. This ensures your Winter Blizzard Cookies bake evenly and don’t crowd each other as they puff up in the oven.
Step 6: Bake to Perfection
Bake the cookies for 10 to 12 minutes, watching for lightly golden bottoms. They’ll stay fairly pale on top—don’t overbake, as you want that soft texture inside. Cool completely on wire racks so they firm up just right before decorating!
Step 7: Melt and Dip
Pop your white chocolate chips into a microwave-safe bowl and heat in 30-second bursts, stirring each time, until they’re gorgeously smooth. Dip each cooled cookie halfway into the melted white chocolate and place on parchment. Work quickly but gently for the prettiest finish.
Step 8: Add the Blizzard Sparkle
While the chocolate is still soft, shower on your holiday sprinkles or sanding sugar, letting each cookie get a little snowy magic. Once set, the cookies will look (and taste!) like winter wonders ready for your holiday table.
How to Serve Winter Blizzard Cookies
Garnishes
A swirl of extra white chocolate drizzle or a tumble of edible glitter takes Winter Blizzard Cookies from sweet to spectacular. If serving at a party, nestle them among shimmering mint leaves or tiny candy canes for an extra touch of festive flair.
Side Dishes
Pair these cookies with mugs of creamy hot chocolate, spiced chai lattes, or even simple glasses of cold milk to keep things classic. They’re also amazing with a scoop of vanilla ice cream if you’re feeling a bit fancy for dessert.
Creative Ways to Present
For gifting, arrange Winter Blizzard Cookies in a gleaming tin tucked with tissue paper and a handwritten note. Want to wow your guests? Stack them on a cake stand sprinkled with fake snow or set each cookie in a decorative mini cupcake liner for party-perfect finger food.
Make Ahead and Storage
Storing Leftovers
Once fully cooled and decorated, Winter Blizzard Cookies can be stored in an airtight container at room temperature for up to a week. Tuck a small sheet of parchment between layers to protect the beautiful finishes and keep the cookies from sticking together.
Freezing
These cookies freeze beautifully! Place undecorated cookies in a single layer on a baking sheet to freeze solid, then transfer to a zip-top freezer bag. When you’re ready, thaw at room temperature and dip in fresh white chocolate and sprinkles for a just-baked look.
Reheating
While Winter Blizzard Cookies are best enjoyed at room temperature, you can pop plain ones (not yet dipped in chocolate) in a 300°F oven for 2 to 3 minutes to refresh. Let them cool before adding chocolate for the prettiest results.
FAQs
Can I make Winter Blizzard Cookies nut-free?
Absolutely! Simply leave out the nuts and add an extra 1/4 cup of flour to keep the dough the right consistency. They’ll be just as buttery and delicious—perfect for anyone with allergies or preferences.
What’s the secret to that melt-in-your-mouth texture?
Creaming softened butter and powdered sugar really well is the key. Don’t rush this step—more air whipped in means lighter, more delicate cookies once they’re baked.
How can I make these cookies extra festive?
Change up the toppings! Try pastel sanding sugars for winter birthdays or blue-and-white sprinkles for a “Frozen” theme. You can even use colored white chocolate or edible gold dust for a glamorous holiday look.
Why does my melted white chocolate sometimes get clumpy?
If moisture sneaks in, white chocolate can seize up. Melt it gently in short bursts and always stir. If needed, add a teaspoon of coconut oil or shortening to smooth things out without sacrificing that silky texture.
Can I prep the dough in advance?
Yes! You can make the cookie dough, cover tightly, and chill it in the fridge for up to 2 days before baking. Let it come to room temperature for easy scooping and rolling before jumping back into the recipe.
Final Thoughts
If you’re craving cozy comfort or searching for the perfect edible gift, these Winter Blizzard Cookies are a joyful answer to every winter sweet tooth. I hope you love baking (and sharing!) them as much as I do—your kitchen is about to smell absolutely heavenly!
Print
Winter Blizzard Cookies Recipe
- Total Time: 32 minutes
- Yield: 36 cookies 1x
- Diet: Vegetarian
Description
These Winter Blizzard Cookies are a delightful treat perfect for the holiday season. Buttery, nutty, and dipped in white chocolate, they are sure to bring joy to any gathering.
Ingredients
Cookie Dough:
- 1 cup unsalted butter, softened
- 1 cup powdered sugar
- 1 teaspoon vanilla extract
- 2 cups all-purpose flour
- 1 cup finely chopped pecans or walnuts
- 1/4 teaspoon salt
Decoration:
- 1 1/2 cups white chocolate chips
- 1/4 cup holiday sprinkles or sanding sugar
Instructions
- Preheat and Prepare: Preheat oven to 350°F (175°C) and line two baking sheets with parchment paper.
- Cream Butter and Sugar: In a large mixing bowl, cream butter and powdered sugar until light and fluffy. Mix in vanilla extract.
- Mix Dry Ingredients: In a separate bowl, whisk together flour, nuts, and salt. Gradually add the dry mixture to the butter mixture, stirring until combined.
- Form and Bake: Roll dough into 1-inch balls and place on prepared baking sheets. Bake for 10 to 12 minutes until lightly golden. Cool on wire racks.
- Decorate: Melt white chocolate chips in the microwave. Dip each cookie halfway into the melted chocolate, then sprinkle with holiday decorations. Allow chocolate to set.
Notes
- You can make these without nuts for a nut-free version—just increase the flour by 1/4 cup.
- For extra flavor, add 1/2 teaspoon almond extract along with the vanilla.
- These cookies keep well in an airtight container for up to a week.
- Prep Time: 20 minutes
- Cook Time: 12 minutes
- Category: Dessert
- Method: Baking
- Cuisine: American
Nutrition
- Serving Size: 1 cookie
- Calories: 140
- Sugar: 7 g
- Sodium: 40 mg
- Fat: 9 g
- Saturated Fat: 4 g
- Unsaturated Fat: 4 g
- Trans Fat: 0 g
- Carbohydrates: 14 g
- Fiber: 1 g
- Protein: 2 g
- Cholesterol: 15 mg


