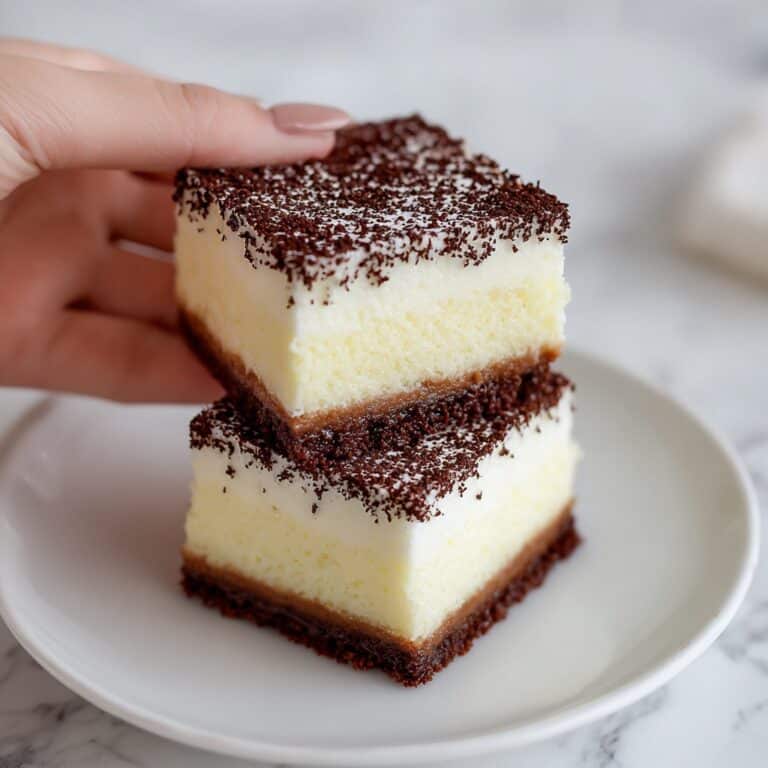
If you’ve ever dreamed of enjoying irresistible, chocolatey-mint cookies straight from your own kitchen, Perfect Homemade Thin Mint Cookies are about to become your new obsession. These crisp, snappy cookies bake up with a deep cocoa flavor, a refreshing hint of peppermint, and a gloriously glossy chocolate coating that tastes just like your favorite childhood treat. Whether you’re craving a classic Girl Scout cookie fix or impressing guests with a nostalgic twist, this recipe offers everything you want—no door-to-door required!

Ingredients You’ll Need
Baking Perfect Homemade Thin Mint Cookies is surprisingly easy, thanks to a handful of everyday ingredients that each play an important role. From lush butter for richness to boldly flavored extracts for that signature coolness, every component brings something delicious to the table.
- Unsalted Butter (1 cup, softened): Provides the tender, melt-in-your-mouth crumb that makes these cookies so addictive.
- Powdered Sugar (1 cup): Lends a smooth sweetness and keeps the dough light, not gritty.
- Vanilla Extract (1 teaspoon): Adds warm depth that balances the vibrant mint.
- Peppermint Extract (1 teaspoon for dough, ½ teaspoon for coating): The star of the show, this infuses that unmistakable cool, refreshing flavor.
- All-Purpose Flour (1 ¼ cups): Gives the cookies structure while keeping them tender and delicate.
- Unsweetened Cocoa Powder (½ cup): Delivers intense chocolate notes and that gorgeous dark color.
- Salt (¼ teaspoon): Rounds out all the flavors and keeps sweetness in check.
- Semi-Sweet or Dark Chocolate (10 ounces, chopped): Melts into a silky coating for a crisp, glossy finish.
How to Make Perfect Homemade Thin Mint Cookies
Step 1: Cream the Butter and Sugar
Begin by beating your softened butter and powdered sugar with a mixer until the mixture becomes fluffy and pale—think of it as building a soft, creamy cloud that will help your cookies bake up light instead of dense. This step is the base for all that delightful crispness in each bite of your Perfect Homemade Thin Mint Cookies.
Step 2: Add Flavor
Mix in the vanilla and peppermint extracts, blending well so every bite sings with incredible minty freshness and a gentle, comforting warmth. Don’t skip this, since both extracts are critical for nailing that iconic Thin Mint flavor profile right from the start!
Step 3: Combine Dry Ingredients
In a separate bowl, whisk together the flour, cocoa powder, and salt. This not only prevents lumps but also ensures the cocoa distributes evenly—for that perfect deep chocolate color and taste throughout your batch of cookies.
Step 4: Mix to Form Dough
Gradually add your dry mixture to the wet ingredients, stirring just until a soft, smooth dough forms. You’re aiming for dough that’s cohesive but not overworked, so the cookies remain tender but sturdy enough to dip into chocolate later.
Step 5: Chill the Dough
Divide the dough in half, shape it into two neat disks, and wrap each tightly in plastic wrap. Relax—the dough needs at least an hour in the fridge to firm up. This step is magical for rolling super-thin cookies that bake up crispy, just like the originals.
Step 6: Roll and Cut Cookie Rounds
Once chilled, roll out one disk at a time on a lightly floured surface until it’s about ⅛ inch thick. Use a small round cookie cutter to punch out perfect circles, then place them on parchment-lined baking sheets. Thin cookies are the key to genuine Perfect Homemade Thin Mint Cookies!
Step 7: Bake
Bake the cookies in a 350°F oven for 10–12 minutes or until the edges are just set. Let them cool completely on a wire rack—they’ll crisp up as they rest, so resist the urge to sample too early (we know, it’s tough!).
Step 8: Prepare the Chocolate Coating
Melt your chopped chocolate—either gently in a double boiler or in the microwave in 20-second bursts, stirring frequently. When completely smooth, stir in the peppermint extract, transforming your plain chocolate into a decadent, glossy shell bursting with minty freshness.
Step 9: Dip and Set
One by one, dip each cooled cookie into the chocolate, ensuring every surface gets coated. Let the cookies rest on a parchment-lined tray, then refrigerate until the chocolate sets, about 30 minutes. After that, the magic happens—crisp cookies, cooling mint, and snappy chocolate in every bite!
How to Serve Perfect Homemade Thin Mint Cookies

Garnishes
Try sprinkling a touch of crushed peppermint candy on top while the chocolate is still wet, or add a light dusting of cocoa powder for a sophisticated finish. If you’re feeling playful, a drizzle of bright white chocolate can add both contrast and flair.
Side Dishes
These cookies make a sensational pairing with a cup of hot chocolate, coffee, or a tall glass of cold milk—perfect for cookie-dunking! They’re also lovely as an elegant side to vanilla ice cream or nestled alongside fresh berries for a refreshing dessert platter.
Creative Ways to Present
For a fun twist, stack Perfect Homemade Thin Mint Cookies in a clear jar and tie with a ribbon as a homemade gift. Try serving them on a vintage cake stand at a holiday party, or crumble a few over ice cream for a show-stopping sundae topping that everyone will remember.
Make Ahead and Storage
Storing Leftovers
Once the chocolate coating has fully set, you can store your Perfect Homemade Thin Mint Cookies in an airtight container at room temperature for up to a week. Just keep them in a cool, dry place to preserve their delicate snap and zesty mint flavor.
Freezing
For that classic crunchy Thin Mint experience, stash cookies in a freezer-safe bag or container. Pop them in the freezer and enjoy straight from the cold, or store for up to three months—making them perfect for surprise cravings or make-ahead treats during the holidays.
Reheating
If you prefer your cookies slightly warm (think melty chocolate and wafting mint aroma), let them sit out for a few minutes at room temperature or microwave for just 5–10 seconds. Be careful not to overheat, or the chocolate may lose its beautiful crispness.
FAQs
Do I have to use peppermint extract, or will mint extract work?
Peppermint extract is essential for capturing the classic flavor of Perfect Homemade Thin Mint Cookies—mint extract often includes spearmint, which has a different, slightly earthy taste. For the most authentic results, stick with peppermint extract.
Can I use dairy-free butter or vegan chocolate?
Absolutely! You can substitute plant-based butter and dairy-free chocolate to make a vegan version. Just be sure your butter alternative is soft and spreadable, and check the chocolate label for vegan certification.
Why do my cookies seem soft and not crisp?
If your cookies aren’t as crisp as you’d like, roll the dough thinner next time and make sure they are fully baked before removing from the oven. Letting cookies cool completely also helps them firm up perfectly.
Can I make the dough ahead of time?
Definitely! The dough for Perfect Homemade Thin Mint Cookies can be made and refrigerated up to 2 days in advance or frozen (well-wrapped) for about a month. Thaw overnight in the fridge before rolling and baking.
What’s the best way to melt chocolate without burning it?
The gentlest and easiest way is a double boiler, but a microwave works too—just heat in short bursts, stirring often. Keep the heat low to avoid scorching and ensure a silky smooth coating for every cookie.
Final Thoughts
Biting into Perfect Homemade Thin Mint Cookies is pure joy—refreshing, crunchy, chocolate-minty bliss with every bite. I hope this recipe finds its way into your regular baking routine, where it can delight friends, family, and of course, your own taste buds. Don’t wait for cookie season—make your own, and prepare for instant, homemade happiness!
Print
Perfect Homemade Thin Mint Cookies Recipe
- Total Time: 1 hour 37 minutes
- Yield: 36 cookies 1x
- Diet: Vegetarian
Description
These Perfect Homemade Thin Mint Cookies are a delightful treat for mint chocolate lovers. With a rich cocoa dough and a smooth chocolate mint coating, these cookies are a must-try for any dessert enthusiast.
Ingredients
Cookies:
- 1 cup unsalted butter (softened)
- 1 cup powdered sugar
- 1 teaspoon vanilla extract
- 1 teaspoon peppermint extract
- 1 ¼ cups all-purpose flour
- ½ cup unsweetened cocoa powder
- ¼ teaspoon salt
Coating:
- 10 ounces semi-sweet or dark chocolate (chopped)
- ½ teaspoon peppermint extract
Instructions
- Cream Butter and Sugar: In a large mixing bowl, cream the softened butter and powdered sugar until light and fluffy.
- Add Extracts: Mix in the vanilla and peppermint extracts until well combined.
- Prepare Dough: In a separate bowl, whisk together flour, cocoa powder, and salt. Gradually add the dry ingredients to the butter mixture, forming a soft dough.
- Chill Dough: Divide dough, shape into disks, wrap in plastic wrap, and chill for at least 1 hour.
- Bake Cookies: Roll out dough, cut into shapes, and bake at 350°F for 10–12 minutes.
- Coat Cookies: Melt chocolate, stir in peppermint extract, dip cookies, and refrigerate until set.
Notes
- For a crisp texture, roll dough thin and bake until just set.
- Store cookies in the freezer for a more authentic Thin Mint experience.
- Prep Time: 25 minutes (plus 1 hour chill time)
- Cook Time: 12 minutes
- Category: Dessert
- Method: Baking
- Cuisine: American
Nutrition
- Serving Size: 1 cookie
- Calories: 110
- Sugar: 7g
- Sodium: 35mg
- Fat: 7g
- Saturated Fat: 4g
- Unsaturated Fat: 2g
- Trans Fat: 0g
- Carbohydrates: 11g
- Fiber: 1g
- Protein: 1g
- Cholesterol: 10mg
