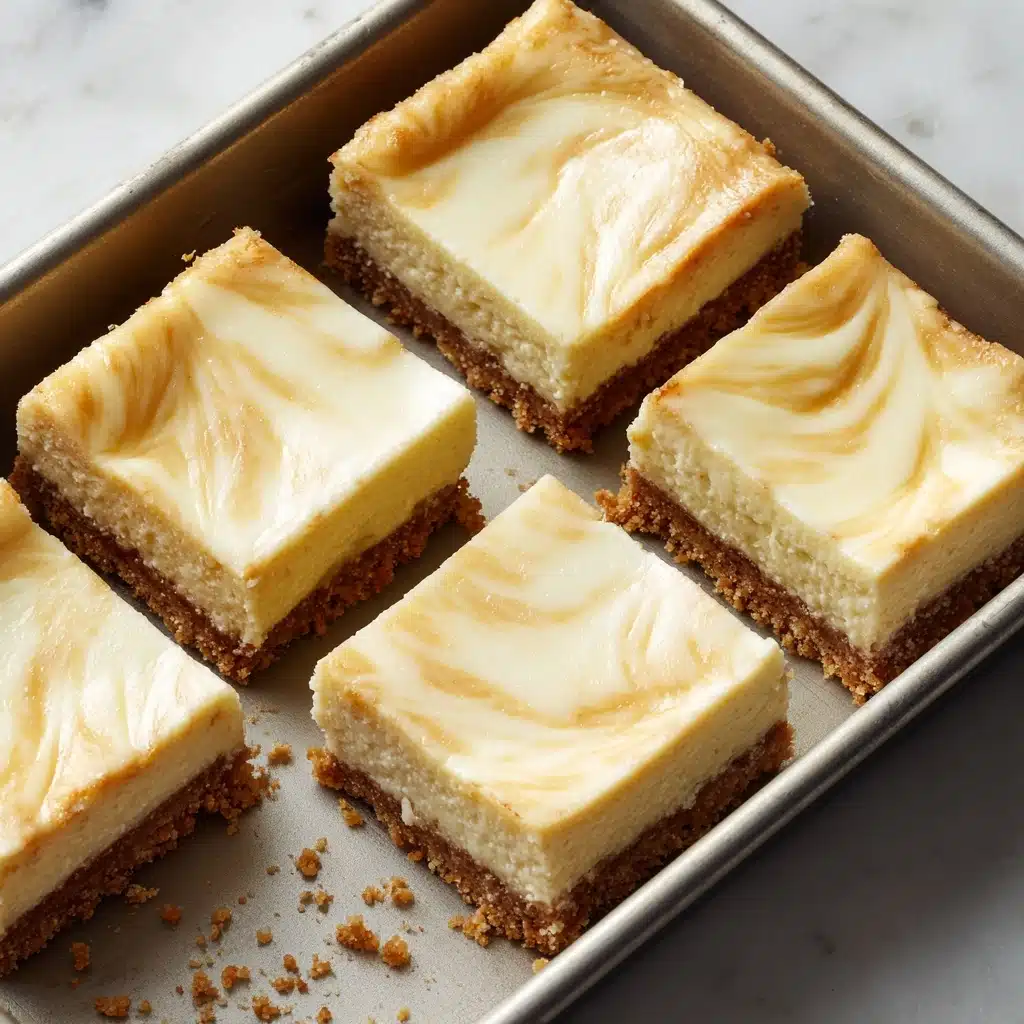
If you’re craving a dreamy dessert that doesn’t require turning on the oven, these No Bake Cheesecake Bars are pure magic. Creamy, smooth, and nestling on a buttery graham cracker crust, their cloud-like filling and endless topping possibilities make them an instant favorite for any gathering. The simplicity and versatility of this recipe mean you can whip them up for a last-minute treat or a make-ahead crowd-pleaser, all while leaving plenty of room for creative twists. Get ready to understand why No Bake Cheesecake Bars are a staple in my kitchen and soon, yours too!
Ingredients You’ll Need
For these No Bake Cheesecake Bars, everything you need is likely already in your pantry or fridge. Each ingredient plays a starring role in building the signature flavor, luscious texture, and gorgeous look that makes this dessert irresistible.
- Graham cracker crumbs: The classic foundation, packing in subtle sweetness and a toasty crunch that holds each bar together.
- Unsalted butter, melted: Butter binds the crust and adds rich, golden flavor—make sure it’s fully melted to evenly moisten every crumb.
- Granulated sugar: A spoonful sweetens the crust just enough without overpowering the cheesecake flavor.
- Cream cheese, softened: The star of the show—softened cream cheese blends seamlessly into a silky, tangy filling.
- Powdered sugar: This gives the cheesecake a perfectly smooth sweetness, dissolving instantly for a creamy bite.
- Vanilla extract: Just a splash brings all the creamy, buttery flavors together in delicious harmony.
- Heavy whipping cream: Once whipped, it folds into the cheesecake to create a light, fluffy texture that melts in your mouth.
- Fresh berries or fruit topping (optional): For color, freshness, and a burst of tart-sweet contrast on top—choose your favorite or a seasonal mix.
How to Make No Bake Cheesecake Bars
Step 1: Prepare the Graham Cracker Crust
Grab a medium mixing bowl and combine your graham cracker crumbs, melted butter, and granulated sugar. Stir everything together until all the crumbs glisten and the mixture takes on that perfect wet sand consistency. Pour it into a parchment-lined 8×8-inch pan, then press down firmly to form a uniform crust. Take a minute to really pack it in—this helps the base stay intact when sliced. Slide the pan into the fridge while you focus on the filling.
Step 2: Mix the Cheesecake Filling
In a large mixing bowl, beat your softened cream cheese until it’s luxuriously smooth—no lumps allowed! Add the powdered sugar and vanilla extract, mixing until everything is creamy and fully blended. This is where the flavor and silky texture start to shine, so don’t rush this step.
Step 3: Whip and Fold in the Cream
Separately, whip the heavy whipping cream until it forms stiff peaks—this gives the bars their signature fluffy bite. Gently fold the whipped cream into your cream cheese mixture, using a spatula and careful strokes to keep everything light and airy. The end result should be a cloud-like filling that’s irresistible even before it chills.
Step 4: Assemble and Chill
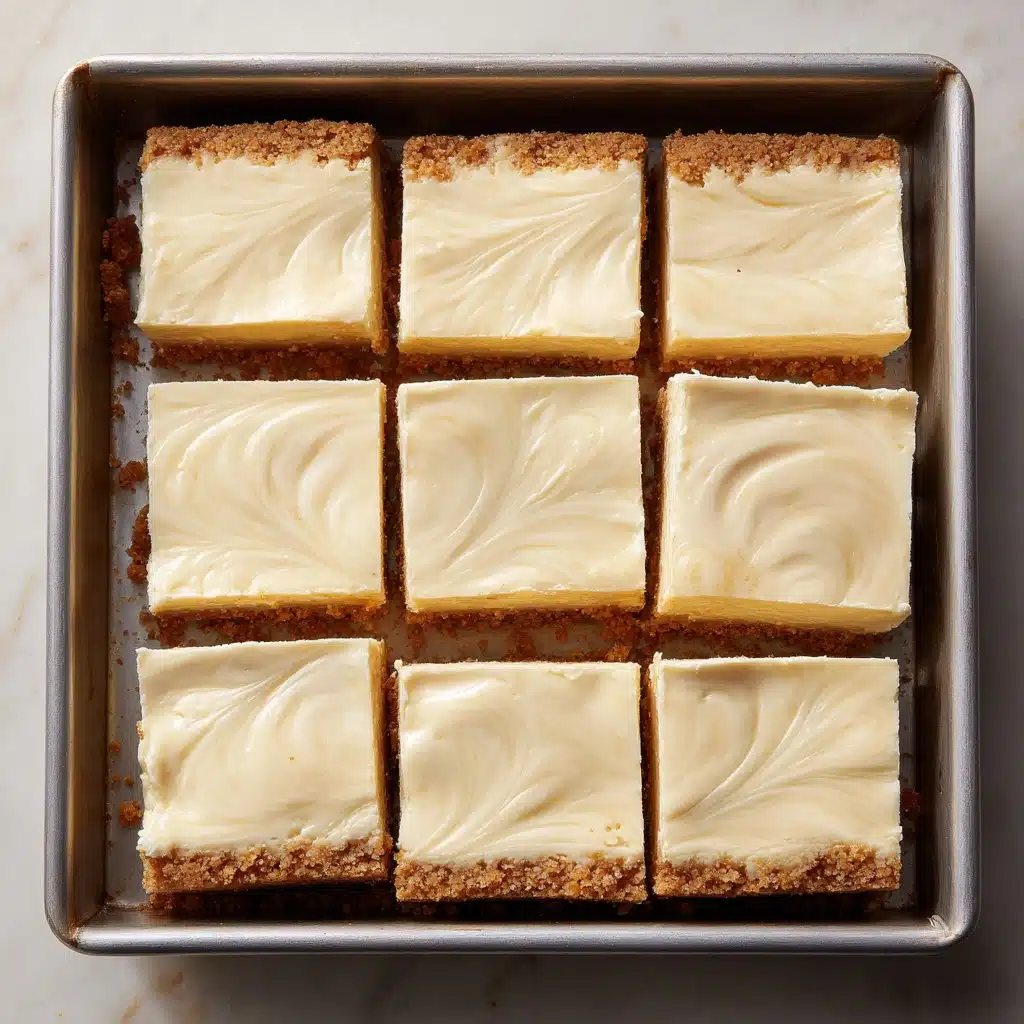
Spread the cheesecake mixture over your chilled crust, smoothing the top with an offset spatula or back of a spoon. Return the pan to the refrigerator for at least 4 hours (overnight is even better!) to let the bars set into sliceable perfection.
Step 5: Slice and Top
When you’re ready to serve, lift the bars from the pan using the parchment paper and cut into perfect squares. Top with fresh berries or a favorite fruit compote, or let guests add their own toppings for a personal touch. That’s it—you’ve just made No Bake Cheesecake Bars that belong at every celebration!
How to Serve No Bake Cheesecake Bars
Garnishes
Fresh berries like strawberries, raspberries, blueberries, or blackberries not only add color but also bring a juicy, tart bite that complements the creamy cheesecake. For a more decadent finish, try a drizzle of chocolate or caramel sauce, a dusting of powdered sugar, or even a sprinkle of lemon zest for a bright pop. Personalize each bar, or create a serve-yourself topping bar for parties!
Side Dishes
No Bake Cheesecake Bars play nicely alongside all sorts of light refreshments. Pair them with iced coffee, herbal tea, or a sparkling fruit punch for a summery dessert spread. If you’re serving a crowd, consider balancing the sweetness with a fresh fruit salad or a platter of salted nuts—the bars’ richness pairs beautifully with lighter, crisp flavors.
Creative Ways to Present
Cut the bars into different shapes—think diamonds or mini squares for bite-sized treats. Serve in cupcake liners for easier handling at picnics or on dessert buffets. You can also swirl in raspberry preserves or lemon curd before chilling the bars for a marbled look, or layer the bars in small jars for a cute, portable treat.
Make Ahead and Storage
Storing Leftovers
These No Bake Cheesecake Bars are perfect for making ahead, since they actually taste better after a night in the fridge. Store them in an airtight container or cover tightly with plastic wrap, and keep refrigerated. They’ll stay delightfully fresh and creamy for up to five days, making them ideal for both planning and spontaneous snacking.
Freezing
If you want to extend their shelf life or are prepping well in advance, these bars freeze beautifully. Simply slice the chilled bars, separate with parchment paper, and place in a sealed container. Thaw them overnight in the fridge before serving—just like that, you have a ready-to-go dessert for busy days!
Reheating
There’s no reheating necessary for these No Bake Cheesecake Bars—just let them sit at room temperature for a few minutes if they’re coming straight from a very cold fridge or freezer. This will bring out the creamy texture and flavors, making every bite as dreamy as when they were freshly made.
FAQs
Can I make No Bake Cheesecake Bars without an electric mixer?
Absolutely! While an electric mixer makes the process faster and creates a super-smooth texture, you can mix the filling by hand with a sturdy whisk—just be sure everything, especially the cream cheese, is completely softened for easier blending.
What’s the best way to cut clean squares?
For neat, bakery-worthy bars, use a sharp knife dipped in hot water and wiped dry between slices. Chilling the bars well before cutting also helps you achieve those sharp, picture-perfect edges!
Can I use low-fat or non-dairy cream cheese?
Yes, you can substitute with low-fat or non-dairy cream cheese, though the bars may be slightly less rich and creamy. For best results, choose a brand with a thick, traditional texture to help the bars hold their shape.
How do I make the crust gluten-free?
Just swap the graham cracker crumbs with your favorite gluten-free cookie or cracker crumbs. Make sure to double-check all labels if you’re serving anyone with gluten sensitivities.
What other toppings can I try?
Besides fresh fruit, try swirling in jam before chilling, adding chocolate chips, drizzling salted caramel, or sprinkling toasted coconut on top. These No Bake Cheesecake Bars are irresistible blank canvases for your creativity!
Final Thoughts
I can’t wait for you to experience the joy of sharing these No Bake Cheesecake Bars—whether you make them for a summer picnic or as a sweet surprise after dinner. Every bite is a little celebration, and with all their versatility, I think you’ll find yourself inventing new versions for every occasion. Go ahead and give them a try—your taste buds (and friends) will thank you!
Print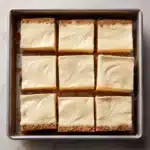
No Bake Cheesecake Bars Recipe
- Total Time: 4 hours 20 minutes (includes chilling)
- Yield: 9 bars 1x
- Diet: Non-Vegetarian
Description
Indulge in these creamy and luscious No Bake Cheesecake Bars that are a perfect treat for any occasion. With a buttery graham cracker crust and a velvety cream cheese filling, these bars are topped with fresh berries for a burst of fruity flavor.
Ingredients
For the Crust:
- 2 cups graham cracker crumbs
- 1/2 cup unsalted butter, melted
- 2 tablespoons granulated sugar
For the Filling:
- 16 ounces cream cheese, softened
- 1 cup powdered sugar
- 1 teaspoon vanilla extract
- 1 cup heavy whipping cream
For Garnish:
- Fresh berries or fruit topping (optional)
Instructions
- Prepare the Crust: In a medium bowl, combine graham cracker crumbs, melted butter, and granulated sugar. Press into the bottom of a parchment-lined 8×8-inch pan and chill.
- Make the Filling: Beat cream cheese until smooth. Add powdered sugar and vanilla. Whip cream until stiff, then fold into cream cheese mixture.
- Assemble: Spread the filling over the chilled crust. Refrigerate for at least 4 hours.
- Serve: Cut into bars and top with fresh berries or fruit.
Notes
- Bars can be made a day ahead and stored in the fridge.
- For a firmer texture, chill longer or freeze briefly before slicing.
- You can swirl in fruit preserves or lemon curd for extra flavor.
- Prep Time: 20 minutes
- Cook Time: 0 minutes
- Category: Dessert
- Method: No-Bake
- Cuisine: American
Nutrition
- Serving Size: 1 bar
- Calories: 340
- Sugar: 18 g
- Sodium: 210 mg
- Fat: 24 g
- Saturated Fat: 15 g
- Unsaturated Fat: 7 g
- Trans Fat: 0 g
- Carbohydrates: 26 g
- Fiber: 0 g
- Protein: 4 g
- Cholesterol: 65 mg


