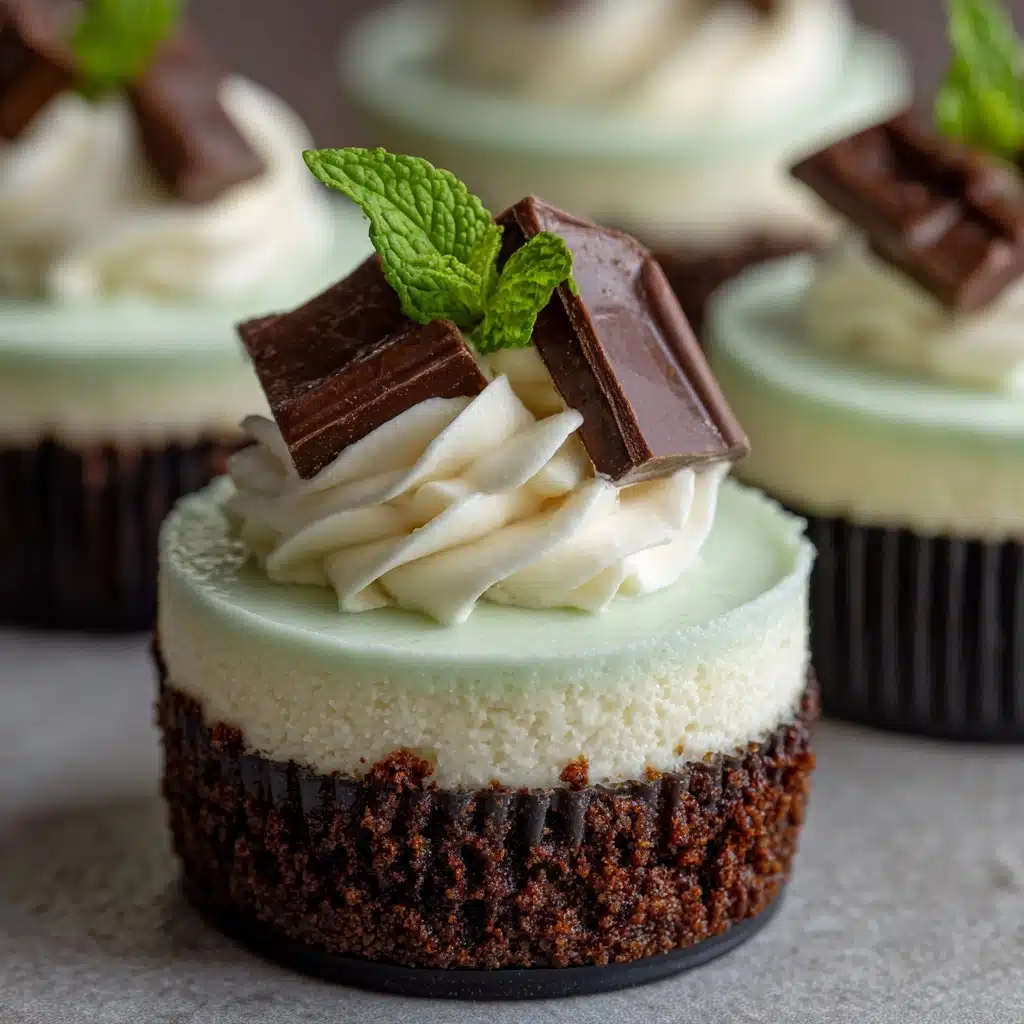
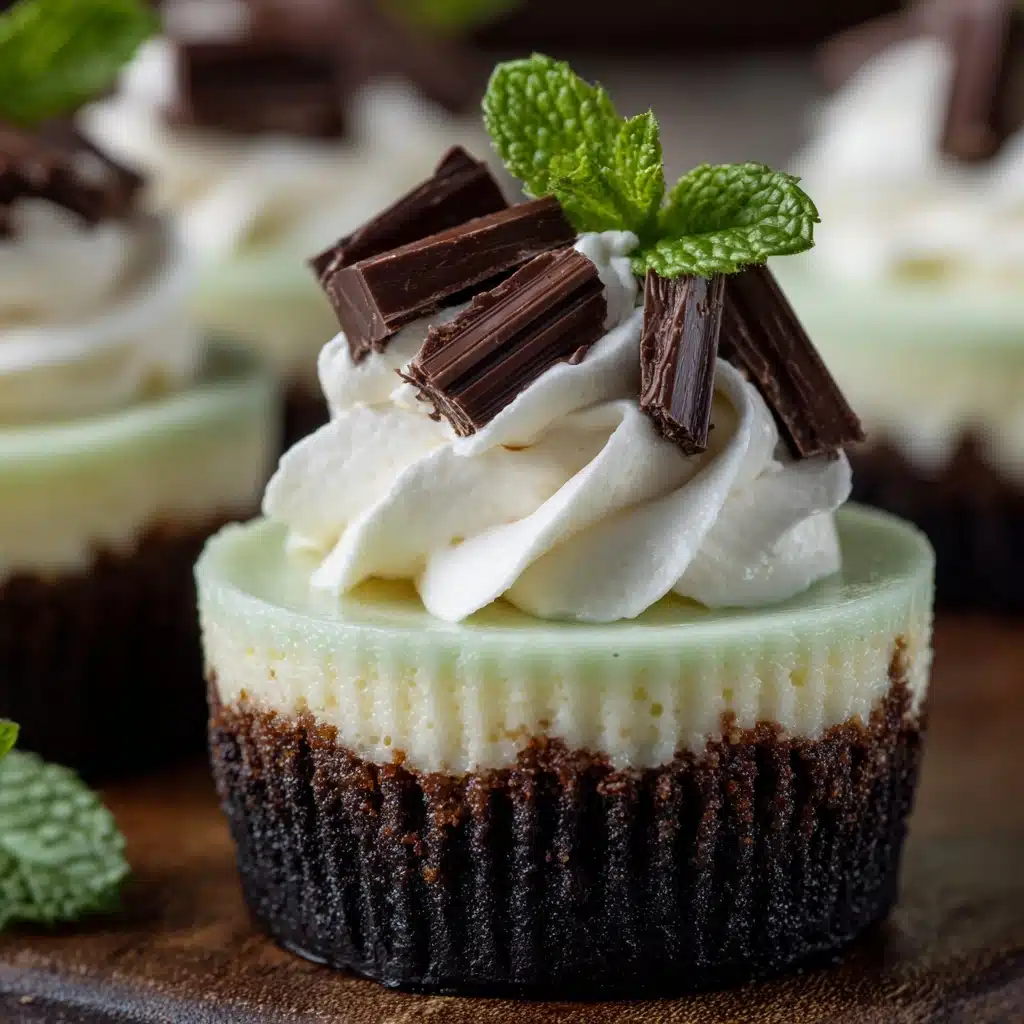
If you’re looking for a fun, refreshing twist on classic cheesecake, Mint Mini Cheesecakes are about to become your new obsession! These charming little desserts have everything: a crisp chocolate cookie crust, a luxuriously creamy cheesecake center swirled with bright peppermint and flecks of chocolate, and a playful pale green hue. Each bite is cool, rich, and just the right amount of minty, making these perfect for parties, holidays, or anytime you want to treat yourself to something special. Plus, their adorable size means everyone gets their own personal indulgence!
Ingredients You’ll Need
Gathering just a few basic ingredients is all it takes to whip up Mint Mini Cheesecakes. Every component, from the buttery chocolate base to the minty cream cheese filling, plays a starring role in the flavor and texture of these lush little treats.
- Chocolate cookie crumbs: These provide the rich, crunchy base—go for classic chocolate sandwich cookies like Oreos for the most indulgent flavor.
- Melted butter: It binds the crust together and adds an irresistible buttery flavor.
- Cream cheese (softened): The heart of any cheesecake—be sure it’s fully softened for the smoothest filling.
- Granulated sugar: Sweetens the filling without overpowering the fresh mint.
- Large eggs: Eggs bind everything and create that rich, creamy texture we all crave.
- Sour cream: Adds tang and extra creaminess, balancing out the sweetness and mint.
- Peppermint extract: This is where the magic happens—just a teaspoon gives a refreshing lift!
- Green food coloring (optional): Just a drop or two will deliver a soft, pastel-green color that screams “mint” at first sight.
- Mini chocolate chips or chopped chocolate: Chocolaty bits scattered throughout make every bite exciting.
- Whipped cream (for garnish): Adds lightness and looks extra fancy on top.
- Chocolate shavings (for garnish): Extra chocolate on top? Always a good idea.
- Fresh mint leaves (for garnish): They add freshness and a pop of vibrant color.
How to Make Mint Mini Cheesecakes
Step 1: Prep Your Pan and Preheat the Oven
Start by preheating your oven to 325°F (163°C). Line a standard 12-cup muffin tin with paper liners—this makes removing your cheesecakes a breeze. A little bit of planning here ensures you get visually perfect, easily shareable treats in the end.
Step 2: Make the Chocolate Cookie Crust
In a small bowl, mix together the chocolate cookie crumbs and melted butter until everything is evenly moistened. Spoon about 1 tablespoon of this crumbly mixture into each muffin liner and press it down firmly to form a solid base. This sets the stage for that delicious crunch under each creamy bite! Bake the crusts for 5 minutes to help them set, then set the pan aside to cool.
Step 3: Prepare the Mint Cheesecake Filling
Grab a large mixing bowl and beat the softened cream cheese and granulated sugar together until the mixture is silky smooth and free of lumps. Add the eggs one at a time, mixing well after each addition. Next, stir in the sour cream, peppermint extract, and (if you’re feeling whimsical) a drop or two of green food coloring for that unmistakable minty look. Gently fold in the mini chocolate chips or chopped chocolate—the more the merrier!
Step 4: Fill the Muffin Cups and Bake
Evenly divide the cheesecake batter among the muffin cups—it’s easiest using a cookie scoop or spoon, filling each about three-quarters full. Pop the tin in the oven and bake for 18 to 22 minutes. You’re looking for centers that are just set—no need to wait for complete firmness as they’ll continue to set up as they cool.
Step 5: Cool and Chill
Once baked, let the cheesecakes cool in the pan for 10 minutes. This little rest helps prevent cracks. Then, transfer them to a wire rack and slide them into the refrigerator for at least 2 hours (or overnight if you have the patience!). This chilling time gives you those perfectly rich, creamy bites that make Mint Mini Cheesecakes so irresistible.
How to Serve Mint Mini Cheesecakes
Garnishes
Just before serving, pile on the whipped cream, add a sprinkling of chocolate shavings, and tuck a few fresh mint leaves on top. These little touches not only look professional, but they elevate each bite with extra creaminess, chocolatey aroma, and a hint of cool freshness.
Side Dishes
Mint Mini Cheesecakes are lovely on their own, but if you’d like to round out a dessert table, consider pairing them with a platter of seasonal berries, a bowl of chocolate-dipped strawberries, or some crisp shortbread cookies. Their refreshing flavor also makes them a delightful finish after a heavier meal.
Creative Ways to Present
Let your imagination run wild! Serve each Mint Mini Cheesecake on a vintage saucer for a whimsical touch, or arrange them in a circle on a pretty cake stand for parties. You can even package them in small bakery boxes as the sweetest homemade gift—just don’t forget a sprig of mint for that wow factor!
Make Ahead and Storage
Storing Leftovers
Leftover Mint Mini Cheesecakes store beautifully. Simply pop them in an airtight container and keep them in the refrigerator for up to 5 days. They’re the perfect make-ahead dessert for gatherings, or a treat to enjoy throughout the week.
Freezing
Want to get a head start? These mini delights freeze like a dream. Arrange completely cooled cheesecakes on a baking sheet, freeze until solid, then transfer to a freezer-safe container. They’ll keep for up to 2 months—just thaw overnight in the refrigerator before adding your garnishes.
Reheating
No real reheating required! Mint Mini Cheesecakes are at their best served chilled. However, if you’re enjoying them straight from the freezer, let them sit in the refrigerator until thawed and creamy again. Avoid microwaving, as it can mess with the texture.
FAQs
Can I use mint extract instead of peppermint extract?
Yes! If you prefer a gentler minty taste, swap peppermint extract for classic mint extract, or even combine the two for a unique flavor profile. Just remember that peppermint tends to taste a bit brighter and more refreshing.
How do I make these gluten-free?
It’s easy—just use gluten-free chocolate cookies in place of regular Oreos or sandwich cookies for the crust. The rest of the ingredients are naturally gluten free, so you won’t lose out on any flavor or texture.
Can I make Mint Mini Cheesecakes without food coloring?
Absolutely! The green food coloring is completely optional. Your cheesecakes will have the same minty flavor and lovely contrast from the chocolate, minus the pastel hue.
Can I double the recipe?
These disappear fast, so doubling is always a wise choice! Just use two muffin pans and rotate them halfway through baking to ensure even cooking.
What’s the best way to crush chocolate cookies for the crust?
The simplest way is to pulse your cookies in a food processor until you have fine crumbs. No processor? Place cookies in a sealed zip-top bag and crush with a rolling pin—it’s oddly satisfying and works just as well!
Final Thoughts
These Mint Mini Cheesecakes are little bites of joy, and once you try them, you’ll find yourself dreaming up every occasion as a reason to make them again. Gather your ingredients, invite someone to help you decorate, and treat yourself to a fresh, minty spin on a classic favorite—you deserve it!
Print
Mint Mini Cheesecakes Recipe
- Total Time: 40 minutes plus chilling
- Yield: 12 mini cheesecakes 1x
- Diet: Vegetarian
Description
Indulge in these delightful Mint Mini Cheesecakes that offer a perfect blend of creamy cheesecake, refreshing mint flavor, and rich chocolate. Each bite-sized treat is a burst of indulgence!
Ingredients
For the crust:
- 1 cup chocolate cookie crumbs (such as Oreos, finely crushed)
- 3 tablespoons melted butter
For the filling:
- 16 ounces cream cheese (softened)
- ½ cup granulated sugar
- 2 large eggs
- ¼ cup sour cream
- 1 teaspoon peppermint extract
- Green food coloring (optional)
- ½ cup mini chocolate chips or chopped chocolate
For garnish:
- Whipped cream
- Chocolate shavings
- Fresh mint leaves
Instructions
- Preheat the oven and prepare crust: Preheat the oven to 325°F (163°C) and line a 12-cup muffin tin with paper liners. Mix chocolate cookie crumbs and melted butter, press into muffin liners, and bake briefly.
- Prepare the filling: Beat cream cheese and sugar, add eggs, sour cream, peppermint extract, and food coloring. Fold in chocolate chips.
- Fill and bake: Divide batter into muffin cups and bake until set.
- Chill and garnish: Cool, then chill in the refrigerator. Top with whipped cream, chocolate shavings, and mint leaves before serving.
Notes
- You can use mint extract instead of peppermint for a milder flavor.
- These cheesecakes freeze well and can be made a day ahead.
- For a gluten-free version, use gluten-free chocolate cookies.
- Prep Time: 20 minutes
- Cook Time: 20 minutes
- Category: Dessert
- Method: Baking
- Cuisine: American
Nutrition
- Serving Size: 1 mini cheesecake
- Calories: 240
- Sugar: 17g
- Sodium: 140mg
- Fat: 16g
- Saturated Fat: 9g
- Unsaturated Fat: 6g
- Trans Fat: 0g
- Carbohydrates: 20g
- Fiber: 1g
- Protein: 4g
- Cholesterol: 55mg


