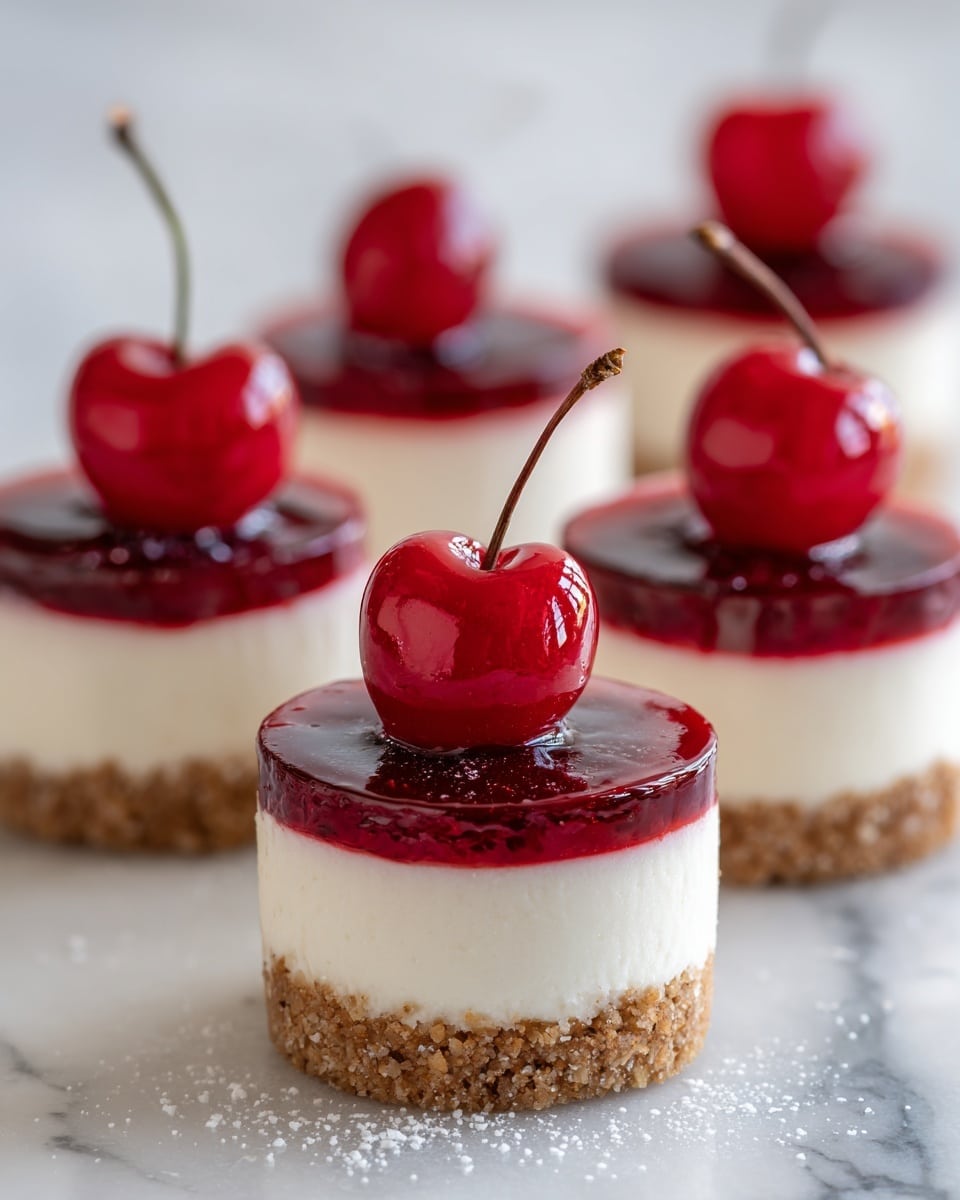
If you are searching for a delightful dessert that effortlessly combines creamy richness with a perfectly crumbly crust, this Mini Cheesecakes Recipe is your new best friend in the kitchen. These bite-sized treats pack all the flavor and indulgence of a classic cheesecake but in a charming, individual portion that’s perfect for parties, family gatherings, or simply to enjoy as a sweet everyday treat. Light yet luscious, each mini cheesecake delivers a smooth texture with a hint of vanilla and a buttery graham cracker base that will have everyone asking for seconds.
Ingredients You’ll Need
This Mini Cheesecakes Recipe shines because of its simple, pantry-friendly ingredients that work together to create irresistible flavor and texture. Each component plays a crucial role, from the crunchy crust to the creamy filling, making the whole process straightforward yet effective.
- Graham cracker crumbs: Provide a buttery, crunchy base that contrasts beautifully with the creamy topping.
- Granulated sugar: Adds the perfect touch of sweetness to both crust and filling.
- Unsalted butter (melted): Binds the crust ingredients and adds richness without overpowering.
- Cream cheese (softened): The star ingredient delivering the smooth, velvety texture of cheesecake.
- Eggs: Help set the cheesecake filling, giving it structure while keeping it light.
- Vanilla extract: Brings a warm, inviting aroma and depth of flavor.
- Sour cream: Adds subtle tanginess and moistness to balance the sweetness.
- All-purpose flour: A little flour helps stabilize the filling for the perfect set.
- Fresh berries or fruit topping (optional): Brighten and refresh each bite with natural sweetness and color.
- Whipped cream (optional): Adds an extra layer of lightness and indulgence when serving.
How to Make Mini Cheesecakes Recipe
Step 1: Prepare the crust
Start by preheating your oven to 325°F and lining a 12-cup muffin tin with paper liners. In a small bowl, combine the graham cracker crumbs, 2 tablespoons of sugar, and melted butter until the mixture holds together like wet sand. Press about a tablespoon of this crumbly mixture firmly into the bottom of each muffin liner, creating an even layer that will become your crunchy base. Bake just for 5 minutes to set the crust and develop a toasty flavor, then let it cool slightly so it firms up without burning.
Step 2: Make the cheesecake filling
In a large bowl, beat the softened cream cheese and 1/2 cup sugar until the mixture is gorgeously smooth and creamy—take your time here for the best texture. Add the eggs one at a time, blending thoroughly after each addition to prevent any lumps. Mix in the vanilla extract, sour cream, and flour gently until just combined; overmixing can lead to cracks during baking, so be gentle but sure.
Step 3: Fill and bake the mini cheesecakes
Spoon the luscious filling evenly over the crusts in your muffin tins, filling each about three-quarters full. Bake for 18 to 20 minutes, keeping an eye out for the tell-tale sign that the centers are set but still have a tiny jiggle to them—this ensures silky smooth results. Allow them to cool in the pan for 10 minutes to settle before transferring to a wire rack to come to room temperature completely.
Step 4: Chill before serving
Once cooled, pop the mini cheesecakes into the refrigerator for at least 2 hours. This chilling step is essential to let the flavors meld and the texture firm up perfectly before you dive in. Trust me, the wait is worth it!
How to Serve Mini Cheesecakes Recipe
Garnishes
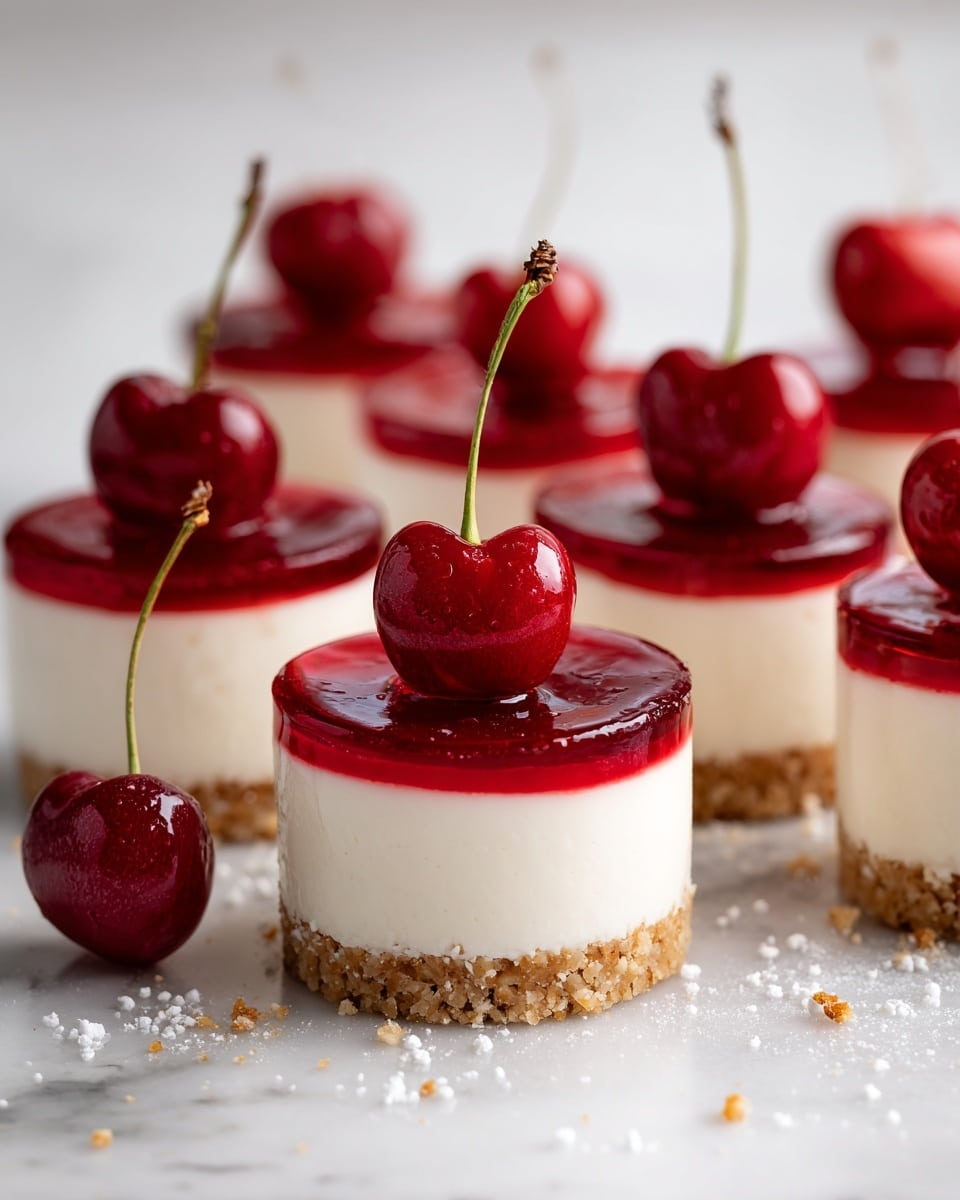
Add an elegant and fresh touch to your mini cheesecakes by topping them with vibrant fresh berries like blueberries, raspberries, or sliced strawberries. A dollop of lightly sweetened whipped cream adds a dreamy contrast and an extra bit of decadence. If you like a little crunch, sprinkling some toasted nuts or chocolate shavings can also elevate the presentation beautifully.
Side Dishes
Though these cheesecakes stand splendidly on their own, pairing them with a light fruit salad or a crunchy biscotti can enhance the overall dessert experience. A hot cup of coffee or a glass of sweet dessert wine can also complement the creamy richness, making any gathering feel a little more special.
Creative Ways to Present
If you want to impress your guests, serve the mini cheesecakes on a tiered dessert tray for a party-ready display. Another fun option is to place them in clear individual cups layered with fresh fruit or berry compote for a pretty parfait-style treat. Wrapping each cupcake liner in decorative paper liners or tying a little ribbon around the tin adds a charming homemade touch.
Make Ahead and Storage
Storing Leftovers
Your leftover mini cheesecakes can be stored in an airtight container in the refrigerator for up to 5 days. Keeping them chilled preserves the creamy texture and prevents the crust from getting soggy, so they’re still fantastic if you want to enjoy some later in the week.
Freezing
For longer storage, freezing is a great solution. Place the cheesecakes on a baking sheet to freeze individually before transferring them to a freezer container or bag. This method prevents them from sticking together. When you’re ready to enjoy, thaw them overnight in the refrigerator to maintain their smooth texture.
Reheating
Mini cheesecakes are best enjoyed cold but if you prefer them a bit softer, let them sit at room temperature for 10 to 15 minutes before eating. Avoid microwaving as it can cause cracking or change the delicate texture. A gentle warming isn’t necessary to appreciate the full richness of these treats.
FAQs
Can I use low-fat cream cheese for this Mini Cheesecakes Recipe?
While you can use low-fat cream cheese, keep in mind that the texture and flavor might be slightly less creamy and rich. Full-fat cream cheese yields the best results for that classic indulgent cheesecake experience.
What’s the purpose of adding flour to the filling?
Adding a small amount of flour helps stabilize the cheesecake, preventing cracks as it bakes and ensuring the filling sets nicely without becoming too dense or rubbery.
Can I make these mini cheesecakes dairy-free or vegan?
This recipe relies heavily on dairy ingredients for texture and flavor, but you can experiment with dairy-free cream cheese alternatives and egg substitutes. Just note that results may vary and might require some tweaking.
How do I prevent cracks on the top of my cheesecakes?
To avoid cracks, mix the batter gently, avoid overbaking, and use a water bath if possible to create steam and even heat. For mini cheesecakes, gentle mixing and watching baking time closely usually do the trick.
Can I add flavors like chocolate or citrus to this Mini Cheesecakes Recipe?
Absolutely! Adding mini chocolate chips, lemon zest, or a swirl of fruit puree can customize the flavor and keep this recipe versatile for any occasion.
Final Thoughts
Making this Mini Cheesecakes Recipe is like inviting a little slice of joy into your day. These charming, creamy desserts are incredibly satisfying without requiring complicated techniques or hard-to-find ingredients. Whether you’re preparing them for a festive gathering or simply as a personal treat, I promise these mini cheesecakes will bring smiles all around. Give them a try, and watch how quickly they disappear!
Print
Mini Cheesecakes Recipe
- Total Time: 40 minutes (plus chilling time)
- Yield: 12 mini cheesecakes 1x
- Diet: Vegetarian
Description
These Mini Cheesecakes are creamy, rich, and perfectly portioned bite-sized desserts. Featuring a buttery graham cracker crust and a smooth cream cheese filling, they are baked to perfection and can be topped with fresh berries or whipped cream for an elegant finish. Ideal for parties or a sweet treat any time, these cheesecakes are easy to prepare and can be made ahead for convenience.
Ingredients
Crust
- 1 cup graham cracker crumbs
- 2 tablespoons granulated sugar
- 4 tablespoons unsalted butter (melted)
Filling
- 16 ounces cream cheese (softened)
- 1/2 cup granulated sugar
- 2 large eggs
- 1 teaspoon vanilla extract
- 1/4 cup sour cream
- 1 tablespoon all-purpose flour
Toppings (optional)
- Fresh berries or fruit topping
- Whipped cream
Instructions
- Prepare the crust: Preheat your oven to 325°F and line a 12-cup muffin tin with paper liners. In a small bowl, combine graham cracker crumbs, 2 tablespoons sugar, and melted butter until the mixture is evenly moistened. Press about 1 tablespoon of this mixture firmly into the bottom of each paper liner to form the crust. Bake the crusts for 5 minutes, then remove and allow to cool slightly.
- Make the filling: In a large bowl, beat the softened cream cheese and 1/2 cup sugar with an electric mixer until smooth and creamy, ensuring no lumps remain. Add the eggs one at a time, beating well after each to incorporate fully. Stir in the vanilla extract, sour cream, and flour, mixing just until combined to avoid overmixing.
- Fill and bake: Spoon the cream cheese filling evenly into the prepared crust-lined muffin cups, filling each about three-quarters full. Place the tin in the oven and bake for 18 to 20 minutes until the centers are just set but still slightly jiggly.
- Cool and chill: Remove the mini cheesecakes from the oven and let them cool in the pan for about 10 minutes. Then transfer them to a wire rack to cool completely. Once cooled, refrigerate the cheesecakes for at least 2 hours to allow them to firm up completely before serving.
- Serve: When ready to serve, top each mini cheesecake with fresh berries or a dollop of whipped cream if desired for added flavor and presentation.
Notes
- For a chocolate variation, fold mini chocolate chips into the cheesecake filling before baking.
- These mini cheesecakes can be prepared in advance and stored in the refrigerator for up to 5 days.
- For longer storage, freeze the cheesecakes and thaw them overnight in the refrigerator before serving.
- Prep Time: 15 minutes
- Cook Time: 25 minutes
- Category: Dessert
- Method: Baking
- Cuisine: American
