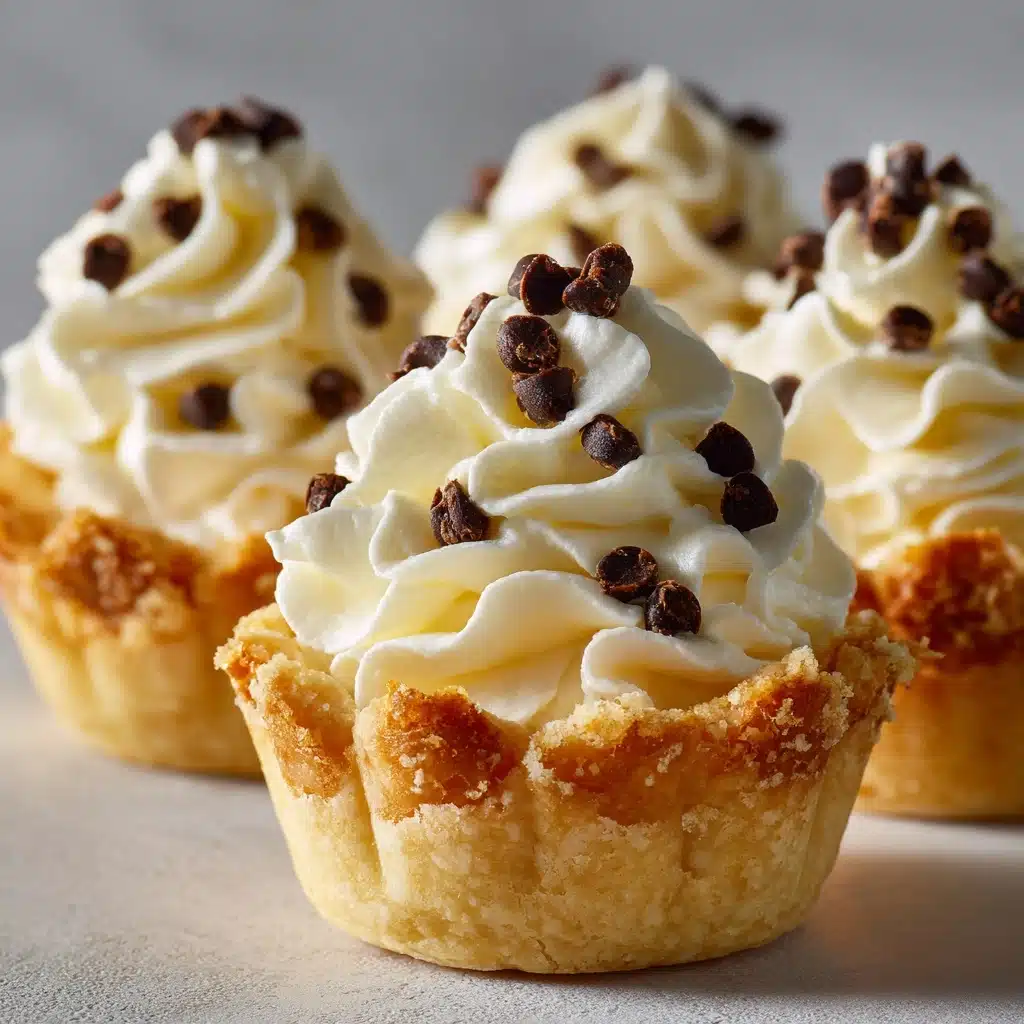
Say hello to your new favorite bite-sized treat: Mini Cannoli Cups! These charming desserts capture the spirit of classic Italian cannoli, swapping out the traditional fried shells for golden, crisp pastry cups you bake at home. Each one is filled with a luscious blend of sweetened ricotta, mascarpone, hints of vanilla and cinnamon, and studded with mini chocolate chips. They’re fun to serve at parties or just to whip up when your sweet tooth calls—they’re exactly the kind of irresistible dessert you’ll want to make (and share) again and again!
Ingredients You’ll Need
Mini Cannoli Cups prove that a handful of pantry staples can create something truly special. Each ingredient brings its own personality, from creamy dairy to aromatic spices and a playful crunch, working together to craft every dreamy, flavorful bite.
- Refrigerated pie crusts (1 package, 15 oz, 2 crusts): Your shortcut to effortlessly crisp cups that hold their shape and flavor.
- Ricotta cheese (1 cup, drained): This Italian cheese is the heart of the filling—be sure to drain it for a luxuriously thick texture.
- Mascarpone cheese (½ cup): Adds smoothness and a subtle richness that elevates the cream filling.
- Powdered sugar (½ cup): Sweetens without grittiness, blending in beautifully with the creamy cheese.
- Vanilla extract (1 teaspoon): Gives that classic dessert aroma and gentle warmth to the filling.
- Ground cinnamon (¼ teaspoon): Brings a whisper of spice that really makes the flavors pop.
- Mini chocolate chips (¼ cup, plus extra for garnish): Their melt-in-your-mouth size means chocolate in every bite—don’t skip the extra sprinkle on top!
- Orange zest (1 tablespoon, optional): A fresh, zesty twist for a bright Mediterranean lift.
- Powdered sugar (for dusting): A final flourish that makes every Mini Cannoli Cup look bakery-beautiful.
- Chopped pistachios (for garnish, optional): For extra crunch and a pop of color, perfect for special occasions.
How to Make Mini Cannoli Cups
Step 1: Shape and Bake the Cups
Preheat your oven to 425°F—you want it nice and hot so the shells get perfectly golden and crisp. Unroll the refrigerated pie crusts and use a 2½-inch round cookie cutter to stamp out circles (you’ll get about 24 total). Gently press each pastry round into the wells of a mini muffin tin to create little cups, making sure you press them up the sides for that ideal shell. Prick the bottoms with a fork to prevent puffing, then bake for 8-10 minutes until they’re a lovely golden brown. Let them cool completely in the pan to keep their shape.
Step 2: Make the Luscious Cannoli Filling
While the cups cool, it’s time to whip up the creamy center! In a medium bowl, combine the drained ricotta, mascarpone, powdered sugar, vanilla extract, ground cinnamon, and orange zest if you’re using it. Beat the mixture until completely smooth—no lumps allowed. Gently fold in mini chocolate chips for those delightful chocolatey bursts. Once smooth, pop the filling in the fridge for at least 30 minutes to set up; this step makes piping or spooning it into the cups infinitely easier.
Step 3: Fill the Mini Cannoli Cups
When the pastry cups are cooled and the filling has chilled, it’s time for the magic moment! Spoon or pipe the filling generously into each shell, mounding it up just a bit for that signature cannoli look. If you’re piping, even a simple zip-top bag with the tip cut off will do the trick. Try not to fill the cups until shortly before serving—this keeps each one crisp on the outside and creamy inside, just like a proper cannoli should be.
Step 4: Garnish and Serve
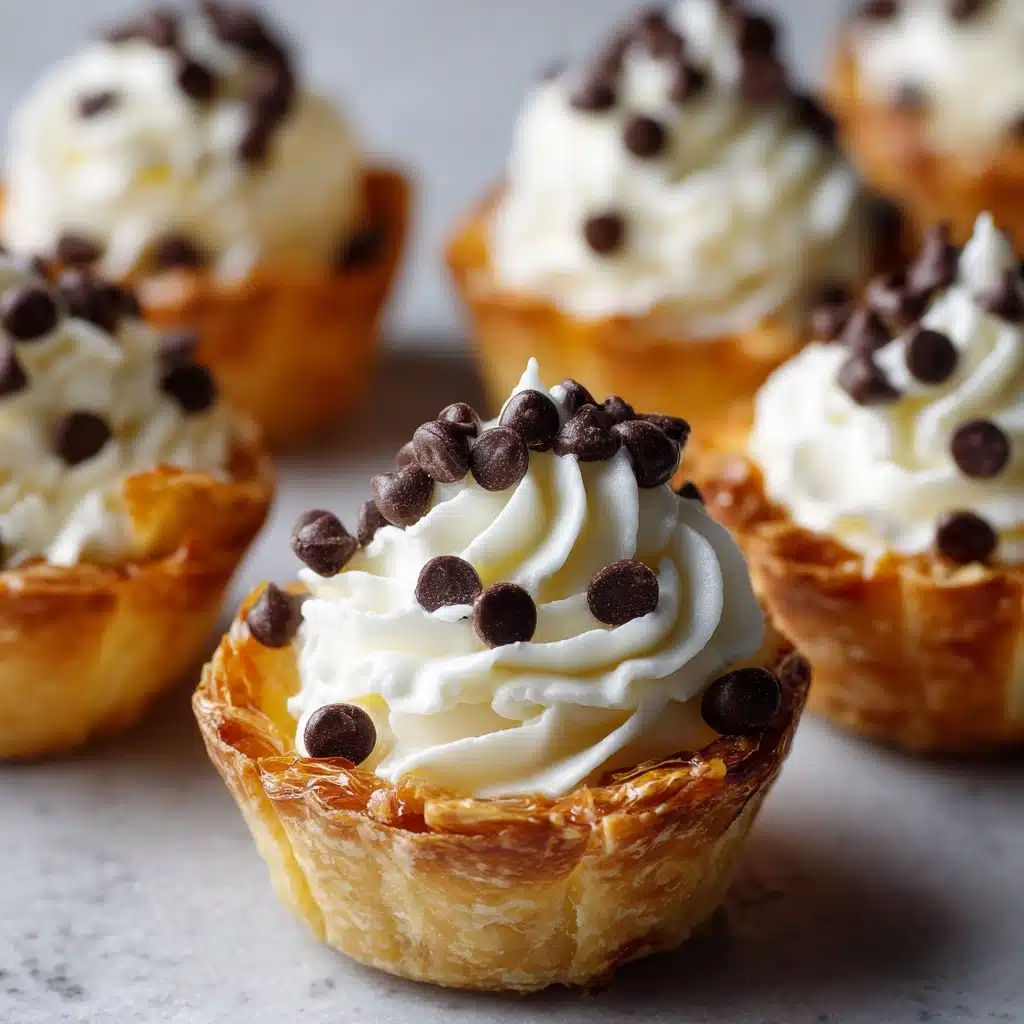
To finish, give each Mini Cannoli Cup a festive dusting of powdered sugar. Top them off with extra mini chocolate chips or a sprinkle of chopped pistachios, if you love a little extra color and crunch. That’s it—you’re ready to serve a whole batch of crowd-pleasing treats sure to impress!
How to Serve Mini Cannoli Cups
Garnishes
Mini Cannoli Cups look absolutely charming with just a simple dusting of powdered sugar. For a bit more flair, scatter extra mini chocolate chips or a sprinkle of chopped pistachios over the top—they catch the light and add a tantalizing finish. If you’re feeling extra, try adding a little more orange zest for a pop of color and brightness!
Side Dishes
Pair these delightful cups with a plate of fresh seasonal fruit, or set them alongside other bite-sized Italian treats like almond biscotti or buttery shortbread cookies. The creamy, sweet filling of the Mini Cannoli Cups matches brilliantly with espresso, cappuccino, or even a small glass of dessert wine.
Creative Ways to Present
Play up the festive nature of Mini Cannoli Cups by arranging them on a tiered dessert stand, nestled among edible flowers or citrus twists. For parties, pop each cup into tiny paper liners and serve in colorful trays, or set up a DIY cannoli bar so guests can add their favorite toppings like mini chocolate chips, crushed nuts, or candied orange peel. It’s a guaranteed conversation starter!
Make Ahead and Storage
Storing Leftovers
If you find yourself with leftover Mini Cannoli Cups (unlikely but possible!), place them in an airtight container in the refrigerator. The shells may start to soften a bit over time, but the flavor will still be wonderful for up to two days. For the freshest results, store the filling and shells separately and fill right before eating.
Freezing
While the baked shells can be frozen on their own for up to a month—just pack them carefully to avoid breakage—the filling doesn’t freeze as well due to its creamy cheese base. To freeze the shells, place them in a single layer on a baking sheet first, then transfer to a freezer bag once solid. Thaw before filling and serving.
Reheating
If the shells lose a bit of their crispness after storage, you can refresh them by popping them in a 350°F oven for 2-3 minutes. Let cool completely before adding the filling. Never reheat filled cups, as the filling is best enjoyed cold and creamy.
FAQs
Can I use homemade pie crust instead of refrigerated?
Absolutely! Homemade pie dough works beautifully for Mini Cannoli Cups if you love making things from scratch. Just roll it out nice and thin and proceed as directed. The flavor will be even more impressive!
Is it necessary to drain the ricotta beforehand?
Draining is key for a thick, creamy filling that holds its shape. If you skip this step, you might end up with runny cannoli cream that softens the shells too quickly.
What can I use instead of mascarpone cheese?
If mascarpone isn’t available, you can substitute with cream cheese for a similar texture, though the flavor will be slightly tangier. Soften the cream cheese a bit to blend it smoothly with the ricotta.
Can Mini Cannoli Cups be made gluten-free?
Yes! Simply use a gluten-free pie crust from the store, or make your own gluten-free dough. All the other filling ingredients are naturally gluten-free, so you can delight everyone at the table.
How far in advance can I make these?
The filling can be made and chilled up to a day ahead, and the baked shells also keep well for a day or two. For the best texture, assemble your Mini Cannoli Cups just before serving so the shells stay nice and crisp.
Final Thoughts
Mini Cannoli Cups are the kind of dessert that feels both special and wonderfully easy. Whether you’re hosting a party or treating yourself to something sweet, these little bites are a surefire hit. Give them a try—you might just find they become your new go-to treat!
Print
Mini Cannoli Cups Recipe
- Total Time: 30 minutes
- Yield: 24 mini cups 1x
- Diet: Vegetarian
Description
Indulge in these delightful Mini Cannoli Cups that offer a bite-sized taste of classic cannoli flavors. These easy-to-make treats feature a flaky crust filled with a creamy, sweet ricotta mixture, and are topped with mini chocolate chips or pistachios.
Ingredients
For the Crust:
- 1 package (15 oz) refrigerated pie crusts (2 crusts)
For the Filling:
- 1 cup ricotta cheese (drained)
- ½ cup mascarpone cheese
- ½ cup powdered sugar
- 1 teaspoon vanilla extract
- ¼ teaspoon ground cinnamon
- ¼ cup mini chocolate chips
- 1 tablespoon orange zest (optional)
For Garnish:
- powdered sugar (for dusting)
- mini chocolate chips or chopped pistachios (for garnish)
Instructions
- Preheat Oven: Preheat oven to 425°F.
- Prepare Crusts: Unroll pie crusts and cut out circles using a 2½-inch round cookie cutter. Press each circle into a mini muffin tin and bake for 8–10 minutes until golden brown. Let cool.
- Make Filling: Mix ricotta, mascarpone, powdered sugar, vanilla, cinnamon, and orange zest until smooth. Fold in mini chocolate chips. Refrigerate for at least 30 minutes.
- Fill Cups: Spoon or pipe the filling into each shell. Garnish with extra chocolate chips or pistachios, and dust with powdered sugar.
Notes
- For best results, drain ricotta in a fine mesh strainer or cheesecloth before using.
- The filling can be made a day ahead and filled just before serving to keep the shells crisp.
- Prep Time: 20 minutes
- Cook Time: 10 minutes
- Category: Dessert
- Method: Baking
- Cuisine: Italian
Nutrition
- Serving Size: 1 mini cup
- Calories: 110
- Sugar: 6g
- Sodium: 65mg
- Fat: 7g
- Saturated Fat: 3.5g
- Unsaturated Fat: 3g
- Trans Fat: 0g
- Carbohydrates: 9g
- Fiber: 0g
- Protein: 2g
- Cholesterol: 10mg


