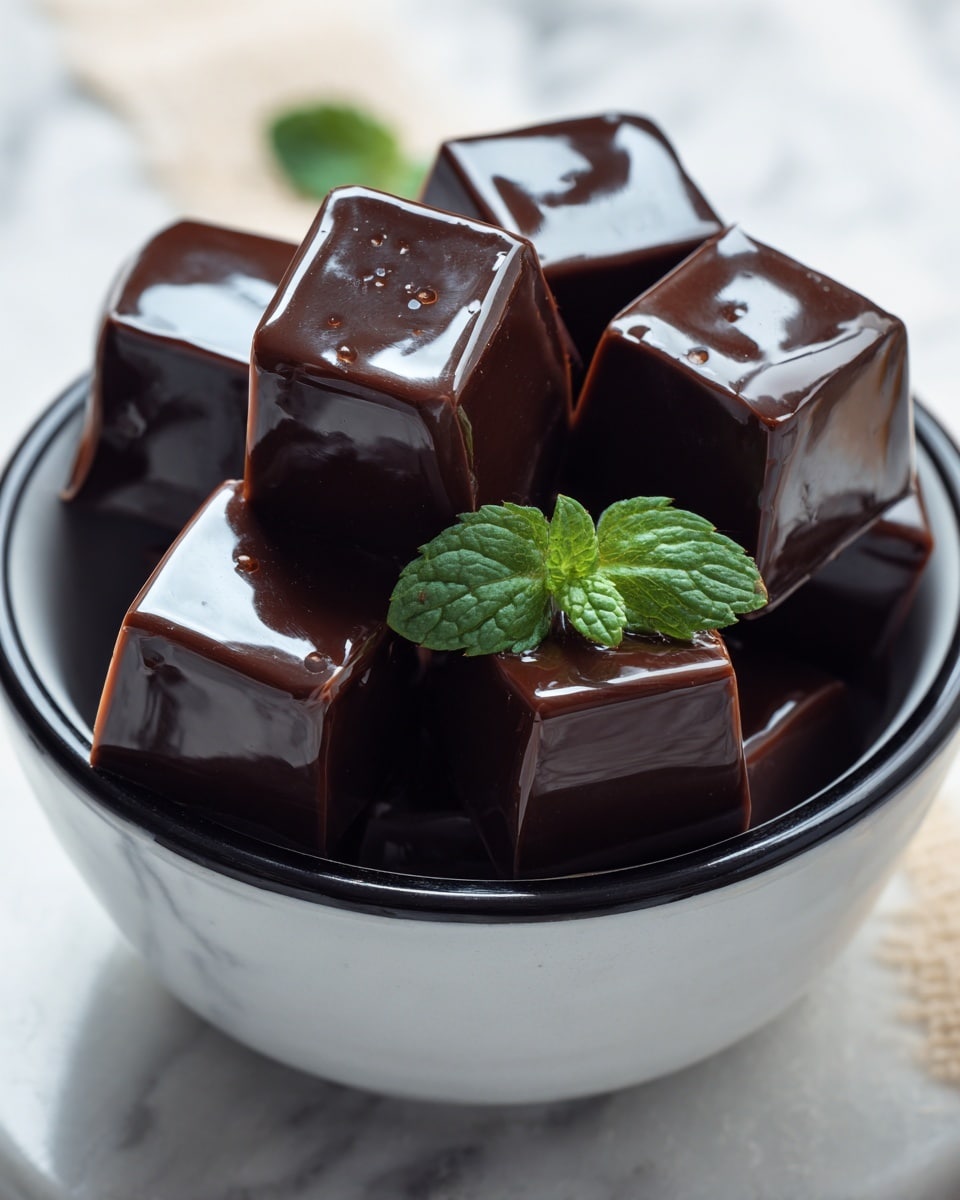
If you’ve ever dreamed of crafting your own decadent, rich treat right at home, then this Homemade Dark Chocolate Recipe is exactly what you need. Imagine silky, bittersweet chocolate that melts perfectly in your mouth, customized to your sweetness level and studded with your favorite nuts or dried fruits. Not only is it incredibly satisfying to make, but it also gives you full control over the quality and ingredients of your chocolate. Whether you’re gifting it or keeping it all to yourself, this recipe is a true game-changer in the world of homemade confections.
Ingredients You’ll Need
It’s amazing how just a handful of super simple ingredients can come together to yield such an indulgent treat. Each item in this list plays a crucial role in balancing flavor, texture, and appearance, making your dark chocolate truly spectacular.
- 1 cup cocoa butter (about 170g): The smooth, creamy base that gives chocolate its signature melt-in-your-mouth feel.
- 1/2 cup unsweetened cocoa powder (about 45g): This delivers that deep, rich cocoa flavor essential to dark chocolate.
- 2-3 tablespoons maple syrup or honey: Natural sweeteners that add just the right touch of sweetness without overpowering the cocoa.
- 1 teaspoon vanilla extract: Enhances the chocolate’s natural flavors with subtle warmth and complexity.
- Pinch of sea salt (optional): A little salt elevates the sweetness and intensifies the chocolate notes.
- 1/4 cup chopped nuts (optional): Adds delightful crunch and a nutty dimension to your chocolate.
- 1/4 cup dried fruit (optional): For bursts of chewy sweetness, cranberries or raisins work beautifully.
How to Make Homemade Dark Chocolate Recipe
Step 1: Melt the Cocoa Butter
Start by gently melting the cocoa butter. You can do this using a double boiler or carefully in the microwave, warming it until it’s completely liquid. This step is essential because cocoa butter is the foundation that ensures your chocolate will set with that perfect snap and glossy finish.
Step 2: Add Cocoa Powder
Once your cocoa butter is melted and smooth, sift in the unsweetened cocoa powder and stir continuously. This combines the buttery richness with the intense cocoa flavor, setting the stage for the classic dark chocolate taste you’re after.
Step 3: Sweeten the Mixture
Now, add your chosen sweetener—whether maple syrup or honey—to the melted mixture. Stir until completely incorporated, then taste and adjust. This step lets you tailor the chocolate’s sweetness perfectly, from a bold bittersweet to a hint of mellow sweetness.
Step 4: Add Vanilla and Salt
Enhance the flavor depth by mixing in the vanilla extract and a pinch of sea salt if you like. The vanilla adds a lovely aromatic warmth, while the salt brings balance and makes every bite more vibrant.
Step 5: Add Extras (Optional)
If you’re feeling adventurous and want to add texture, this is the moment to fold in chopped nuts or dried fruits. They bring wonderful surprises in each bite and elevate your homemade chocolate to a gourmet treat.
Step 6: Pour into Molds
Pour the chocolate mixture carefully into silicone molds or a lined tray. Using molds will give your chocolate a beautiful professional look, but a simple tray works just as well if you prefer rustic bars.
Step 7: Cool and Set
Place your molds in the refrigerator and chill for at least 2 hours, allowing the chocolate to harden completely. This chilling step is what transforms the liquid into the firm, luscious slabs that you love.
Step 8: Serve and Enjoy
Once set, gently remove the chocolate from the molds and break into pieces. Your homemade treat is ready to satisfy cravings and impress friends and family alike!
How to Serve Homemade Dark Chocolate Recipe
Garnishes
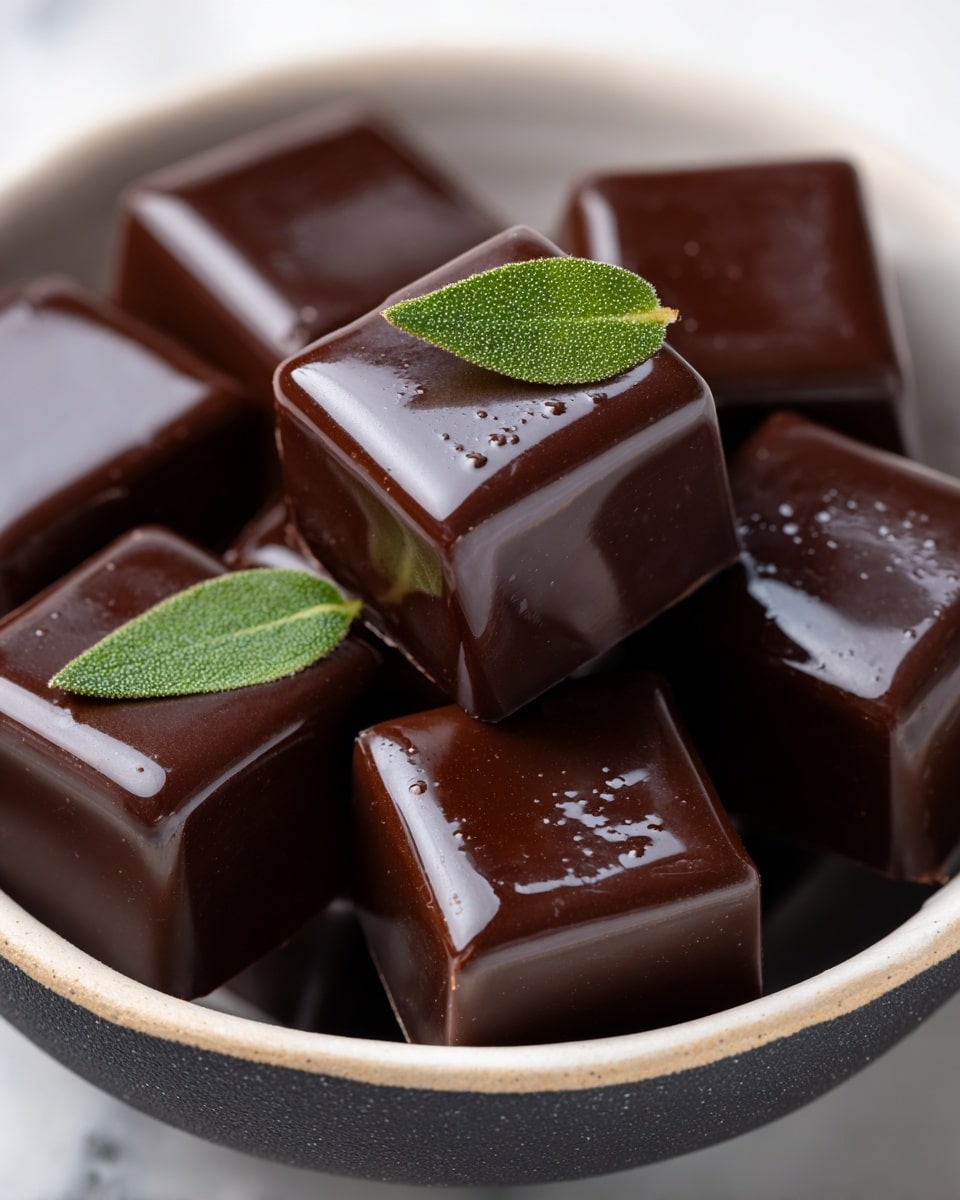
Sprinkle a few flakes of sea salt on top or add a touch of edible gold dust for special occasions. Fresh mint leaves or a dusting of cocoa powder can also add visual flair and a burst of fresh aroma.
Side Dishes
This chocolate pairs beautifully with fresh berries, a dollop of creamy whipped cream, or alongside a rich espresso or red wine. Simple but elegant companions highlight the chocolate’s complex flavors.
Creative Ways to Present
Try stacking chocolate pieces between parchment paper sheets for a beautiful platter display or package homemade chocolate bars in rustic brown paper tied with twine for delightful gifts. You could also use colorful sprinkles or edible flowers embedded during setting for a whimsical twist.
Make Ahead and Storage
Storing Leftovers
Your Homemade Dark Chocolate Recipe keeps best in an airtight container at room temperature, away from direct sunlight. It typically stays fresh for up to two weeks, allowing you to enjoy it bit by bit without haste.
Freezing
If you want to keep your chocolate longer, freezing is an excellent option. Wrap pieces tightly in plastic wrap or foil and place them in a freezer-safe bag. When you’re ready, thaw gently at room temperature to preserve texture and flavor.
Reheating
While reheating chocolate isn’t usually necessary, if you want to re-melt for dipping or drizzling, do so gently over a double boiler or at the lowest microwave setting to avoid burning. This keeps the chocolate smooth and silky.
FAQs
Can I use other sweeteners besides maple syrup or honey?
Absolutely! Agave nectar, coconut sugar syrup, or even a touch of stevia can work. Just keep in mind the flavor profiles differ slightly, so adjust to taste.
What if I don’t have silicone molds?
No problem at all. You can line a small baking dish with parchment paper and pour the mixture in. Once set, simply break it into chunks for a delightful rustic presentation.
Is it necessary to add salt?
Salt is optional but recommended. It enhances the chocolate’s flavor balance and deepens the cocoa notes, making each bite more satisfying.
How long does it take for the chocolate to set?
Generally, refrigerating for at least 2 hours will do the trick, but depending on your fridge’s temperature and mold thickness, it could take a bit longer.
Can I make this recipe dairy-free?
This recipe is naturally dairy-free since it uses cocoa butter and no milk solids. It’s perfect for vegans and those with dairy allergies.
Final Thoughts
Making your own chocolate is not only incredibly fun but also deeply rewarding. This Homemade Dark Chocolate Recipe offers a wonderful way to indulge in a treat crafted just the way you like it—with quality ingredients, customizable flavors, and that unmatched satisfaction that only handmade goodies can bring. I can’t wait for you to try it and experience the joy of homemade chocolate magic!
Print
Homemade Dark Chocolate Recipe
- Total Time: 20 minutes
- Yield: 12 servings 1x
- Diet: Gluten Free
Description
A simple and delicious recipe for homemade dark chocolate that uses natural ingredients like cocoa butter, unsweetened cocoa powder, and sweeteners such as maple syrup or honey. This recipe allows for optional additions like nuts and dried fruit for added texture and flavor. Perfect for a healthier, customizable treat made in your own kitchen.
Ingredients
Main Ingredients
- 1 cup cocoa butter (about 170g)
- 1/2 cup unsweetened cocoa powder (about 45g)
- 2–3 tablespoons maple syrup or honey (depending on your sweetness preference)
- 1 teaspoon vanilla extract
- Pinch of sea salt (optional)
Optional Add-ins
- 1/4 cup chopped nuts (e.g. almonds, hazelnuts)
- 1/4 cup dried fruit (e.g. cranberries, raisins)
Instructions
- Melt the cocoa butter: In a double boiler or microwave-safe bowl, gently melt the cocoa butter until it turns into a smooth liquid, stirring occasionally to ensure even melting without burning.
- Add cocoa powder: Gradually add the unsweetened cocoa powder to the melted cocoa butter, mixing thoroughly until you achieve a smooth, lump-free chocolate base.
- Sweeten the mixture: Stir in 2 to 3 tablespoons of maple syrup or honey into the chocolate mixture, adjusting the amount to your preferred sweetness level.
- Add vanilla and salt: Incorporate 1 teaspoon of vanilla extract and a pinch of sea salt (if using) to enhance the flavor profile of your chocolate.
- Add extras (optional): Fold in chopped nuts and/or dried fruit if desired, distributing them evenly throughout the chocolate mixture.
- Pour into molds: Carefully pour the prepared chocolate mixture into silicone molds or a lined tray for shaping.
- Cool and set: Place the molds or tray in the refrigerator for at least 2 hours to allow the chocolate to harden completely.
- Serve and enjoy: Once set, remove the chocolate pieces from the molds, break into portions if needed, and enjoy your homemade dark chocolate treat.
Notes
- You can substitute honey with maple syrup for a vegan option.
- Ensure the cocoa butter is melted gently to avoid burning and preserve flavor.
- Customize your chocolate by adding your favorite nuts or dried fruits.
- Store leftover chocolate in an airtight container in the refrigerator to maintain freshness.
- Use silicone molds for easier removal of chocolate pieces.
- Prep Time: 10 minutes
- Cook Time: 10 minutes
- Category: Dessert
- Method: Stovetop
- Cuisine: International
