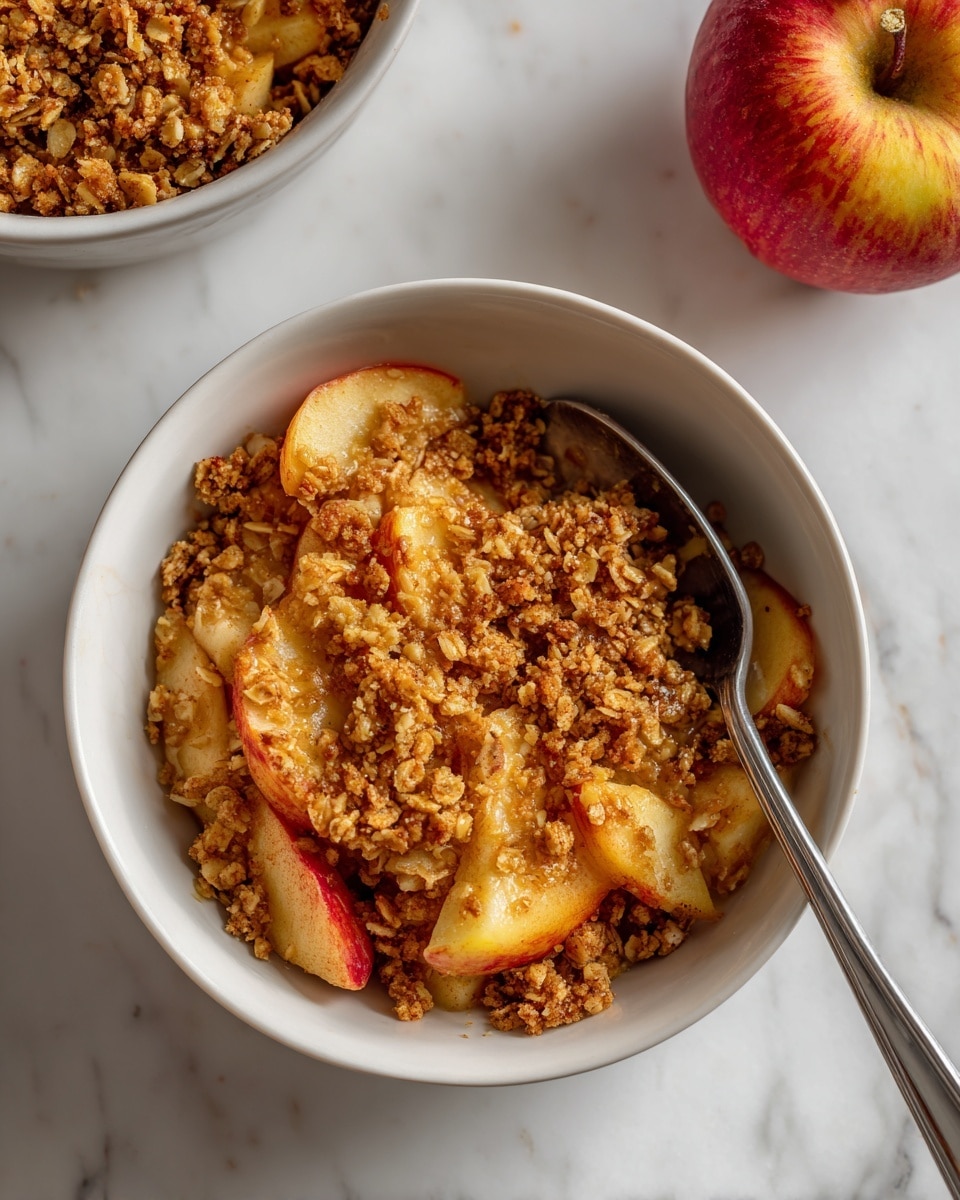
Nothing quite beats the comfort of a warm dessert, especially one that combines the natural sweetness and tartness of apples with a crunchy, buttery topping. This Easy Apple Crisp Recipe is a timeless favorite that brings together simple ingredients into a dessert that feels like a cozy hug. It’s perfect for any occasion, from casual family dinners to festive gatherings, and the best part is how straightforward it is to make, even if you’re new to baking.
Ingredients You’ll Need
Gathering these everyday ingredients is the first step toward creating an Apple Crisp that bursts with flavor and delightful textures. Each one plays a crucial role: the apples offer juiciness and tang, while the cinnamon and sugars bring warmth and sweetness, and the crisp topping adds the perfect crunch.
- 3 pounds apples (Granny Smith and Pink Lady recommended): These varieties balance tartness and sweetness beautifully in the filling.
- ½ cup granulated sugar: Adds the right amount of sweetness to perfectly complement the tart apples.
- 1 tablespoon fresh lemon juice: Brightens the apple flavor and prevents browning during prep.
- 1 tablespoon cornstarch: Helps thicken the apple juices for a luscious, not runny, filling.
- 2 teaspoons ground cinnamon: Introduces that classic fall-spice aroma and warmth.
- ½ cup unsalted butter (or melted coconut oil for vegan option): Brings richness and helps create that golden crisp topping.
- 1 cup rolled oats: Adds hearty texture and pairs perfectly with the buttery topping.
- 1 cup all-purpose flour (or gluten-free 1:1 flour/almond flour): Provides structure to the topping for a delightful crumbly crunch.
- ⅓ cup packed brown sugar: Gives a deep, molasses-like sweetness and enhances the crisp.
- 1 teaspoon cinnamon: Enhances the spice notes in the topping for a cohesive flavor.
- ¼ teaspoon salt: Balances the sweetness and elevates all the flavors.
How to Make Easy Apple Crisp Recipe
Step 1: Preheat and Prep Your Baking Dish
Begin by preheating your oven to 350°F (175°C) while lightly greasing a 13×9-inch baking dish. This ensures a non-stick surface for your apple crisp and helps it bake evenly.
Step 2: Prepare the Apple Filling
Peeling, coring, and chopping your apples into one-inch chunks creates the perfect bite-sized pieces that will soften nicely without turning into mush. Mixing the chopped apples with granulated sugar, lemon juice, cornstarch, and cinnamon ensures every apple piece is coated with flavor and will thicken beautifully as it bakes.
Step 3: Spread the Apple Mixture
Once your apples are well coated, spread them evenly in your prepared baking dish. This even layer helps the apples cook consistently and allows the crisp topping to cover every bite.
Step 4: Make the Crisp Topping
Start by melting the butter or coconut oil, then mix the rolled oats, flour, brown sugar, cinnamon, and salt in a separate bowl. Stir in the melted butter until the mixture looks crumbly and evenly coated—that’s the key to achieving that perfect crispy topping texture.
Step 5: Assemble and Bake
Sprinkle your crumbly topping evenly over the apple filling in the dish. Pop it into the oven and bake for 50 to 60 minutes. The goal is a golden brown crust with bubbly, tender apples beneath. If it starts browning too fast, simply cover it loosely with foil to prevent burning.
Step 6: Cool and Serve
Once baked, let your apple crisp cool for at least 15 minutes. This resting time helps the filling set a bit so you can enjoy perfect, generous scoops. Serving it warm makes every bite a cozy and irresistible experience.
How to Serve Easy Apple Crisp Recipe
Garnishes
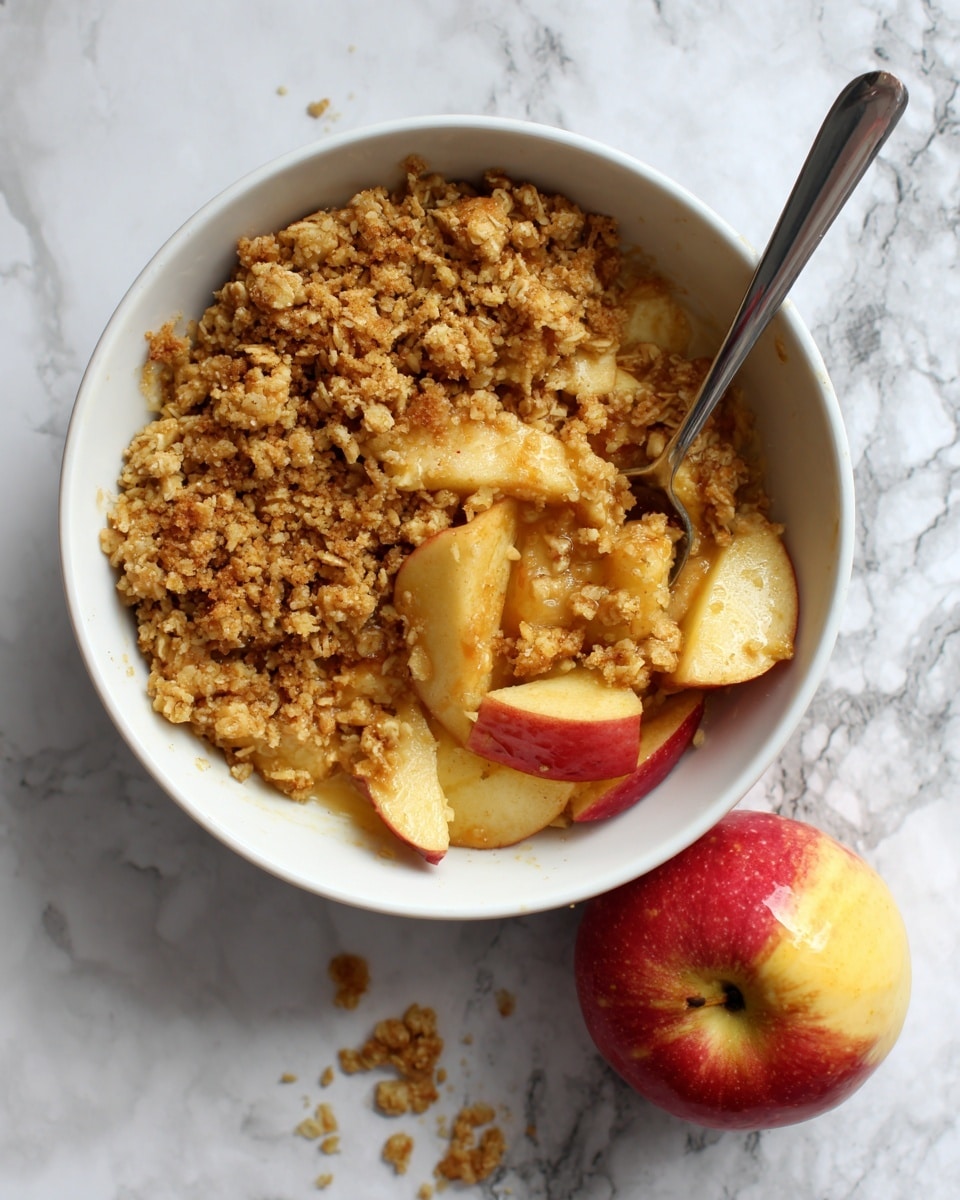
Elevate your apple crisp by topping it with a generous scoop of vanilla ice cream or a dollop of freshly whipped cream. For an extra indulgent touch, drizzle some warm caramel sauce over the top. These garnishes add creamy richness that contrasts beautifully with the crisp texture.
Side Dishes
For a lovely dessert spread, pair this apple crisp with simple sides like a cup of hot spiced tea or freshly brewed coffee. If you want to turn it into a brunch treat, serve alongside creamy Greek yogurt or a slice of sharp cheddar cheese to highlight the apples’ natural tartness.
Creative Ways to Present
For a charming presentation, serve the apple crisp in individual ramekins or mason jars topped with your favorite garnishes. You can also sprinkle toasted nuts like pecans or walnuts on top of the crisp before baking for an unexpected crunch and visual appeal.
Make Ahead and Storage
Storing Leftovers
Store any leftover apple crisp in an airtight container in the refrigerator. It stays fresh for up to 4 days, making it easy to enjoy this comforting treat again with minimal effort.
Freezing
You can freeze the apple crisp either before or after baking. If frozen unbaked, cover tightly with foil and freeze for up to 3 months. To freeze after baking, cool completely, then wrap securely to preserve freshness and texture.
Reheating
Reheat your apple crisp in the oven at 325°F (160°C) for 15-20 minutes or until warmed through to bring back its delightful crispiness. Microwaving is quicker but might soften the topping slightly, so oven reheating is preferable for best texture.
FAQs
Can I use other fruits instead of apples?
Absolutely! Pears, peaches, or even berries can be used in this recipe. Keep in mind the cooking times may vary slightly depending on fruit ripeness and moisture content.
How can I make this recipe vegan?
Simply substitute the unsalted butter with melted coconut oil, as suggested in the recipe. This swap keeps the topping rich and crispy while making the dish completely vegan-friendly.
Is it necessary to peel the apples?
Peeling is recommended for a smooth texture, but if you love a bit of extra fiber and rustic feel, leaving the peels on is perfectly fine—just make sure to wash them thoroughly.
What’s the best way to store leftover crisp topping?
If you have leftover topping mixture before baking, it’s best to store it in an airtight container at room temperature for a day or two. Wet topping shouldn’t be stored for long to maintain its texture.
Can I prepare this apple crisp ahead of time?
Yes! You can assemble the crisp the night before, cover it tightly, and bake it fresh the next day. Just add a few extra minutes to the baking time if it comes straight from the fridge.
Final Thoughts
This Easy Apple Crisp Recipe is one of those magical desserts that feels special yet is incredibly simple to make. It fills your home with cozy aromas and delivers a perfect balance of tart apples and crunchy sweetness in every bite. I can’t wait for you to try it and discover why it quickly becomes a beloved staple in so many kitchens.
Print
Easy Apple Crisp Recipe
- Total Time: 1 hour 5 minutes
- Yield: 8 servings 1x
- Diet: Gluten Free
Description
This Easy Apple Crisp is a warm, comforting dessert featuring tender cinnamon-spiced apples baked under a buttery oat topping. Perfect for autumn or anytime you want a classic, homestyle dessert that’s simple to prepare and sure to please everyone at the table.
Ingredients
Apple Filling
- 3 pounds apples (Granny Smith and Pink Lady recommended), peeled, cored, and chopped into 1-inch chunks
- ½ cup granulated sugar
- 1 tablespoon fresh lemon juice
- 1 tablespoon cornstarch
- 2 teaspoons ground cinnamon
Crisp Topping
- ½ cup unsalted butter (or melted coconut oil for vegan option)
- 1 cup rolled oats
- 1 cup all-purpose flour (or gluten-free 1:1 flour/almond flour)
- ⅓ cup packed brown sugar
- 1 teaspoon cinnamon
- ¼ teaspoon salt
Instructions
- Preheat & Prep: Preheat your oven to 350°F (175°C) and lightly grease a 13×9-inch baking dish with cooking spray to prevent sticking.
- Prepare the Apple Filling: Peel, core, and chop the apples into 1-inch chunks for even baking and texture.
- Mix Apple Filling: In a large bowl, combine the chopped apples with granulated sugar, fresh lemon juice, cornstarch, and ground cinnamon. Stir well until the apples are fully coated with the mixture.
- Spread Filling: Evenly spread the apple mixture into the prepared baking dish, ensuring a uniform layer for consistent baking.
- Make the Crisp Topping: Melt the unsalted butter (or coconut oil if making vegan). In a separate bowl, combine rolled oats, flour, brown sugar, cinnamon, and salt.
- Combine Topping Ingredients: Pour the melted butter over the dry ingredients and stir until the topping forms a crumbly texture.
- Assemble & Bake: Sprinkle the crisp topping evenly over the apple filling. Place the dish in the oven and bake for 50-60 minutes until the topping is golden brown and the apple filling is bubbly. If the topping browns too quickly, loosely cover with foil to prevent burning.
- Cool & Serve: Remove the crisp from the oven and let it rest for at least 15 minutes to set before serving.
- Enjoy: Serve warm, optionally topped with vanilla ice cream, whipped cream, or caramel sauce for an extra indulgence.
Notes
- Use a mix of tart and sweet apples like Granny Smith and Pink Lady for balanced flavor and texture.
- For a vegan version, substitute butter with melted coconut oil.
- To make gluten-free, use a gluten-free 1:1 flour blend or almond flour instead of all-purpose flour.
- If the topping browns too fast, covering loosely with foil during baking will prevent burning.
- Letting the crisp rest after baking allows the filling to thicken and makes serving easier.
- This dessert pairs perfectly with vanilla ice cream, whipped cream, or caramel sauce.
- Prep Time: 15 minutes
- Cook Time: 50-60 minutes
- Category: Dessert
- Method: Baking
- Cuisine: American
