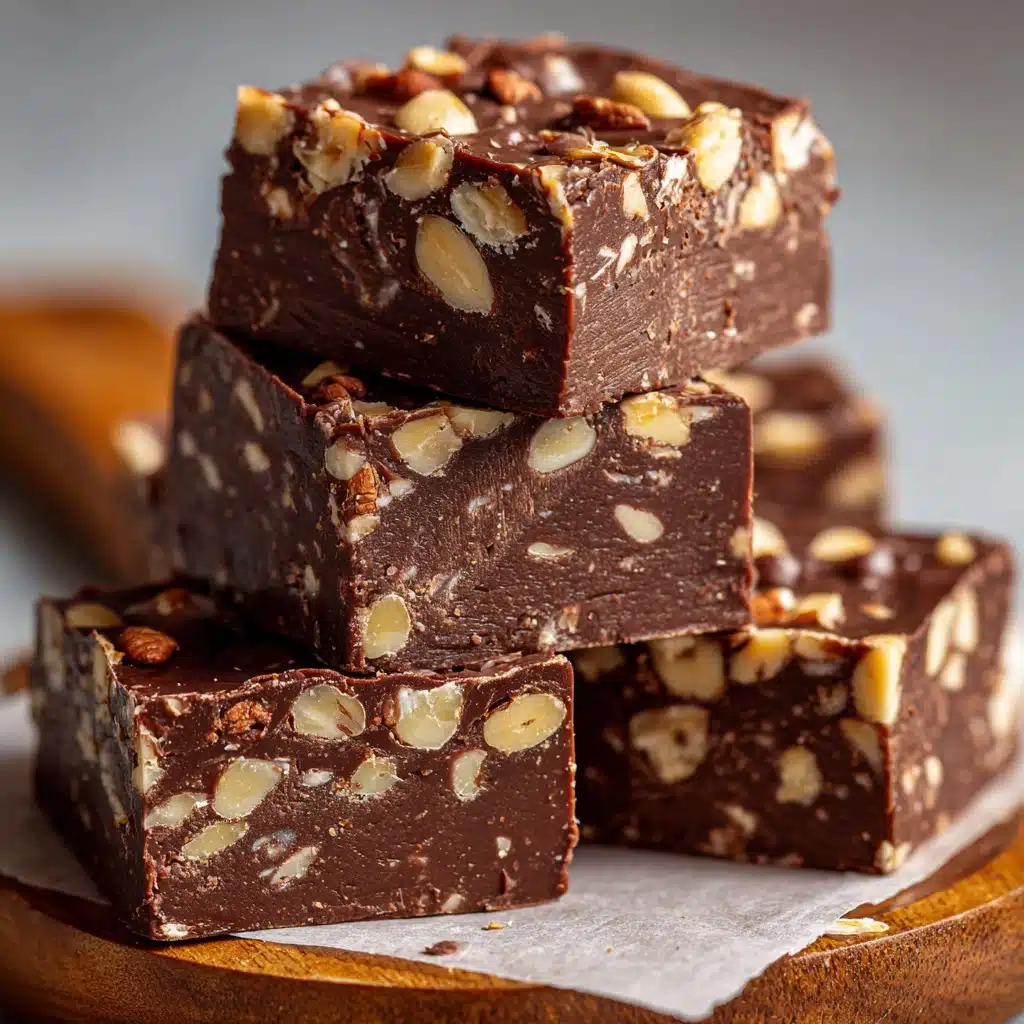
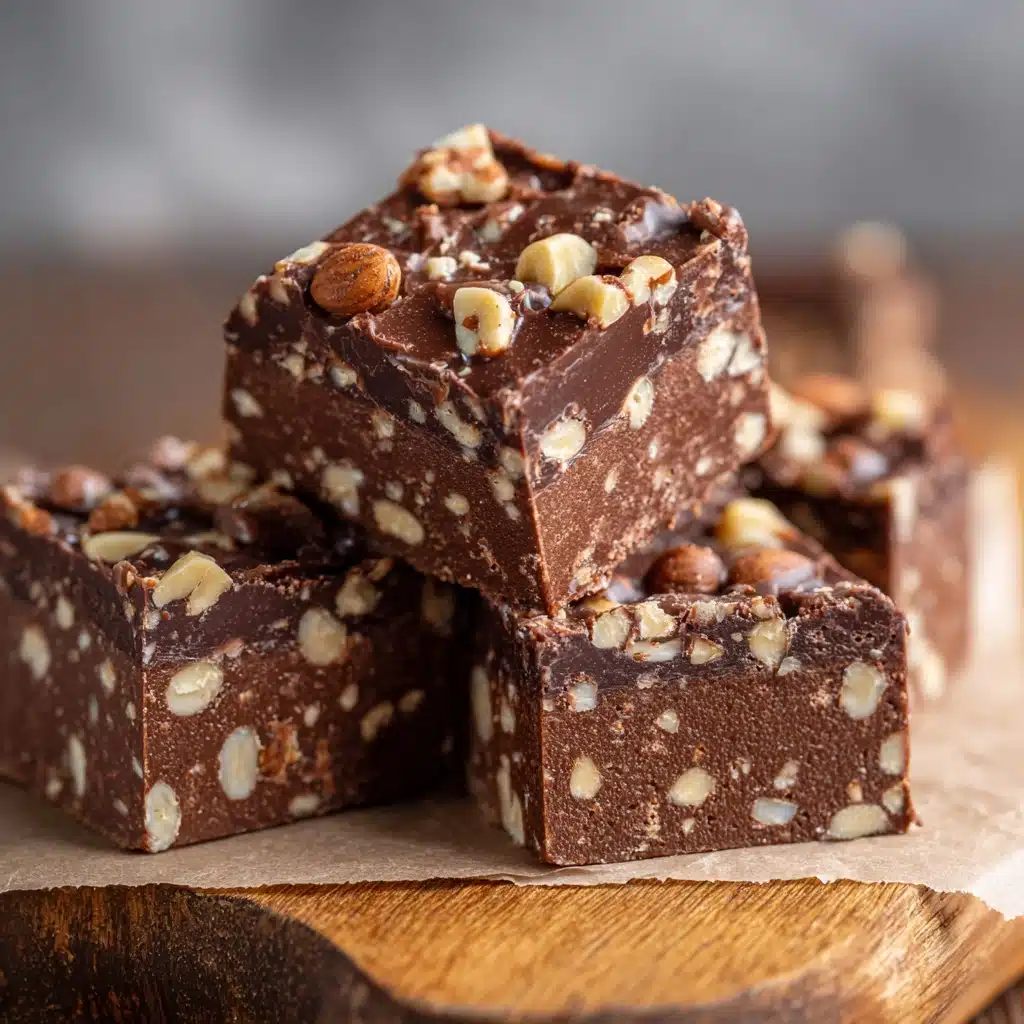
If you’re looking for the ultimate no-bake treat, Chocolate Peanut Butter Crunch Bars are about to become your new obsession. These bars are all about that magical combination of creamy peanut butter and rich chocolate, wrapped up with a crave-worthy crunch from crispy rice cereal. Whether you’re hosting friends, craving a midday pick-me-up, or just want a simple dessert that delivers big on flavor, these bars are the answer. Trust me, once you try them, you’ll want to keep a batch stashed in your fridge at all times!
Ingredients You’ll Need
One of the best things about Chocolate Peanut Butter Crunch Bars is how they transform a handful of pantry staples into something truly irresistible. Each ingredient plays its own delicious role, from providing creamy richness to that essential snap and crunch.
- Creamy Peanut Butter (1 cup): The star of the show for both flavor and binding everything together.
- Honey or Maple Syrup (1/2 cup): Adds just the right amount of natural sweetness and helps the mixture set up.
- Unsalted Butter (1/4 cup): Gives the bars a melt-in-your-mouth texture and rounds out the flavors.
- Crispy Rice Cereal (3 cups): Delivers that signature crunch in every single bite — don’t skip this!
- Semi-Sweet Chocolate Chips (1 1/2 cups): Provides a luscious, chocolatey top layer that pairs perfectly with peanut butter.
- Peanut Butter for Topping Layer (1/2 cup): Blends with chocolate for a creamy, decadent finish on top.
- Salt, optional (1/4 teaspoon): A pinch of salt can really make the chocolate and peanut butter flavors pop — and a little sprinkle on top is delightful!
How to Make Chocolate Peanut Butter Crunch Bars
Step 1: Line Your Pan
Start by lining your 8×8-inch baking dish with parchment paper, making sure some hangs over the sides. This little trick makes it super easy to lift the bars out later, so you get perfect squares every time with zero hassle.
Step 2: Melt and Mix the Base
In a medium saucepan over medium heat, combine 1 cup of peanut butter, your honey or maple syrup, and the unsalted butter. Stir gently as everything melts together, enjoying that incredible aroma. Once the mixture is smooth and glossy, remove it from the heat — you’re ready for the crunch factor!
Step 3: Add the Crunch
Gently fold in the crispy rice cereal, making sure every piece is coated with that dreamy peanut butter mixture. Go slow and use a spatula or large spoon so you don’t crush the cereal too much. This step ensures your Chocolate Peanut Butter Crunch Bars have the perfect bite.
Step 4: Press and Set the Base
Transfer the cereal mixture into your prepared pan. Press it down firmly using a spatula or the back of a spoon. Really pack it in — this helps your bars hold together and gives you those beautifully defined layers.
Step 5: Make the Chocolate Peanut Butter Topping
In a microwave-safe bowl, combine the chocolate chips and the remaining 1/2 cup peanut butter. Microwave in 30-second intervals, stirring each time, until the mixture is completely melted and smooth. Pour this decadent topping over the crunchy base and spread it all the way to the edges for an even layer.
Step 6: Chill and Slice
Pop the pan into the refrigerator and let the bars chill for at least 2 hours, or until they’re firm to the touch. Once set, use the parchment paper to lift the slab out of the pan. Slice into 16 bars and admire those gorgeous layers before digging in!
How to Serve Chocolate Peanut Butter Crunch Bars
Garnishes
Add a sprinkle of flaky sea salt on top just before chilling for a sweet-salty finish that takes these bars over the top. You can also dust with a little cocoa powder or add a drizzle of melted white chocolate for extra flair.
Side Dishes
Serve these bars with a tall glass of cold milk for the classic pairing, or plate them with fresh berries or a scoop of vanilla ice cream to turn snack time into a decadent dessert moment.
Creative Ways to Present
For parties or gifting, cut the bars into smaller squares and stack them in a cellophane bag tied with a ribbon. They also look gorgeous arranged on a platter with a scattering of roasted peanuts or mini chocolate chips for added crunch and color.
Make Ahead and Storage
Storing Leftovers
Chocolate Peanut Butter Crunch Bars keep beautifully in the fridge for up to a week. Store them in an airtight container, layering parchment paper between each layer to prevent sticking and keep the chocolate topping pristine.
Freezing
These bars freeze like a dream! Place them in a single layer on a baking sheet to freeze individually, then transfer to a freezer-safe bag or container. They’ll stay fresh for up to two months and thaw in minutes at room temperature.
Reheating
There’s no real reheating required for these bars, but if you like your chocolate topping a little softer, let a bar sit at room temperature for 10-15 minutes before enjoying. It’ll be perfectly fudgy and just the right amount of gooey!
FAQs
Can I use crunchy peanut butter instead of creamy?
Absolutely! Crunchy peanut butter will add extra texture and little nutty surprises in every bite. Just make sure to stir well so everything combines smoothly.
What can I use instead of crispy rice cereal?
If you want to mix things up, try using cornflakes, puffed rice, or even crushed pretzels for a different crunch and flavor profile.
Are Chocolate Peanut Butter Crunch Bars gluten-free?
They can be! Just make sure your crispy rice cereal is labeled gluten-free, as some brands contain malt flavoring. All the other ingredients are naturally gluten-free.
Can I make these dairy-free?
Yes! Swap the butter for a plant-based alternative and use dairy-free chocolate chips. These bars are super adaptable and still taste amazing without dairy.
How long do Chocolate Peanut Butter Crunch Bars last?
Stored in the refrigerator, these bars will stay fresh for up to a week. For longer storage, pop them in the freezer and enjoy whenever you need a sweet treat.
Final Thoughts
If you’re looking for a treat that’s impossibly easy, irresistibly delicious, and always a crowd-pleaser, you have to give Chocolate Peanut Butter Crunch Bars a try. They’re the kind of dessert you’ll come back to again and again — so grab your ingredients and get ready to share (or not!) this crunchy, chocolatey delight.
Print
Chocolate Peanut Butter Crunch Bars Recipe
- Total Time: 2 hours 15 minutes (including chilling time)
- Yield: 16 bars 1x
- Diet: Vegetarian
Description
Deliciously rich and crunchy no-bake Chocolate Peanut Butter Crunch Bars combining creamy peanut butter, crispy rice cereal, and a smooth chocolate topping. Perfect for a quick and easy dessert or snack that balances sweet and salty flavors.
Ingredients
Base Layer
- 1 cup creamy peanut butter
- 1/2 cup honey or maple syrup
- 1/4 cup unsalted butter
- 3 cups crispy rice cereal
- 1/4 teaspoon salt (optional)
Topping
- 1 1/2 cups semi-sweet chocolate chips
- 1/2 cup peanut butter (for topping layer)
Instructions
- Prepare the Baking Dish: Line an 8×8-inch baking dish with parchment paper to prevent sticking and for easy removal of the bars later.
- Make the Base Mixture: In a medium saucepan over medium heat, combine 1 cup of peanut butter, honey (or maple syrup), and unsalted butter. Stir continuously until the mixture is fully melted and smooth, ensuring all ingredients are well incorporated.
- Combine with Cereal: Remove the saucepan from heat and gently fold in the crispy rice cereal (and salt if using) until the cereal is evenly coated with the peanut butter mixture.
- Press into Dish: Transfer the mixture into the prepared baking dish and press firmly and evenly using a spatula or the back of a spoon to form a compact base layer.
- Prepare Chocolate Topping: In a microwave-safe bowl, combine the semi-sweet chocolate chips and remaining 1/2 cup peanut butter. Microwave in 30-second intervals, stirring well between each, until melted and smooth.
- Spread Topping: Pour the melted chocolate and peanut butter mixture over the cereal base. Use a spatula to spread it evenly across the surface.
- Chill: Refrigerate the pan for at least 2 hours or until the bars are firm and set.
- Slice and Serve: Once firm, lift the bars out of the pan using the parchment paper edges and slice into 16 bars. Enjoy!
Notes
- Store the bars in the refrigerator for up to 1 week to maintain freshness.
- For longer storage, freeze the bars and thaw before serving.
- Add a sprinkle of sea salt on top of the chocolate layer before chilling for an enhanced sweet and salty contrast.
- Prep Time: 10 minutes
- Cook Time: 5 minutes
- Category: Dessert
- Method: No-Bake
- Cuisine: American
Nutrition
- Serving Size: 1 bar
- Calories: 210
- Sugar: 14g
- Sodium: 90mg
- Fat: 13g
- Saturated Fat: 5g
- Unsaturated Fat: 7g
- Trans Fat: 0g
- Carbohydrates: 20g
- Fiber: 1g
- Protein: 4g
- Cholesterol: 5mg
