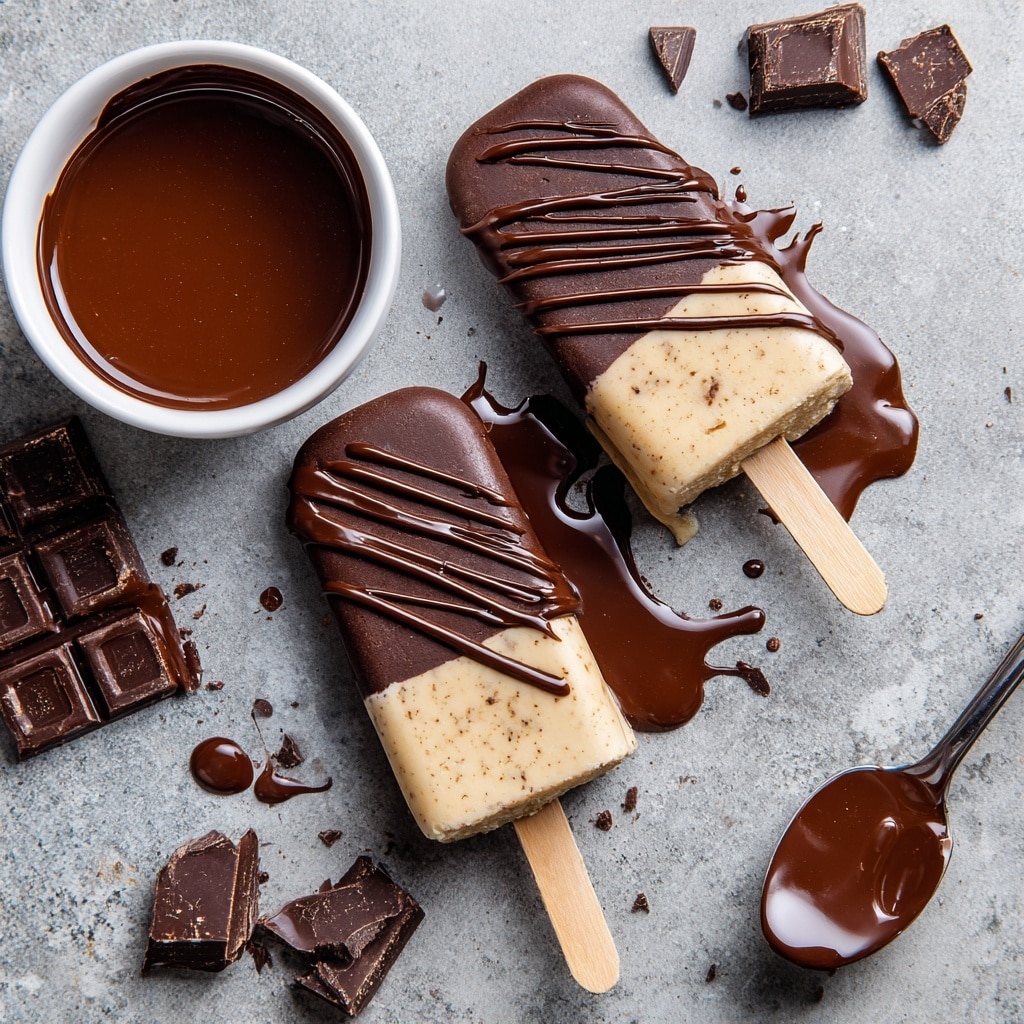
If you have a sweet tooth and love the creamy richness of frozen treats, you are going to fall head over heels for this Chocolate Ice Cream Bars Recipe. Imagine the perfect harmony of silky smooth homemade chocolate ice cream encased in a luscious chocolate shell that you can personalize with your favorite toppings. It’s the kind of dessert that brings a smile to your face with every bite, whether you’re cooling off on a hot day or indulging in a cozy nightcap. This recipe combines simple ingredients in a way that feels truly luxurious and surprisingly satisfying, making it a must-try for anyone who appreciates a deliciously elegant frozen dessert.
Ingredients You’ll Need
Gathering fresh, straightforward ingredients is the key to nailing this Chocolate Ice Cream Bars Recipe. Each one plays an essential role—from the rich creaminess of the dairy to the deep, intense taste of cocoa powder and chocolate. Together, they create texture and flavor that will delight your senses.
- 2 cups heavy cream: This adds rich, smooth creaminess for the perfect ice cream texture.
- 1 cup whole milk: Balances the cream with a lighter dairy touch to keep it scoopable.
- 3/4 cup granulated sugar: Sweetens the mixture just right without overpowering the chocolate.
- 1/2 cup unsweetened cocoa powder: Essential for that deep, intense chocolate flavor.
- 1 teaspoon vanilla extract: Enhances the chocolate with a warm, aromatic note.
- 1/2 teaspoon salt: A pinch to elevate and balance all flavors.
- 8 ounces semi-sweet or dark chocolate (chopped): For the irresistible chocolate coating on the bars.
- 2 tablespoons coconut oil: Helps the chocolate coating set with a nice sheen and texture.
- Optional toppings (crushed nuts, sprinkles, or sea salt): Adds texture and an extra flavor punch.
How to Make Chocolate Ice Cream Bars Recipe
Step 1: Prepare the Chocolate Ice Cream Base
In a medium saucepan, combine heavy cream, whole milk, sugar, unsweetened cocoa powder, vanilla extract, and salt. Whisk the mixture gently over medium heat until everything blends together smoothly and the sugar dissolves completely. This usually takes about 5 minutes and smells heavenly as the chocolate aroma starts to fill your kitchen. Then, remove the pan from heat and let the mixture cool just enough so you can handle it without burning yourself.
Step 2: Freeze the Ice Cream Mixture
Pour the slightly cooled chocolate mixture into popsicle molds, making sure not to overfill. Insert the sticks in place, then pop the molds into your freezer. Allow the mixture to freeze for at least 6 hours or overnight so it becomes solid and perfectly creamy. This hands-off step is where the magic happens!
Step 3: Make the Chocolate Coating
Once the ice cream bars are frozen solid, it’s time for the fun part—melting your chopped chocolate and coconut oil. You can do this over a double boiler on the stove or in short bursts in the microwave, stirring often to prevent burning. The coconut oil not only makes the melt smooth but also ensures your chocolate shell will harden beautifully with a perfect shine.
Step 4: Coat the Ice Cream Bars
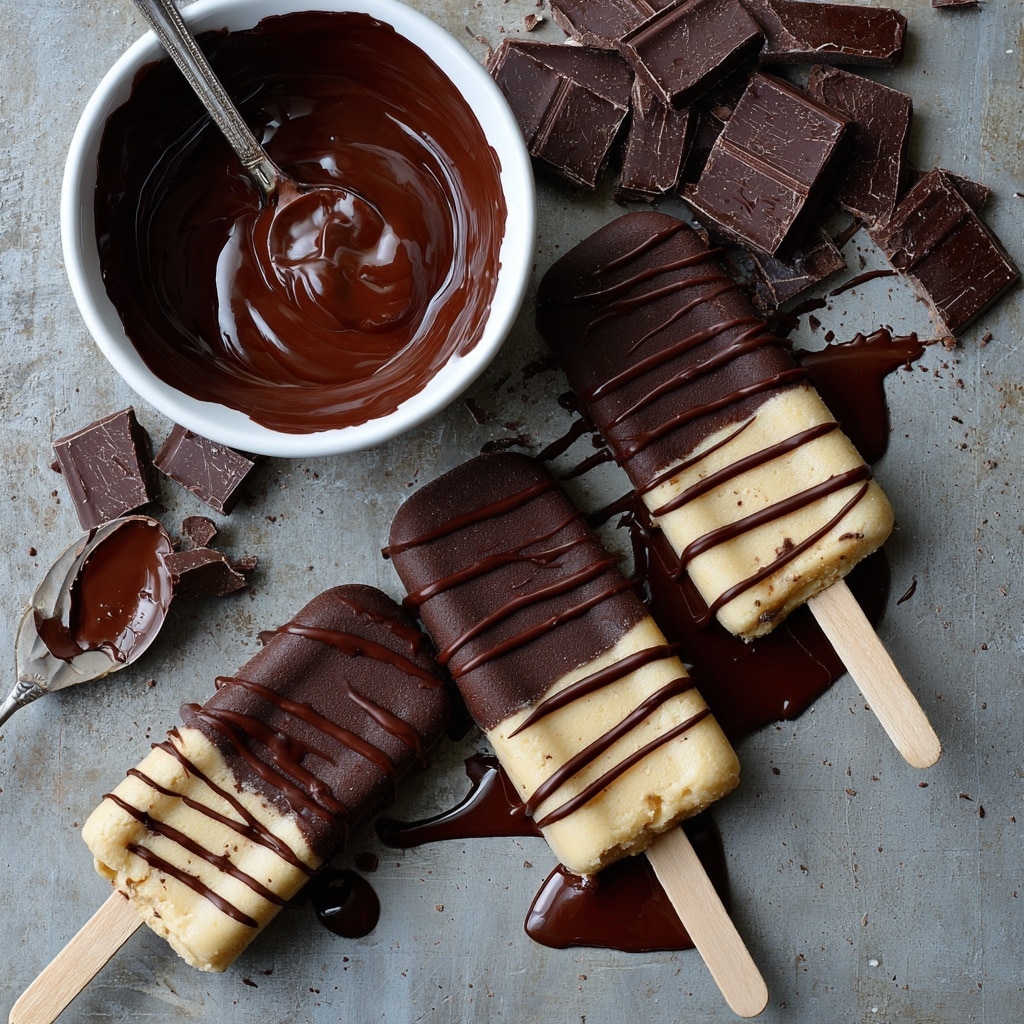
Take the frozen bars out of their molds by running warm water over the outside for a few seconds—this helps release them easily without melting the ice cream. Quickly dip each bar in the melted chocolate, letting the excess drip off before rolling them in your choice of optional toppings like crushed nuts, sprinkles, or a sprinkle of sea salt for extra flair. Place the coated bars on a parchment-lined tray and pop them back into the freezer for about 10 minutes to firm up the coating before serving.
How to Serve Chocolate Ice Cream Bars Recipe
Garnishes
Adding garnishes to your Chocolate Ice Cream Bars Recipe is where you can really make it your own. Crushed nuts add a wonderful crunch and nutty flavor that pairs gorgeously with chocolate. Sprinkles bring a fun, colorful touch perfect for parties, while flaky sea salt can enhance the chocolate’s richness with a salty contrast that will have your taste buds dancing.
Side Dishes
While these bars are great on their own, consider pairing them with fresh berries or a drizzle of warm caramel sauce to add complementary flavors and textures. A small cup of espresso or a chilled glass of milk makes for wonderful beverage companions, turning your dessert into an experience that feels indulgent and balanced.
Creative Ways to Present
Impress your guests by serving your Chocolate Ice Cream Bars Recipe on a rustic wooden board with an artful scatter of edible flowers or mint leaves. Alternatively, arrange them in a decorative bowl filled with crushed ice for an elegant summer dessert display. Wrapping each bar in parchment paper tied with a pretty ribbon makes them perfect for gifting or special occasions.
Make Ahead and Storage
Storing Leftovers
If you happen to have leftovers, store the bars in an airtight container lined with parchment paper to avoid sticking. Keep them in the coldest part of your freezer for the best texture and flavor retention. When you’re ready for a sweet treat, just pull them out and enjoy!
Freezing
You can make this recipe well in advance since the bars freeze beautifully. Just remember to wrap them individually or separate layers with parchment paper, so they don’t clump together and lose their shape or coating. Freezing also gives more time for the flavors to meld, making each bite even more delicious.
Reheating
Since these are frozen treats, reheating is not necessary or recommended. Plan to serve them straight from the freezer for that perfect balance of cold creaminess and crisp chocolate shell. If you want slightly softer bars, let them sit at room temperature for a few minutes before enjoying.
FAQs
Can I make these bars dairy-free?
Absolutely! You can substitute full-fat coconut milk for the heavy cream and whole milk to create a creamy, dairy-free version of the Chocolate Ice Cream Bars Recipe without sacrificing flavor or texture.
What chocolate works best for the coating?
Semi-sweet or dark chocolate is ideal for the coating because of its rich flavor and firmness once set. Adding coconut oil ensures a glossy finish and smooth dipping experience.
How long do these bars last in the freezer?
Properly stored in an airtight container, these ice cream bars will stay fresh and delicious for up to two weeks.
Can I add mix-ins to the ice cream base?
Yes! If you want to get creative, swirl in peanut butter, caramel, or crushed cookies before freezing for added layers of flavor and texture in your Chocolate Ice Cream Bars Recipe.
Do I need special molds for this recipe?
While popsicle molds make the process easiest, you can use any small container or silicone molds that allow you to insert sticks and freeze the ice cream mixture evenly.
Final Thoughts
This Chocolate Ice Cream Bars Recipe is a delightful way to enjoy homemade frozen chocolate goodness that’s both simple and satisfying. Whether you’re treating yourself after a busy day or sharing with friends and family, these bars bring joy and a touch of indulgence with every bite. I can’t wait for you to try making them and experience how this easy recipe quickly becomes a favorite in your dessert rotation!
Print
Chocolate Ice Cream Bars Recipe
- Total Time: 6 hours 20 minutes
- Yield: 8 bars 1x
- Diet: Vegetarian
Description
Delicious homemade Chocolate Ice Cream Bars made with rich cocoa and creamy dairy, coated in a smooth chocolate shell. Perfect for a refreshing summer treat with customizable toppings.
Ingredients
Ice Cream Base
- 2 cups heavy cream
- 1 cup whole milk
- 3/4 cup granulated sugar
- 1/2 cup unsweetened cocoa powder
- 1 teaspoon vanilla extract
- 1/2 teaspoon salt
Chocolate Coating
- 8 ounces semi-sweet or dark chocolate, chopped
- 2 tablespoons coconut oil
Optional Toppings
- Crushed nuts
- Sprinkles
- Sea salt
Instructions
- Prepare Ice Cream Mixture: In a medium saucepan, combine heavy cream, whole milk, granulated sugar, unsweetened cocoa powder, vanilla extract, and salt. Whisk over medium heat until the mixture is smooth and the sugar is fully dissolved, about 5 minutes. Remove from heat and let cool slightly.
- Freeze Ice Cream Bars: Pour the cooled chocolate mixture into popsicle molds and insert sticks. Freeze for at least 6 hours or overnight until solid.
- Make Chocolate Coating: Melt the chopped chocolate and coconut oil together in a heatproof bowl placed over a saucepan of simmering water or in the microwave in short bursts, stirring until smooth.
- Coat Ice Cream Bars: Remove the frozen bars from molds by running warm water over the outside of the molds for a few seconds. Quickly dip each ice cream bar into the melted chocolate, allowing excess to drip off.
- Add Toppings & Set: Immediately sprinkle optional crushed nuts, sprinkles, or sea salt on the coated bars before the chocolate sets. Place bars on a parchment-lined tray and freeze for 10 minutes to firm up the chocolate coating.
- Serve: Enjoy your chocolate ice cream bars chilled right after the final freeze.
Notes
- For a dairy-free version, substitute full-fat coconut milk for the cream and milk.
- Swirl in peanut butter, caramel, or crushed cookies before freezing for added flavor.
- Use high-quality chocolate for a richer coating.
- Store bars in an airtight container in the freezer to prevent ice crystals.
- Prep Time: 15 minutes
- Cook Time: 5 minutes
- Category: Dessert
- Method: Freezing
- Cuisine: American
