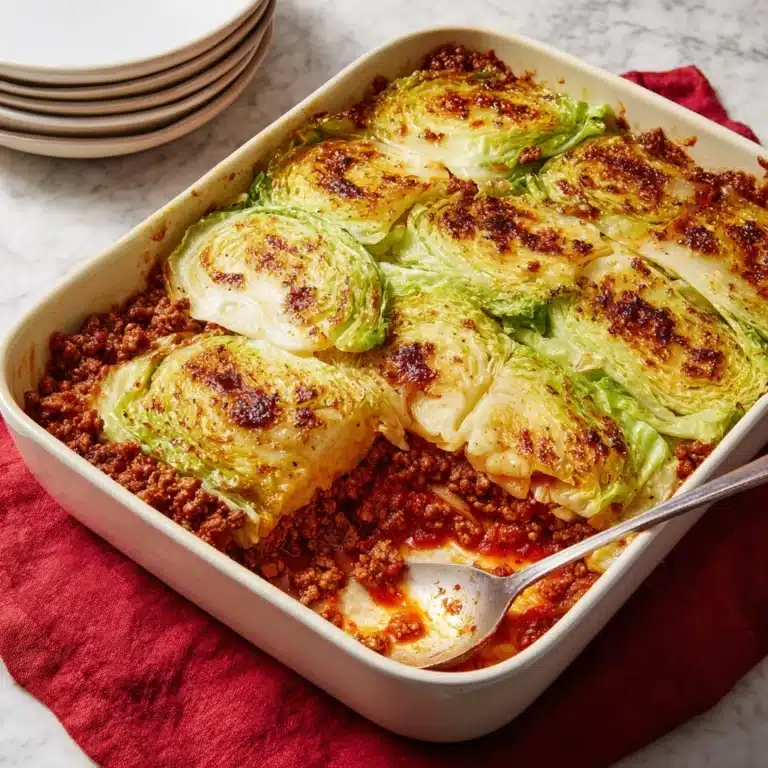
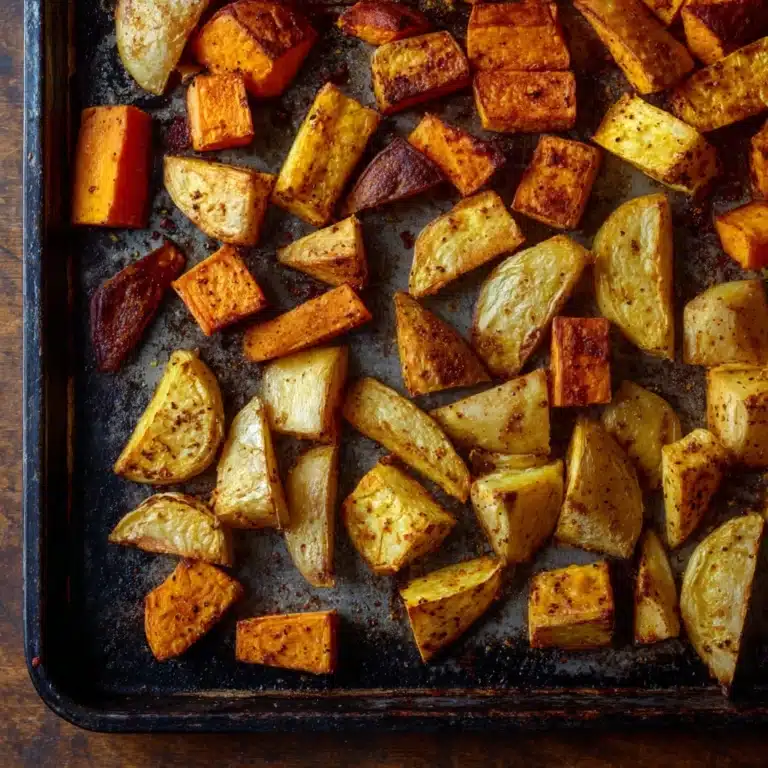
If you are craving a dish that brings together golden, crunchy goodness and bold, tangy flavors, you have to try this Crispy Caesar Chicken Breasts Recipe. It transforms simple chicken breasts into a delightful entree layered with creamy Caesar dressing, sharp Parmesan, and a perfectly crisp panko crust that will have everyone asking for seconds. Whether you’re cooking for a weeknight dinner or your next gathering, this recipe is pure joy on a plate and surprisingly easy to master.
Ingredients You’ll Need
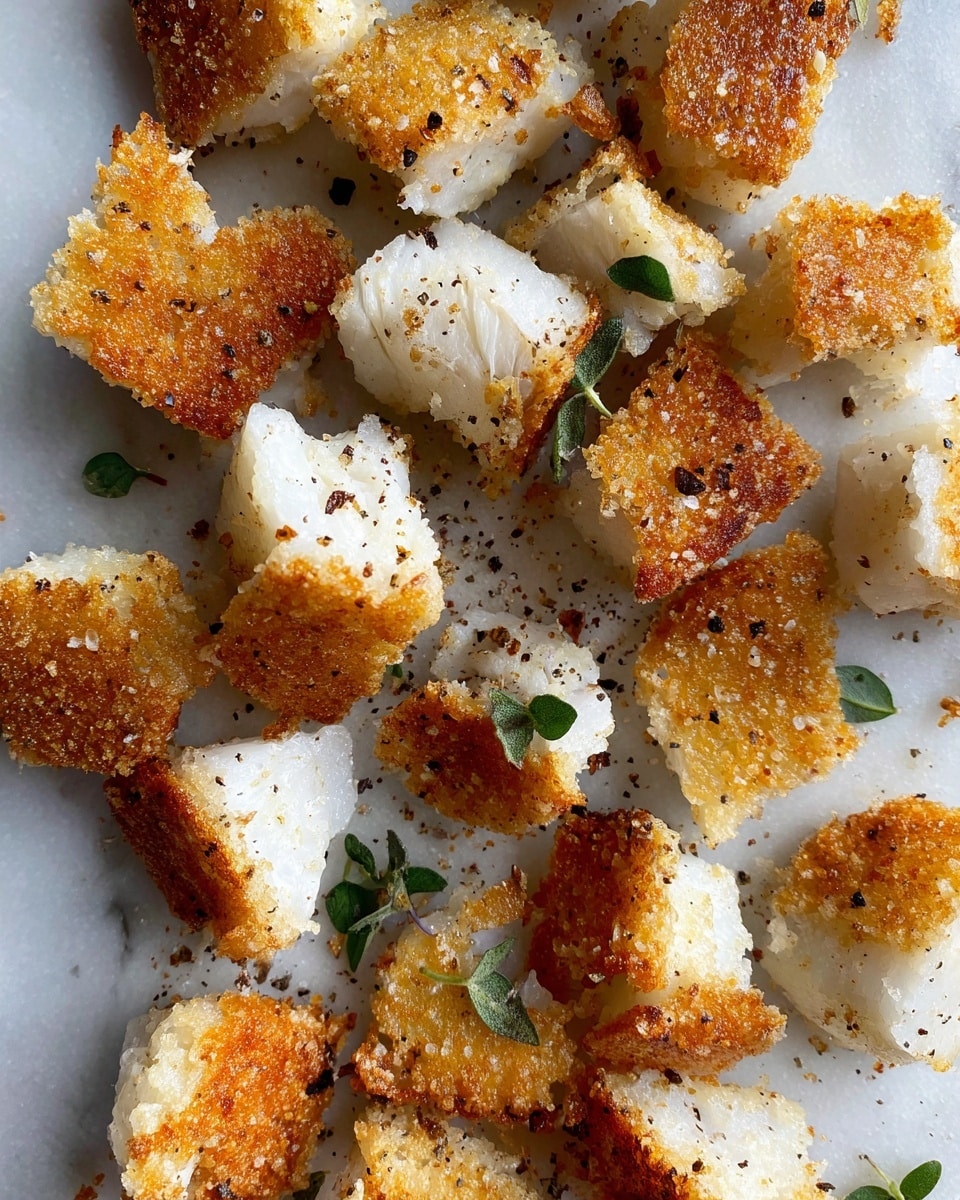
Gathering the right ingredients for this Crispy Caesar Chicken Breasts Recipe is straightforward, and each element plays a crucial role. From the creamy dressing that adds tang, to the panko for that irresistible crunch, every bite is a balanced fusion of taste and texture.
- 4 boneless, skinless chicken breasts: The star of the dish, lean and perfect for a crispy crust.
- 1/2 cup Caesar dressing: Provides flavor and moisture, helping the coating stick beautifully.
- 1/4 cup Parmesan cheese, grated: Adds sharp, savory depth that complements both chicken and breadcrumbs.
- 1 cup panko breadcrumbs: The secret to that light, airy crunch that makes this recipe stand out.
- 1 teaspoon garlic powder: A subtle kick that enhances the overall seasoning.
- 1 tablespoon olive oil: Drizzled on top to encourage golden crispiness during baking.
- Zest of 1 lemon (optional): A fresh citrus touch that brightens up the rich flavors.
How to Make Crispy Caesar Chicken Breasts Recipe
Step 1: Preheat the Oven
Start by preheating your oven to 400°F (200°C). This temperature is key for baking your chicken so that the crust becomes perfectly golden and crispy while the meat inside stays juicy. Line a baking sheet with parchment paper or lightly grease it to prevent sticking and make cleanup a breeze.
Step 2: Prepare the Chicken
Pat your chicken breasts dry using paper towels. This simple step is essential because it ensures the coating adheres well instead of sliding off. Dry chicken also helps the crust toast evenly and stay crunchy after baking.
Step 3: Coat the Chicken
In a shallow dish, mix the Caesar dressing and garlic powder together. This savory mix will be your flavorful glue. Dip each chicken breast into this dressing, making sure it’s fully coated. Next, dredge the chicken in the panko breadcrumbs combined with grated Parmesan. Press gently on both sides so that an even, thick crust forms that will bake to crispy perfection.
Step 4: Add Olive Oil
Arrange the coated chicken breasts on the baking sheet. Drizzle olive oil evenly over the top of each piece. This little drizzle helps the crust brown beautifully, creating that mouthwatering crunch you’re aiming for in this Crispy Caesar Chicken Breasts Recipe.
Step 5: Bake the Chicken
Bake your chicken in the oven for 25 to 30 minutes, or until the internal temperature reaches 165°F (74°C). Keep an eye on the coating; you want it to be a rich golden color and crispy to the bite. This baking time ensures juicy chicken inside while giving you the signature crunch on the outside.
Step 6: Optional Lemon Zest
Right before serving, sprinkle a little lemon zest over the chicken to add a fresh, citrusy twist. This step cuts through the richness of the Caesar flavors and adds a burst of brightness that elevates the entire dish.
How to Serve Crispy Caesar Chicken Breasts Recipe
Garnishes
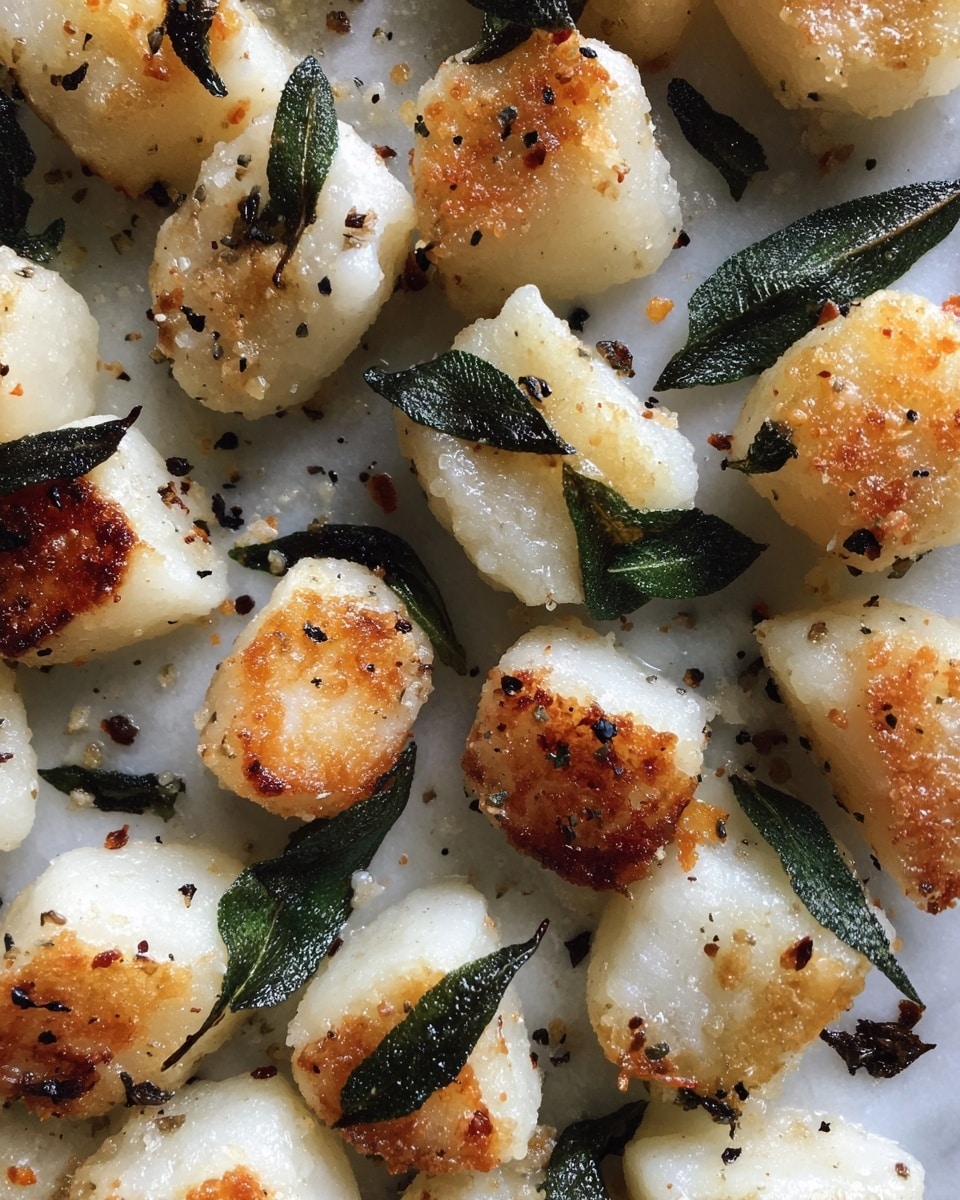
Simple garnishes can make your Crispy Caesar Chicken Breasts Recipe shine even more. Try fresh parsley or basil leaves for a pop of green and an herbaceous note. A sprinkle of extra Parmesan brings more salty richness up front, while freshly cracked black pepper adds a little kick.
Side Dishes
This chicken pairs beautifully with a variety of sides. A crisp Caesar salad keeps the theme going, while roasted vegetables like asparagus or Brussels sprouts add earthiness and color. If you’re in the mood for something heartier, creamy mashed potatoes or a light pasta tossed in olive oil and garlic complement the crunch and flavors wonderfully.
Creative Ways to Present
Want to impress your guests? Slice the chicken breasts on the diagonal and fan them out over a bed of mixed greens or herbed quinoa. Serving the chicken atop a dressed salad with croutons can turn this recipe into an elegant low-carb meal. For a casual twist, stack it on toasted ciabatta with fresh Romaine and a drizzle of extra Caesar dressing for a phenomenal sandwich.
Make Ahead and Storage
Storing Leftovers
If you have any crispy chicken breasts left, let them cool completely before placing them in an airtight container. Stored in the refrigerator, they will stay good for up to 3 days without losing too much crispness.
Freezing
This Crispy Caesar Chicken Breasts Recipe can be frozen, but for best texture, freeze the chicken before baking. Wrap each coated breast tightly in plastic wrap and then foil or place in a freezer bag. They’ll keep well up to 2 months. When ready, bake straight from frozen, adding extra cooking time as needed.
Reheating
To revive the crunch, the best way to reheat your chicken is in a preheated oven at 375°F (190°C) for 10 to 15 minutes. Avoid microwaving if possible, as it can make the coating soggy and disappoint your crispy cravings.
FAQs
Can I use chicken thighs instead of breasts?
Absolutely! Chicken thighs offer more fat and flavor, and the Crispy Caesar Chicken Breasts Recipe works well with boneless, skinless thighs too. Just adjust the baking time slightly to ensure they are cooked through but still juicy.
What if I don’t have panko breadcrumbs?
You can use regular breadcrumbs in a pinch, but panko is preferred for its light, flaky texture that crisps up beautifully. If needed, you can also pulse some crackers or toasted bread in a food processor to create a similar effect.
Is the lemon zest really necessary?
The lemon zest is optional but highly recommended. It adds a refreshing brightness that complements the creamy Caesar and crispy coating, taking the flavors to the next level.
Can I make this recipe dairy-free?
To make it dairy-free, substitute the Parmesan cheese with a plant-based alternative and use a dairy-free Caesar dressing. The texture might vary slightly, but it will still be delicious and crispy.
How do I know when the chicken is cooked perfectly?
The best way is to use a meat thermometer and ensure the internal temperature reaches 165°F (74°C). This guarantees juicy, safe-to-eat chicken every time without guesswork.
Final Thoughts
I can’t recommend the Crispy Caesar Chicken Breasts Recipe enough—it’s a total game changer when you want something easy but impressive. The crispy, cheesy crust combined with the tangy Caesar dressing is downright addicting. Make it soon, and prepare for lots of compliments around your table. Trust me, this will become one of those favorite go-to dishes you’ll want to make again and again.
Print
Crispy Caesar Chicken Breasts Recipe
- Total Time: 40 minutes
- Yield: 4 servings 1x
- Diet: Low Fat
Description
Crispy Caesar Chicken Breasts are tender, juicy chicken breasts coated with a flavorful blend of Caesar dressing, garlic powder, Parmesan cheese, and crunchy panko breadcrumbs, then oven-baked to golden perfection. This easy-to-make recipe delivers a delightful combination of creamy, tangy, and crispy textures, perfect for a quick weeknight dinner or entertaining guests.
Ingredients
Chicken
- 4 boneless, skinless chicken breasts
Coating
- 1/2 cup Caesar dressing
- 1 teaspoon garlic powder
- 1 cup panko breadcrumbs
- 1/4 cup Parmesan cheese, grated
Additional
- 1 tablespoon olive oil
- Zest of 1 lemon (optional, for a fresh citrusy note)
Instructions
- Preheat the Oven: Preheat your oven to 400°F (200°C). Line a baking sheet with parchment paper or lightly grease it to prevent sticking and ensure easy cleanup.
- Prepare the Chicken: Pat the chicken breasts dry using paper towels. Removing excess moisture helps the coating adhere better and results in a crispier crust.
- Coat the Chicken: In a shallow dish, mix the Caesar dressing with garlic powder. Dip each chicken breast into this mixture, ensuring full, even coverage. Then dip the chicken into a separate mixture of panko breadcrumbs combined with grated Parmesan cheese, pressing gently to firmly coat both sides.
- Add Olive Oil: Arrange the coated chicken breasts on the prepared baking sheet. Drizzle olive oil evenly over the top of the chicken to promote browning and crispiness during baking.
- Bake the Chicken: Place the baking sheet in the preheated oven and bake for 25-30 minutes, or until the chicken reaches an internal temperature of 165°F (74°C) and the coating is golden brown and crispy.
- Optional Lemon Zest: Just before serving, sprinkle the chicken with fresh lemon zest to add a bright, citrusy flavor that enhances the rich Caesar and cheese notes.
- Serve: Serve your crispy Caesar chicken breasts alongside steamed vegetables, pasta, or a fresh green salad for a complete, satisfying meal.
Notes
- For extra crispiness, use panko breadcrumbs as they provide a lighter, crunchier texture.
- You can substitute Caesar dressing with a homemade version for a fresher taste.
- Ensure chicken breasts are uniform in thickness for even cooking; you may pound thicker breasts if needed.
- Lemon zest is optional but adds a nice touch of brightness to balance the richness.
- Leftovers can be refrigerated for up to 3 days and reheated in the oven to maintain crispiness.
- Prep Time: 10 minutes
- Cook Time: 25-30 minutes
- Category: Main Course
- Method: Baking
- Cuisine: American
