If you have a sweet tooth that craves a crunchy, creamy, and chocolatey delight, you absolutely need to try this Butterfinger Balls Recipe. These bite-sized treats bring together the irresistible crunch of crushed Butterfinger candy bars, smooth peanut butter, and creamy cream cheese — all enveloped in a luscious chocolate coating. Whether you’re planning a party, looking for a homemade treat, or just want to spoil yourself, these Butterfinger Balls are guaranteed to hit the spot with their perfect balance of flavors and textures.
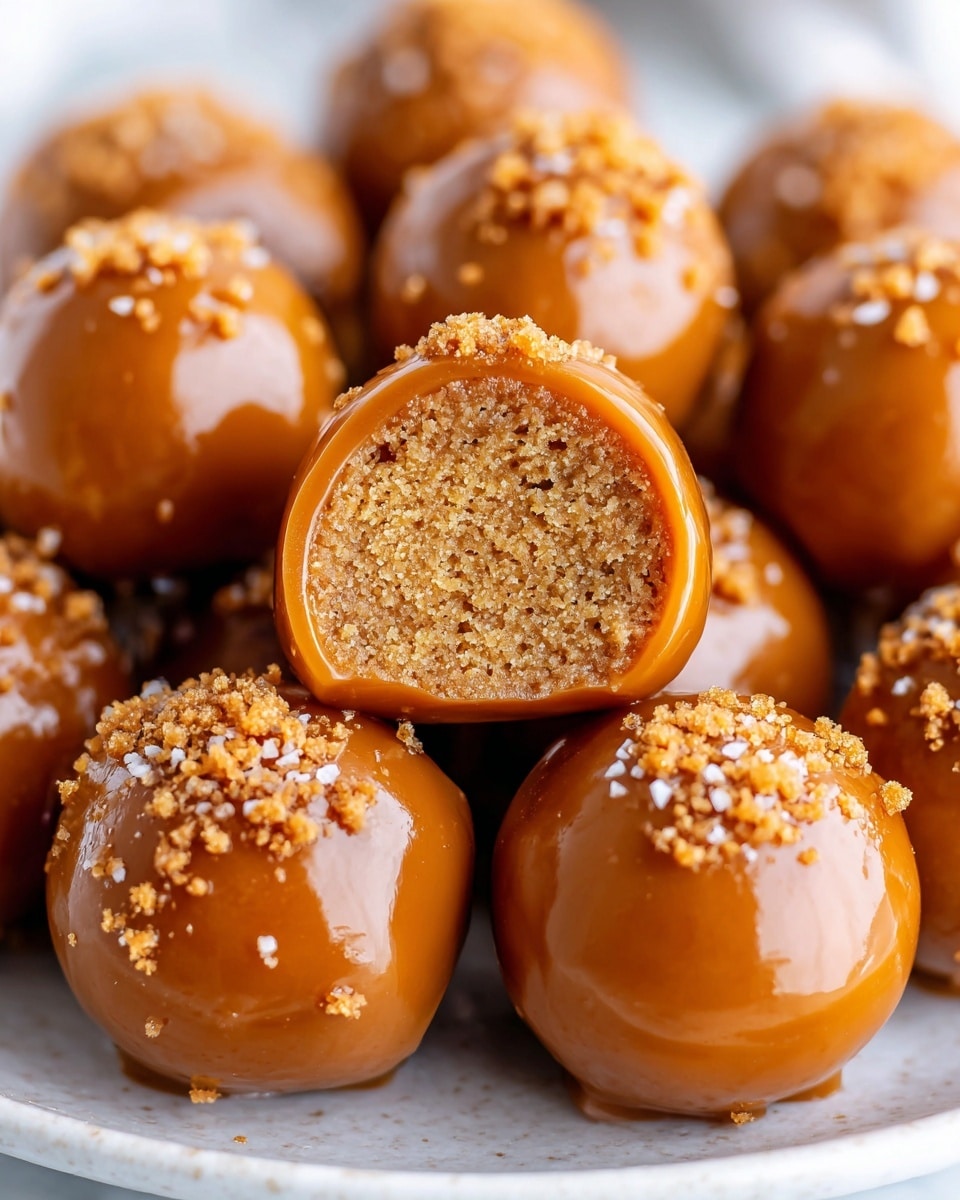
Ingredients You’ll Need
Getting started on this Butterfinger Balls Recipe is as easy as gathering a handful of simple, everyday ingredients. Each plays a crucial role, from adding sweetness and crunch to providing that velvety smoothness that makes every bite unforgettable.
- 2 cups crushed Butterfinger candy bars: These deliver the signature crunch and butterscotch flavor that define the recipe.
- 8 oz. cream cheese, softened: Adds creamy richness and helps bind the mixture smoothly.
- 2 cups semi-sweet chocolate chips: Perfect for coating the balls in a luscious chocolate shell.
- 1 tablespoon vegetable shortening (optional): Helps melt the chocolate to a silky, pourable consistency for dipping.
- 1 cup powdered sugar: Sweetens the mix and balances the salty peanut butter.
- 1 cup graham cracker crumbs: Provides a subtle texture and complements the candy pieces.
- 1/2 cup melted butter: Adds moisture and richness, binding everything together.
- 1 cup peanut butter: Brings that nutty depth that pairs wonderfully with Butterfinger’s flavor.
- Additional crushed Butterfinger pieces: For decoration and extra crunch on top.
- Chocolate sprinkles: Optional, but a fun and festive touch for presentation.
How to Make Butterfinger Balls Recipe
Step 1: Prepare the Mixture
Start by grabbing a large mixing bowl and combine the powdered sugar, graham cracker crumbs, crushed Butterfinger pieces, melted butter, and creamy peanut butter. Mix everything thoroughly so that the ingredients blend into a uniform, slightly sticky mixture — this is the flavor powerhouse of your Butterfinger Balls.
Step 2: Form the Balls
Once your mixture is ready, scoop it out and shape it into 1-inch balls with your hands. Try to keep them fairly even in size for consistent bite-sized treats. Place each ball onto a baking sheet lined with parchment paper to keep things tidy and easy to handle.
Step 3: Chill
Pop the baking sheet into the refrigerator for about 30 minutes. This chilling step firms up the balls, making them easier to dip without falling apart. Plus, it helps the flavors meld together beautifully.
Step 4: Melt the Chocolate
While the balls chill, melt your semi-sweet chocolate chips in a microwave-safe bowl. If you want that ultra-smooth finish perfect for dipping, stir in a tablespoon of vegetable shortening before melting. Heat the chocolate in 30-second intervals, stirring in between to prevent burning, until beautifully melted and silky.
Step 5: Dip the Balls
Take your chilled Butterfinger balls out of the fridge. Using a fork, carefully dip each ball into the melted chocolate, making sure it’s fully coated. Give it a moment to let any excess chocolate drip away, then place it back on the parchment-lined sheet.
Step 6: Set and Decorate
Before the chocolate sets, sprinkle extra crushed Butterfinger pieces or chocolate sprinkles on top to add a pop of texture and make each one look as good as it tastes. This step makes the Butterfinger Balls feel extra special, perfect for sharing.
Step 7: Allow to Set
Let the chocolate-coated balls sit out at room temperature until the chocolate hardens. If you’re impatient like me, refrigerate them for about 15 minutes to speed up the process. Once set, your Butterfinger Balls are ready to enjoy or pack away!
How to Serve Butterfinger Balls Recipe
Garnishes
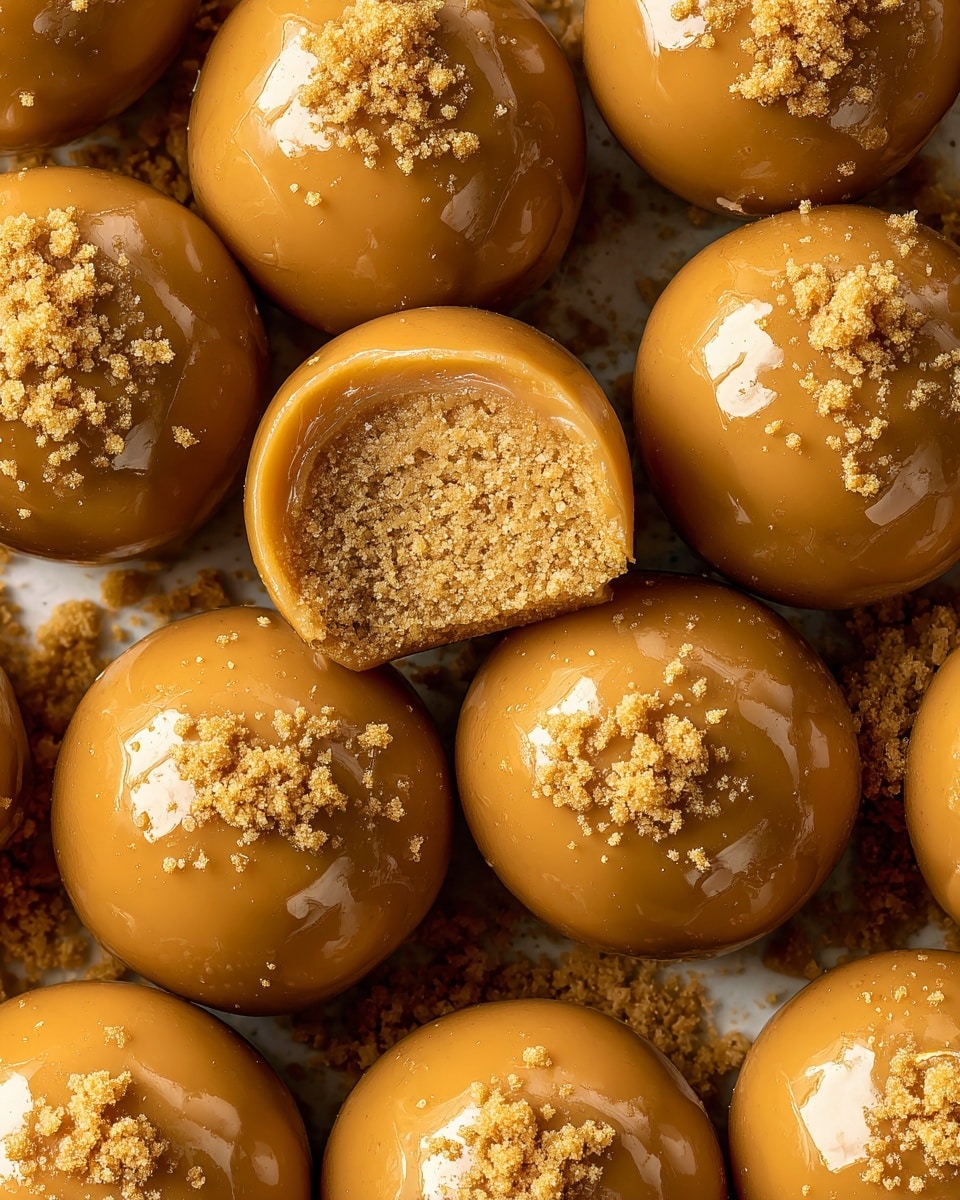
For a little extra sparkle and flavor, top your Butterfinger Balls with finely crushed Butterfinger pieces or a sprinkle of colorful chocolate sprinkles. You can even add a tiny drizzle of white chocolate for a fancy finish that’s sure to impress.
Side Dishes
These decadent Butterfinger Balls shine as a standalone sweet, but they also pair delightfully with a cup of rich coffee or a glass of cold milk. For an indulgent dessert platter, serve alongside fresh berries or vanilla ice cream to balance the richness.
Creative Ways to Present
Get creative by arranging the Butterfinger Balls in mini cupcake liners or on a decorative serving plate topped with edible flowers or mint leaves. They also make eye-catching party favors when wrapped individually in cellophane tied with colorful ribbon.
Make Ahead and Storage
Storing Leftovers
Keep any leftover Butterfinger Balls in an airtight container in the refrigerator. They’ll stay fresh and delicious for up to a week, making them a perfect make-ahead treat for unexpected guests or a quick snack anytime.
Freezing
If you want to stretch out the joy, these treats freeze beautifully. Place them in a single layer on a baking sheet, freeze until firm, then transfer to a sealed freezer-safe container. They’ll keep for up to 3 months and thaw quickly when you’re ready.
Reheating
Butterfinger Balls are best enjoyed chilled or at room temperature, so no need for reheating. If the chocolate shell loses its crunch after thawing, simply let them rest at room temperature for 15 minutes to regain their perfect texture.
FAQs
Can I use regular-sized Butterfinger bars instead of fun-sized?
Absolutely! Just crush the bars and measure out 2 cups to match the recipe. The fun-sized bars are just convenient, but the flavor and texture stay the same.
Is there a substitute for vegetable shortening?
If you prefer not to use shortening, you can melt the chocolate alone, but the shortening does help make the chocolate smoother for dipping. Coconut oil can be a good alternative in the same amount.
Can I make the Butterfinger Balls dairy-free?
With some tweaks, yes! Use dairy-free cream cheese and chocolate, and make sure your Butterfinger bars are free of milk ingredients (though they usually are not). The peanut butter and other ingredients remain the same.
How long do Butterfinger Balls last at room temperature?
Due to the cream cheese and butter, it’s best to keep them refrigerated and only leave out for a couple hours when serving to maintain freshness and safety.
Can I skip the chocolate coating?
You could, but the chocolate shell is what really makes this Butterfinger Balls Recipe shine by adding a rich finish and a satisfying snap. Without it, you’ll have a delicious peanut butter candy ball, but the texture and flavor profile will be less complete.
Final Thoughts
Honestly, once you try this Butterfinger Balls Recipe, it’s hard to go back to ordinary snacks. They’re the perfect blend of crunchy, creamy, and chocolatey goodness that’s just so addictive. Whip up a batch for your next get-together or keep them on hand for a luxurious treat whenever the craving strikes. Trust me, your taste buds will thank you!
Print
Butterfinger Balls Recipe
- Total Time: 45 minutes
- Yield: 24 servings 1x
Description
Butterfinger Balls are a decadent no-bake treat combining crushed Butterfinger candy bars with creamy peanut butter and graham cracker crumbs, all coated in smooth semi-sweet chocolate. Perfect for dessert parties or an indulgent snack, these bite-sized balls offer a delightful crunch and rich, creamy texture with a buttery chocolate coating.
Ingredients
Main Ingredients
- 2 cups crushed Butterfinger candy bars (approximately 16 fun-sized bars)
- 1 cup powdered sugar
- 1 cup graham cracker crumbs
- 1/2 cup melted butter
- 1 cup peanut butter
- 8 oz. cream cheese, softened
For Coating
- 2 cups semi-sweet chocolate chips
- 1 tablespoon vegetable shortening (optional, for smoother dipping)
- Additional crushed Butterfinger pieces (for garnish)
- Chocolate sprinkles (for garnish)
Instructions
- Prepare the Mixture: In a large bowl, thoroughly combine the powdered sugar, graham cracker crumbs, crushed Butterfinger pieces, melted butter, peanut butter, and softened cream cheese until well incorporated, creating a thick, uniform mixture.
- Form the Balls: Using your hands or a scoop, shape the mixture into 1-inch balls. Place the balls evenly spaced on a parchment-lined baking sheet to prevent sticking.
- Chill: Refrigerate the shaped balls for 30 minutes to firm up, which will make dipping in chocolate easier and prevent them from falling apart.
- Melt the Chocolate: In a microwave-safe bowl, melt the semi-sweet chocolate chips in 30-second intervals, stirring well between each interval. Stir in the optional vegetable shortening to achieve a smoother, shinier coating if desired.
- Dip the Balls: Remove the chilled balls from the refrigerator. Using a fork or dipping tool, dip each ball fully into the melted chocolate, allowing excess chocolate to drip off before placing them back on the parchment-lined baking sheet.
- Set and Decorate: While the chocolate coating is still wet, sprinkle additional crushed Butterfinger pieces or chocolate sprinkles over the balls for an attractive garnish.
- Allow to Set: Let the chocolate-coated balls sit at room temperature until the chocolate hardens, or refrigerate for about 15 minutes to speed up the setting process before serving.
Notes
- The optional vegetable shortening helps create a smoother, glossier chocolate coating but can be omitted if preferred.
- Use parchment paper to prevent sticking and ease cleanup.
- Keep the balls refrigerated until shortly before serving to maintain freshness and firmness.
- These Butterfinger Balls can be stored in an airtight container in the refrigerator for up to one week.
- For a firmer texture, you may chill the balls longer before dipping.
- Prep Time: 15 minutes
- Cook Time: 0 minutes
- Category: Dessert
- Method: No-Cook
- Cuisine: American
