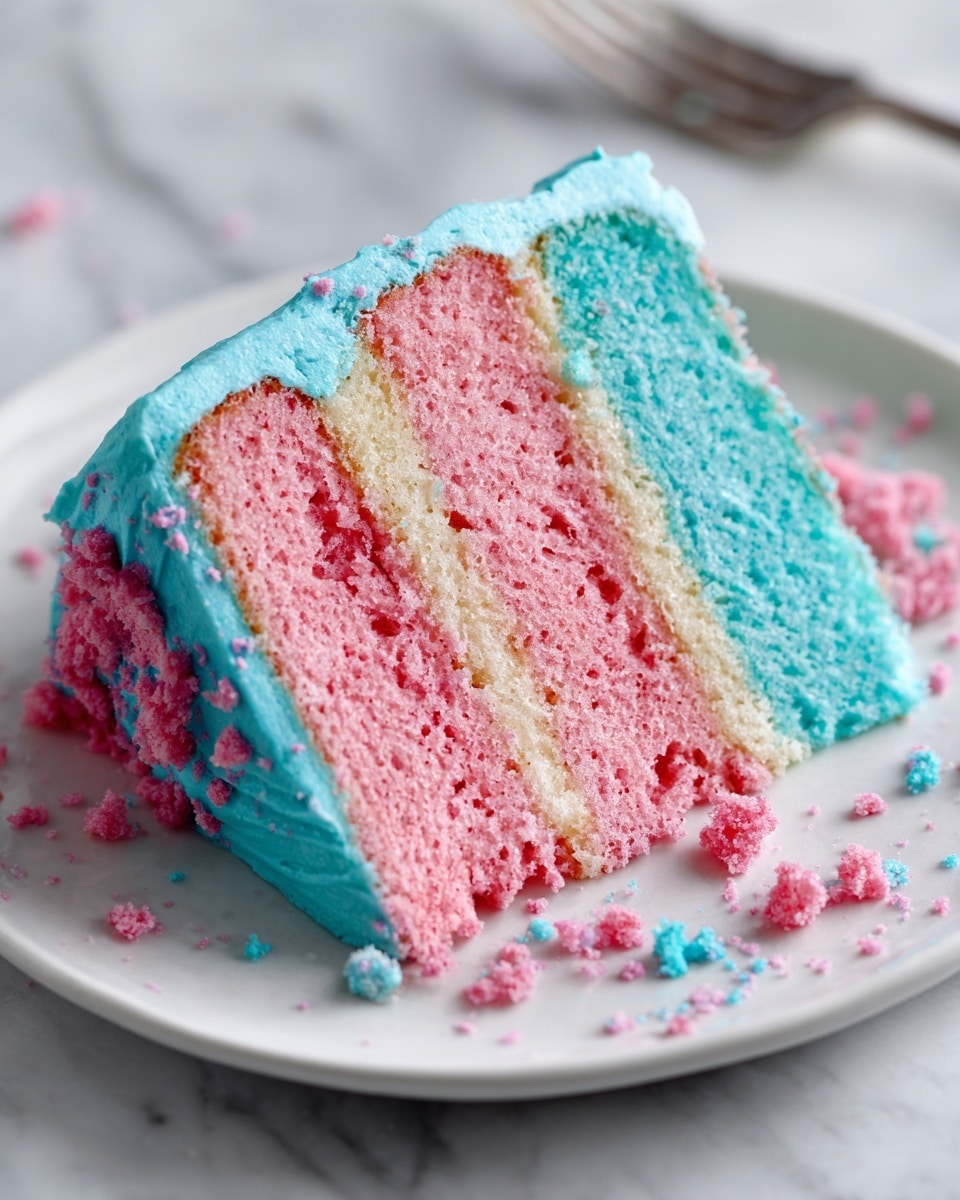
If you have a sweet spot for magical, whimsical desserts that taste as delightful as they look, this Cotton Candy Cake Recipe is about to become your new favorite celebration treat. Imagine layers of moist, fluffy cake swirled with pastel pink and blue hues, infused with a subtle cotton candy flavor that transports you back to carefree fairground days. Topped with a dreamy buttercream and crowned with delicate tufts of real cotton candy, this cake is not just a dessert; it’s an experience that brings joy and nostalgia to any gathering.
Ingredients You’ll Need
Gathering your ingredients is the first step toward creating this enchanting cake. Each component plays a crucial role in building the cake’s perfect texture, flavor, and playful color palette.
- All-purpose flour: The sturdy base that ensures your cake layers hold their fluffy shape.
- Baking powder: The leavening magic that makes the cake light and airy.
- Salt: Enhances and balances the sweetness throughout the cake.
- Unsalted butter (for cake and frosting): Adds richness and moisture for a tender crumb and creamy frosting.
- Granulated sugar: Sweetens the cake, helping with browning and texture.
- Egg whites: Create structure and lighten the batter without the yolk heaviness.
- Vanilla extract: Brings warmth and depth to the flavors.
- Cotton candy flavoring: The signature taste that makes this cake feel like a fairground treat in every bite.
- Whole milk: Keeps the cake moist and tender.
- Pink and blue gel food coloring: Create the iconic cotton candy swirl look.
- Powdered sugar: Essential for smooth, sweet frosting.
- Heavy cream or milk: Helps achieve that creamy, spreadable frosting texture.
- Cotton candy for garnish: Adds the ultimate whimsical finish just before serving.
How to Make Cotton Candy Cake Recipe
Step 1: Prepare Your Cake Pans and Oven
Start by preheating your oven to 350°F (175°C). Grease and line three 8-inch round cake pans with parchment paper to ensure your layers come out smoothly without sticking.
Step 2: Mix Dry Ingredients
In a medium bowl, whisk together 2 1/2 cups of all-purpose flour, 2 1/2 teaspoons baking powder, and 1/2 teaspoon salt. This mixture will give your cake structure and stability.
Step 3: Cream Butter and Sugar
In a large bowl, beat 1 cup softened unsalted butter with 1 3/4 cups granulated sugar until it’s light and fluffy. This step is key for a tender crumb and airy texture.
Step 4: Add Egg Whites and Flavors
Incorporate 4 large egg whites one at a time into the butter-sugar mixture, then mix in 1 teaspoon vanilla extract and 1 teaspoon cotton candy flavoring for that special nostalgic taste.
Step 5: Alternate Adding Dry Ingredients and Milk
Gradually add the dry ingredients and 1 cup whole milk alternately to the batter, beginning and ending with the dry ingredients. This keeps your batter smooth and well combined without overmixing.
Step 6: Color and Swirl the Batter
Divide the batter evenly into two bowls. Tint one with pink gel food coloring and the other with blue. Spoon dollops of each colored batter into your pans, then gently swirl with a knife to create that dreamy marbled cotton candy look.
Step 7: Bake and Cool
Bake the cakes for 22 to 25 minutes, or until a toothpick inserted in the center comes out clean. Let the cakes cool completely on wire racks before moving to frosting.
Step 8: Prepare the Frosting
Beat 1 cup softened unsalted butter until smooth, then gradually add 4 cups powdered sugar. Mix in 2 to 3 tablespoons of heavy cream or milk, plus 1 teaspoon vanilla extract and 1/2 teaspoon cotton candy flavoring. Beat until your frosting is light, fluffy, and dreamy. Optionally, tint with pink and blue food coloring to match your layers.
Step 9: Assemble and Decorate
Spread your frosting between cake layers, over the top, and around the sides. Finish with colorful swirls of frosting and just before serving, add playful tufts of real cotton candy as a gorgeous finishing touch that will wow your guests.
How to Serve Cotton Candy Cake Recipe
Garnishes
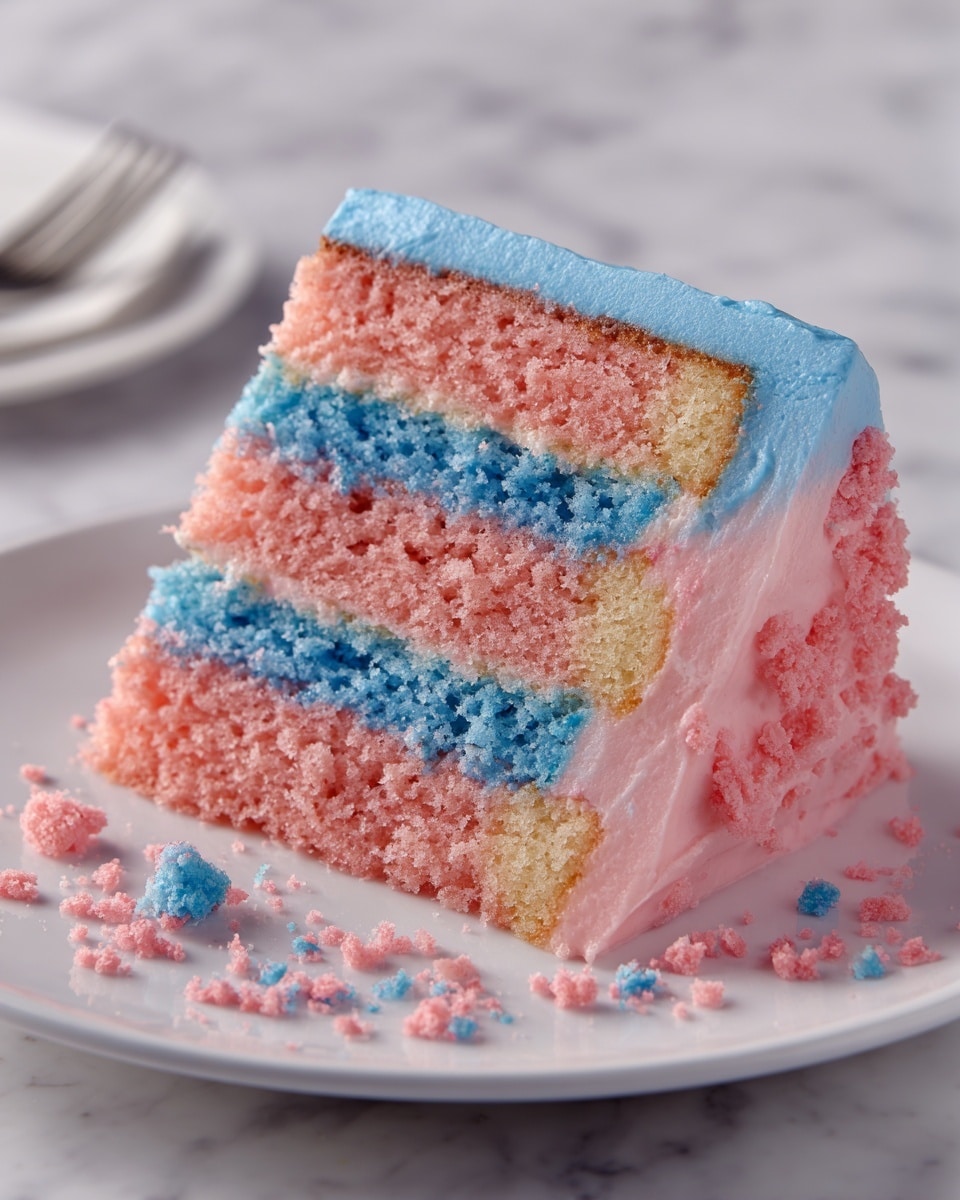
The magic of serving this cotton candy cake is all in the garnishes. Adding fresh cotton candy tufts right before serving adds that ethereal cloud effect and a burst of pure fun. You can also sprinkle edible glitter or pastel sprinkles to enhance its whimsical appeal.
Side Dishes
This cake shines as a star dessert but pairs lovely with light, fresh fruit like strawberries or a simple berry compote that cuts through the sweetness. A scoop of vanilla ice cream can also turn this into an indulgent celebration treat.
Creative Ways to Present
For a playful presentation, serve individual slices on pastel-colored plates with matching napkins or small carnival-themed props. You can also create mini versions of this cake for cupcakes or layer it into a parfait glass layered with cotton candy flavor mousse for a modern twist.
Make Ahead and Storage
Storing Leftovers
Place leftover slices in an airtight container and refrigerate for up to 3 days. The frosting may firm up, so bring to room temperature before serving to enjoy its full softness and flavor.
Freezing
Wrap individual cake layers tightly in plastic wrap and foil, then freeze for up to 2 months. Thaw overnight in the fridge, then frost and decorate as usual for a fresh-out-of-the-oven experience later on.
Reheating
Cotton candy cake is best served at room temperature, so avoid microwaving. Let frozen or refrigerated slices sit out for about 30 minutes before serving to bring back that soft, melt-in-your-mouth texture.
FAQs
Can I use regular vanilla instead of cotton candy flavoring?
Yes, you can substitute with extra vanilla extract, but the signature cotton candy taste will be missing. The flavoring is what truly sets this cake apart, so it’s worth seeking out for that authentic experience.
How do I prevent the cotton candy garnish from melting?
Cotton candy melts quickly when exposed to moisture and warmth, so only add it as the very last step before serving. Serve immediately for best results.
Can I make this cake gluten-free?
While this recipe uses all-purpose flour, you can experiment with a gluten-free flour blend that matches regular flour’s weight and texture. Expect some variation in crumb and rise.
Is it necessary to use egg whites only?
Egg whites lighten the batter and create a tender crumb without heaviness. Using whole eggs will change the texture and color, so try to stick to the recipe for best results.
Can I make this cake ahead for a party?
Absolutely! Bake the layers a day in advance and keep them wrapped tightly. Prepare the frosting and assemble shortly before the event, adding the cotton candy garnish last.
Final Thoughts
This Cotton Candy Cake Recipe is more than just a dessert; it’s a joyful celebration on a plate that brings smiles and happy memories. Whisking up this cake fills your kitchen with fun, color, and sweet anticipation, making any occasion feel extra special. I can’t wait for you to try this recipe and share the magic with your loved ones!
Print
Cotton Candy Cake Recipe
- Total Time: 50 minutes (plus cooling time)
- Yield: 12 servings 1x
- Diet: Vegetarian
Description
This whimsical Cotton Candy Cake features a marbled pink and blue vanilla sponge infused with delightful cotton candy flavoring. Layered with a fluffy cotton candy buttercream frosting and topped with delicate tufts of real cotton candy, it’s a fun and festive dessert perfect for birthdays and special celebrations.
Ingredients
For the Cake:
- 2 1/2 cups all-purpose flour
- 2 1/2 teaspoons baking powder
- 1/2 teaspoon salt
- 1 cup unsalted butter, softened
- 1 3/4 cups granulated sugar
- 4 large egg whites
- 1 teaspoon vanilla extract
- 1 teaspoon cotton candy flavoring
- 1 cup whole milk
- Pink gel food coloring
- Blue gel food coloring
For the Frosting:
- 1 cup unsalted butter, softened
- 4 cups powdered sugar
- 2–3 tablespoons heavy cream or milk
- 1 teaspoon vanilla extract
- 1/2 teaspoon cotton candy flavoring
- Pink food coloring (optional)
- Blue food coloring (optional)
- Cotton candy for garnish
Instructions
- Prepare the Oven and Pans: Preheat your oven to 350°F (175°C). Grease and line three 8-inch round cake pans with parchment paper to ensure the cakes do not stick.
- Mix Dry Ingredients: In a medium bowl, whisk together the all-purpose flour, baking powder, and salt thoroughly. Set aside.
- Cream Butter and Sugar: In a large bowl, use an electric mixer to cream the softened butter and granulated sugar until the mixture is light and fluffy, which takes about 3-5 minutes.
- Add Egg Whites and Flavorings: Beat in the egg whites one at a time until fully incorporated. Then mix in the vanilla extract and cotton candy flavoring, ensuring an even distribution of flavor.
- Combine Wet and Dry Ingredients: Alternately add the dry flour mixture and whole milk to the batter, starting and ending with the dry ingredients. Mix gently to maintain a light batter.
- Color and Swirl Batter: Divide the batter evenly into two separate bowls. Tint one portion with pink gel food coloring and the other with blue. In each cake pan, spoon dollops of pink and blue batter alternately and use a knife to gently swirl the colors together for a marbled effect.
- Bake the Cakes: Place the pans in the preheated oven and bake for 22–25 minutes. Check doneness by inserting a toothpick in the center—if it comes out clean, the cakes are ready.
- Cool the Cakes: Remove the pans from the oven and let the cakes cool completely on wire racks before frosting.
- Make the Frosting: Beat softened butter in a bowl until smooth. Gradually add powdered sugar, then mix in the heavy cream or milk, vanilla extract, and cotton candy flavoring. Continue beating until the frosting is light and fluffy. Optionally tint portions with pink and blue food coloring for decorating.
- Frost the Cake and Garnish: Frost the cooled cakes with swirls of colored frosting. Just before serving, decorate with tufts of real cotton candy for a magical finishing touch. Avoid adding the cotton candy too early as it will melt.
Notes
- Add the cotton candy garnish only right before serving to prevent it from melting.
- Cotton candy flavoring is available in specialty baking stores or online retailers.
- Prep Time: 25 minutes
- Cook Time: 25 minutes
- Category: Dessert
- Method: Baking
- Cuisine: American
