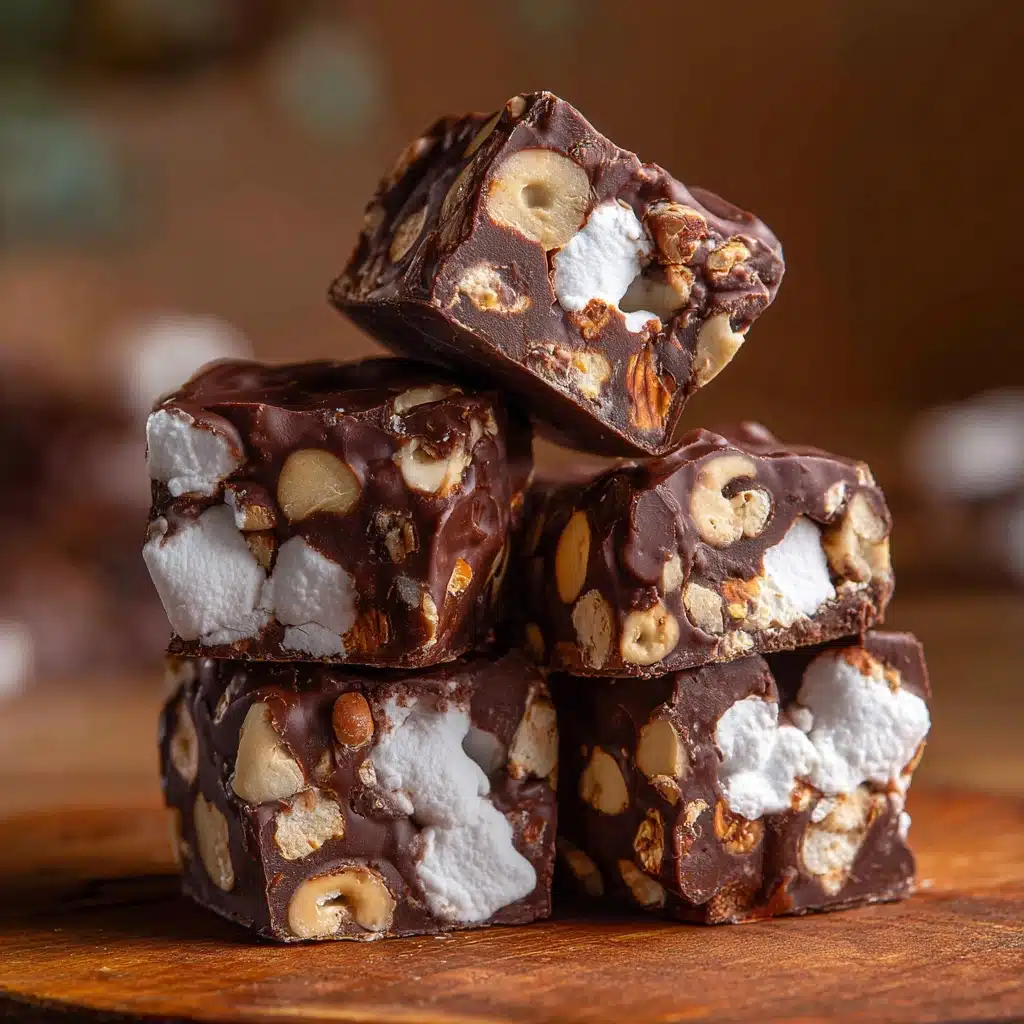
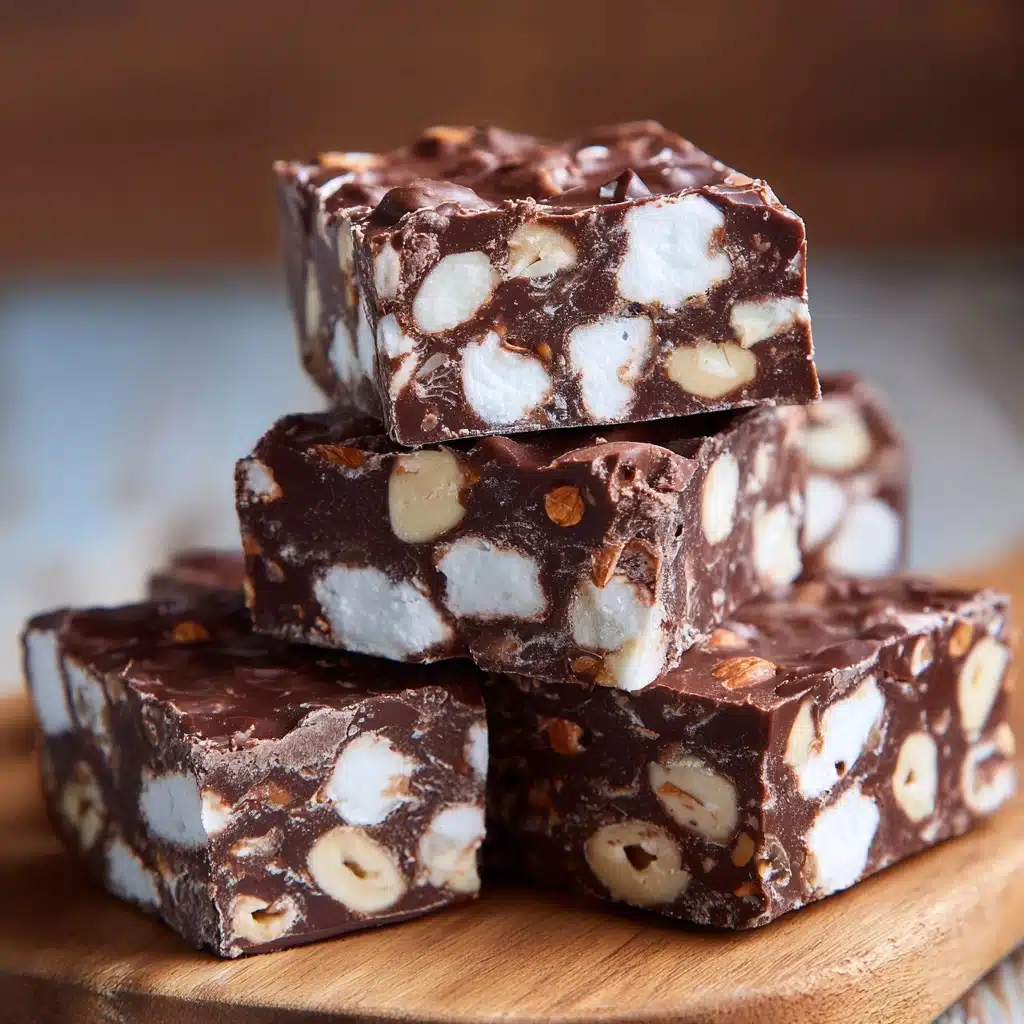
If you’re looking for a treat that’s equal parts nostalgic and irresistible, the Rocky Road Candy Recipe is about to become your new go-to. Each bite is a delightful medley of creamy chocolate, gooey marshmallows, and crunchy nuts, making it a crowd-pleaser for family gatherings, holiday parties, or a cozy night in. This classic American confection brings together texture and flavor in a way that’s both playful and decadent, and you’ll love how quick and simple it is to whip up a batch!

Ingredients You’ll Need
The beauty of the Rocky Road Candy Recipe lies in its simplicity—each ingredient plays a starring role, from rich chocolate to fluffy marshmallows. You don’t need a laundry list of supplies, just a handful of quality staples that come together to create pure magic.
- 2 cups semi-sweet chocolate chips: The deep, smooth base that holds everything together and delivers that classic chocolatey richness.
- 1 cup butterscotch chips (optional for extra richness): Adds a sweet, buttery undertone that takes the flavor up a notch.
- 2 tablespoons unsalted butter: Ensures a silky-smooth melt and a tender bite, balancing out the sweetness.
- 2 cups mini marshmallows: The star of the show, bringing a soft, chewy texture and playful pops of sweetness.
- 1 cup chopped walnuts or almonds (toasted, if desired): Adds crunch and a nutty earthiness; try toasting them for deeper flavor.
- ½ teaspoon vanilla extract: Rounds out the flavors with a hint of warmth and depth.
- Pinch of salt: Just a little brings all the sweet notes forward and keeps things balanced.
How to Make Rocky Road Candy Recipe
Step 1: Prepare Your Pan
Start by lining an 8×8-inch baking pan with parchment paper or giving it a light grease. This step makes removing and slicing your Rocky Road Candy Recipe a breeze—no sticky mess or crumbling edges!
Step 2: Melt Chocolate, Butterscotch, and Butter
In a large saucepan over low heat, combine your chocolate chips, butterscotch chips (if you’re using them for that extra decadent touch), and butter. Stir constantly and watch as everything melts together into a smooth, glossy pool of goodness. The low heat is key to preventing any scorching or seizing.
Step 3: Add Vanilla and Salt
Once the mixture is fully melted, remove it from the heat. Stir in the vanilla extract and a pinch of salt—these little additions make a world of difference, enhancing the chocolate and tying all the flavors together beautifully.
Step 4: Cool Slightly
Before adding your marshmallows, let the chocolate mixture cool for 3 to 5 minutes. This short wait ensures the marshmallows keep their shape and don’t melt completely, so you get lovely pockets of chewy texture in every bite.
Step 5: Fold in Marshmallows and Nuts
Now comes the fun part! Gently fold in the mini marshmallows and chopped nuts, making sure everything gets coated evenly. Each spoonful should look like a rocky, lumpy road—hence the name!
Step 6: Spread and Chill
Pour the mixture into your prepared pan and spread it out evenly. Give the top a gentle press with a spatula to smooth it down if needed. Refrigerate for 1 to 2 hours, or until the candy is fully set and ready for slicing.
Step 7: Slice and Enjoy
Once the Rocky Road Candy Recipe is firm, lift it out of the pan using the parchment paper and cut it into squares. Get ready for oohs and aahs when you serve these irresistible treats!
How to Serve Rocky Road Candy Recipe

Garnishes
Dress up your Rocky Road Candy Recipe with a light shower of flaky sea salt, a drizzle of melted chocolate, or a sprinkle of festive colored sprinkles. These little extras add both visual appeal and a punch of flavor that will have everyone reaching for seconds.
Side Dishes
Pair your candy squares with a cup of hot cocoa, a scoop of vanilla ice cream, or fresh berries for a delightful dessert platter. The contrast of creamy, fruity, or warm elements really makes the flavors of the Rocky Road Candy Recipe pop.
Creative Ways to Present
For special occasions, wrap individual squares in parchment and tie them with ribbon for adorable homemade gifts. Layer them in a pretty tin or arrange them on a cake stand for parties—the visual “rocky road” effect is always a conversation starter!
Make Ahead and Storage
Storing Leftovers
Store your Rocky Road Candy Recipe in an airtight container in the refrigerator. They’ll stay fresh and delicious for up to two weeks, so you can enjoy a little treat whenever the craving strikes.
Freezing
Want to make a big batch ahead of time? No problem! Place the cut squares between layers of wax paper in a freezer-safe container. They’ll keep beautifully for up to three months—just thaw in the fridge before serving.
Reheating
While these candies are best enjoyed chilled or at room temperature, if you prefer a slightly softer bite, let them sit out for a few minutes before eating. There’s no need to microwave or bake—just a little patience and you’re good to go!
FAQs
Can I make the Rocky Road Candy Recipe nut-free?
Absolutely! Simply leave out the nuts or substitute with crunchy add-ins like pretzels or sunflower seeds for a fun, allergy-friendly twist.
What’s the best way to cut clean squares?
For neat edges, use a sharp knife warmed under hot water and wiped dry between cuts. This helps slice through the chocolate cleanly without sticking or crumbling.
Can I use different types of chocolate?
Definitely! Dark chocolate, milk chocolate, or even a mix of both all work well. Feel free to experiment with your favorites to make the Rocky Road Candy Recipe your own.
How can I make this recipe festive for holidays?
Try adding dried cranberries, chopped dried apricots, or colorful mini marshmallows for a seasonal pop. A sprinkle of crushed peppermint or a dusting of edible glitter can also make your Rocky Road Candy Recipe extra special for celebrations.
Is this recipe suitable for gifting?
Yes! Because these candies keep so well, they’re perfect for packaging up and sharing. Place in a decorative tin or clear bag tied with a ribbon—they’re sure to bring a smile to anyone’s face.
Final Thoughts
I hope you’re as excited as I am to try this Rocky Road Candy Recipe—it’s a sweet little masterpiece that’s always a hit. Whether you’re making it for a party, a gift, or just to treat yourself, it’s guaranteed to bring a little extra joy to your day. Happy candy making!
Print
Rocky Road Candy Recipe
- Total Time: 15 minutes plus 1–2 hours chilling
- Yield: 16 squares 1x
- Diet: Vegetarian
Description
This Rocky Road Candy recipe is a delightful, no-bake treat combining smooth semi-sweet chocolate, optional butterscotch chips, fluffy mini marshmallows, and crunchy toasted nuts. Perfectly rich and sweet, this candy is easy to prepare and sets quickly in the fridge, making it an ideal homemade dessert or gift.
Ingredients
Chocolate Mixture
- 2 cups semi-sweet chocolate chips
- 1 cup butterscotch chips (optional for extra richness)
- 2 tablespoons unsalted butter
- ½ teaspoon vanilla extract
- Pinch of salt
Add-ins
- 2 cups mini marshmallows
- 1 cup chopped walnuts or almonds (toasted, if desired)
Instructions
- Prepare the Pan: Line an 8×8-inch baking pan with parchment paper or lightly grease it to ensure easy removal of the candy later.
- Melt the Chocolate: In a large saucepan over low heat, melt the semi-sweet chocolate chips, butterscotch chips (if using), and unsalted butter together, stirring constantly until the mixture is smooth and fully combined.
- Flavor the Mixture: Remove the saucepan from heat and stir in the vanilla extract and a pinch of salt. Allow the mixture to cool slightly for 3–5 minutes to prevent the marshmallows from melting completely when added.
- Combine Add-ins: Gently fold in the mini marshmallows and chopped nuts until they are evenly distributed throughout the chocolate mixture.
- Set the Candy: Pour the mixture into the prepared baking pan and spread it out evenly. Press down gently to smooth the surface if needed. Refrigerate the pan for 1–2 hours or until the candy is fully set and firm.
- Cut and Serve: Once set, use the parchment paper to lift the candy out of the pan. Cut into 16 squares and enjoy or store as desired.
Notes
- You can substitute walnuts or almonds with peanuts, pecans, or omit nuts entirely for a nut-free variant.
- For a festive touch, add dried cranberries, crushed pretzels, or sprinkle sea salt on top before chilling.
- Store the candy in an airtight container in the refrigerator for up to 2 weeks to maintain freshness and texture.
- Prep Time: 10 minutes
- Cook Time: 5 minutes
- Category: Dessert, Candy
- Method: Stovetop, No-Bake
- Cuisine: American
Nutrition
- Serving Size: 1 square
- Calories: 180
- Sugar: 17g
- Sodium: 30mg
- Fat: 11g
- Saturated Fat: 5g
- Unsaturated Fat: 5g
- Trans Fat: 0g
- Carbohydrates: 20g
- Fiber: 2g
- Protein: 2g
- Cholesterol: 5mg


