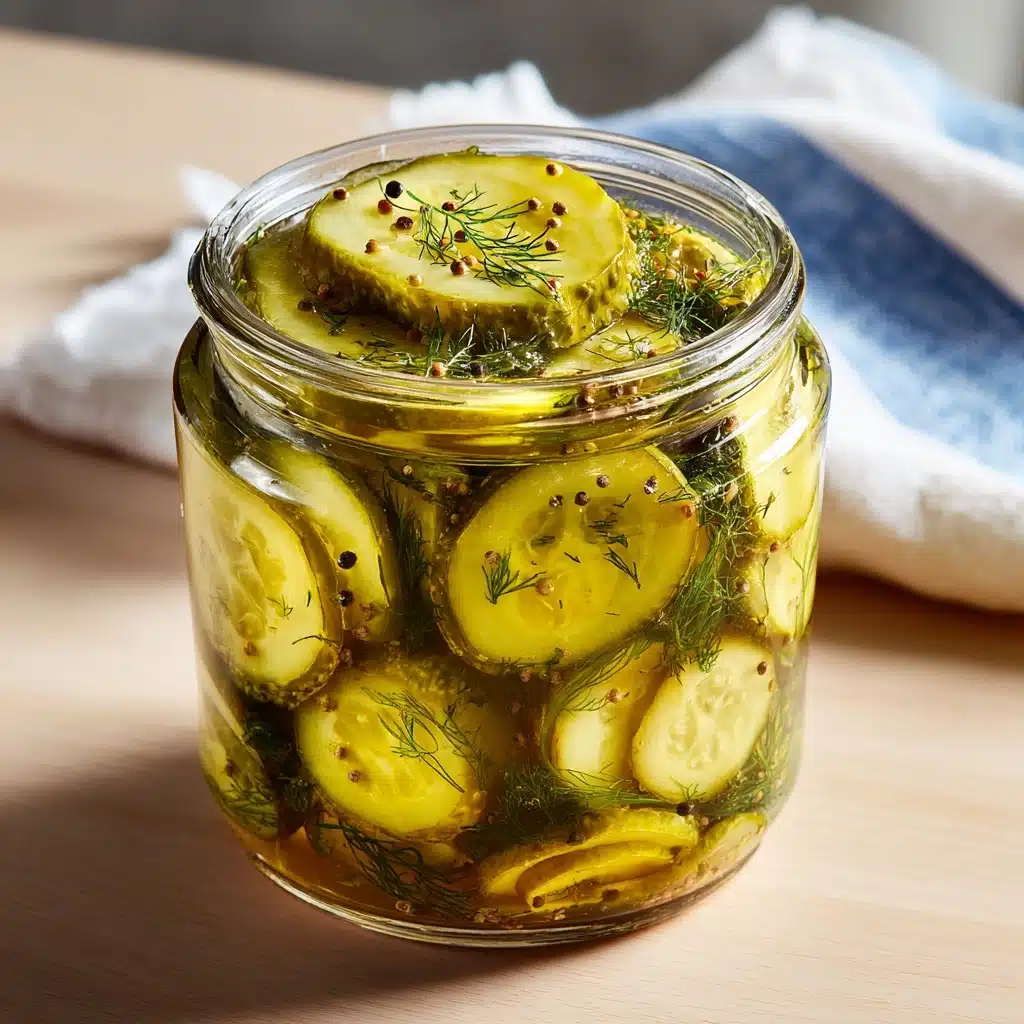
If you’re a fan of tangy, bold flavors and crave-worthy snacking, allow me to introduce you to your new favorite appetizer: Dill Pickle Dip. This creamy, crunchy dip is bursting with zippy pickle flavor, luscious creaminess, and just a touch of fresh dill to keep things bright. Perfect for parties, game-day spreads, or late-night cravings, it’s ridiculously easy to whip up with just a handful of kitchen staples. Each bite feels like a celebration for pickle lovers—and honestly, no gathering is complete without a generous bowl of this dill pickle dip!

Ingredients You’ll Need
All you need are a few basic ingredients to make something truly spectacular. Each element brings its own personality to the table—contributing to the balance of tang, creaminess, freshness, and punchy pickle goodness that makes Dill Pickle Dip totally irresistible.
- Cream Cheese (8 oz, softened): For that velvety, rich base—make sure it’s truly softened for easy mixing.
- Sour Cream (1/2 cup): Adds a lovely tanginess and makes the dip delightfully scoopable.
- Finely Chopped Dill Pickles (1 cup): The star ingredient, offering crunch and unmistakable pickle flavor in every bite.
- Pickle Juice (2 tablespoons): Enhances the “pickle punch” and brings extra zing.
- Fresh Dill, Chopped (1/4 cup, or 1 tablespoon dried): Brightens everything up—using fresh is best, but dried works in a pinch.
- Garlic Powder (1/2 teaspoon): Lends subtle depth and savory notes to the dip.
- Onion Powder (1/2 teaspoon): A gentle, aromatic boost—think of it as the background singer to the dill pickle diva.
- Salt and Pepper to taste: Essential for fine-tuning the flavors at the end; start with a pinch, taste, and adjust as needed.
How to Make Dill Pickle Dip
Step 1: Blend the Cream Cheese and Sour Cream
In a medium mixing bowl, beat together the softened cream cheese and sour cream until the mixture is smooth, creamy, and completely lump-free. Taking a moment to really whip these together will ensure your Dill Pickle Dip is silky and perfect for dipping.
Step 2: Add Pickles, Juice, and Dill
Stir in the finely chopped dill pickles, pickle juice, and fresh dill (or dried, if that’s what you have). This is where the magic happens—the pickles lend crunch and flavor, the juice bumps up the tang, and the dill makes everything taste garden-fresh.
Step 3: Season and Mix
Sprinkle in the garlic powder, onion powder, salt, and pepper. Give everything a thorough mix, making sure the seasonings are well incorporated and distributed throughout your Dill Pickle Dip. At this point, it’s a good idea to taste and adjust with a little extra salt or dill if you’d like.
Step 4: Chill to Meld Flavors
Cover the bowl with plastic wrap or transfer your dip to an airtight container, and refrigerate for at least 30 minutes before serving. This resting time lets the flavors marry and ensures the texture is just right—trust me, it makes a difference!
How to Serve Dill Pickle Dip
Garnishes
Add an extra sprinkle of chopped fresh dill on top right before serving to drive home that herby, pickle-lovers’ vibe. If you want to get fancy, a few diced pickles and a light crack of pepper make the bowl look truly special.
Side Dishes
This Dill Pickle Dip loves classic potato chips, pretzel crisps, fresh crunchy vegetable sticks, crackers, or even toasted bread rounds. It turns a simple snack board or appetizer platter into a conversation starter—watch it disappear at your next party!
Creative Ways to Present
If you want to get a little playful, scoop your Dill Pickle Dip into mini Mason jars for individual portions, or hollow out a round loaf of pumpernickel or rye bread and use it as a dip bowl. Garnish liberally and let everyone scoop out the goodness!
Make Ahead and Storage
Storing Leftovers
Leftover Dill Pickle Dip holds up beautifully in the fridge. Keep it in a tightly sealed container and it will stay fresh and flavorful for up to 3 days—great news if you want to make it ahead for parties or just have some tangy, creamy happiness on hand for weekday snacking.
Freezing
Freezing isn’t recommended for Dill Pickle Dip, since the creamy base tends to break down after thawing, making it watery and separated. You’ll get the best flavor and texture if you stick to enjoying it fresh from the fridge.
Reheating
This dip is meant to be enjoyed chilled right out of the fridge, so there’s no need to reheat. Just give it a good stir before serving, especially if it’s been sitting overnight—the flavors will be bold and blended, ready for dipping!
FAQs
Can I use Greek yogurt instead of sour cream?
Absolutely! Greek yogurt is a fantastic swap if you want to lighten things up a bit or add a little extra protein. It will give the Dill Pickle Dip a slightly tangier edge, which many people love.
My dip is too thick—how can I thin it?
If your Dill Pickle Dip comes out a bit thicker than you like, just stir in a splash more pickle juice or a little extra sour cream until it reaches your ideal dipping consistency.
How far in advance can I make this dip?
You can make Dill Pickle Dip up to two days ahead of time. In fact, making it a day early actually enhances the flavors by giving them more time to mingle in the fridge.
Can I add anything extra to customize the dip?
Definitely! Crumbled bacon or shredded cheddar folded in at the end adds fantastic texture and savory depth. Chopped jalapeños or a pinch of smoked paprika give it a spicy twist, too.
Is Dill Pickle Dip gluten-free?
Yes! As written, Dill Pickle Dip contains only naturally gluten-free ingredients, making it a safe snack for most gluten-sensitive guests. Just pair it with gluten-free dippers if needed.
Final Thoughts
If you’re searching for a party pleaser or a satisfying snack, Dill Pickle Dip delivers every single time. One quick mix and chill is all it takes to wow your friends and family. Give it a try, and watch it disappear faster than you can say “pickle-lovers unite!”
Print
Dill Pickle Dip Recipe
- Total Time: 10 minutes (plus chilling time)
- Yield: 8 servings 1x
- Diet: Vegetarian, Gluten-Free
Description
Creamy and tangy, this Dill Pickle Dip is a flavor-packed appetizer that will be a hit at any party. Made with cream cheese, sour cream, chopped pickles, and a blend of seasonings, this dip pairs perfectly with chips, pretzels, or veggies.
Ingredients
Creamy Dill Pickle Dip:
- 8 oz cream cheese (softened)
- 1/2 cup sour cream
- 1 cup finely chopped dill pickles
- 2 tablespoons pickle juice
- 1/4 cup chopped fresh dill (or 1 tablespoon dried dill)
- 1/2 teaspoon garlic powder
- 1/2 teaspoon onion powder
- Salt and pepper to taste
Instructions
- Blend Cream Cheese and Sour Cream: In a medium bowl, beat the softened cream cheese and sour cream together until smooth and creamy.
- Add Pickles and Seasonings: Stir in the chopped pickles, pickle juice, dill, garlic powder, onion powder, salt, and pepper. Mix until well combined.
- Adjust Seasoning and Chill: Taste and adjust seasoning as needed. Cover and refrigerate for at least 30 minutes to allow the flavors to meld.
- Serve: Serve chilled with potato chips, pretzels, crackers, or fresh vegetables.
Notes
- For extra texture, stir in crumbled bacon or shredded cheddar.
- This dip can be made up to 2 days in advance and stored in an airtight container in the fridge.
- Prep Time: 10 minutes
- Cook Time: 0 minutes
- Category: Appetizer
- Method: No-Cook
- Cuisine: American
Nutrition
- Serving Size: 1/4 cup
- Calories: 130
- Sugar: 1g
- Sodium: 320mg
- Fat: 12g
- Saturated Fat: 7g
- Unsaturated Fat: 4g
- Trans Fat: 0g
- Carbohydrates: 2g
- Fiber: 0g
- Protein: 2g
- Cholesterol: 35mg

