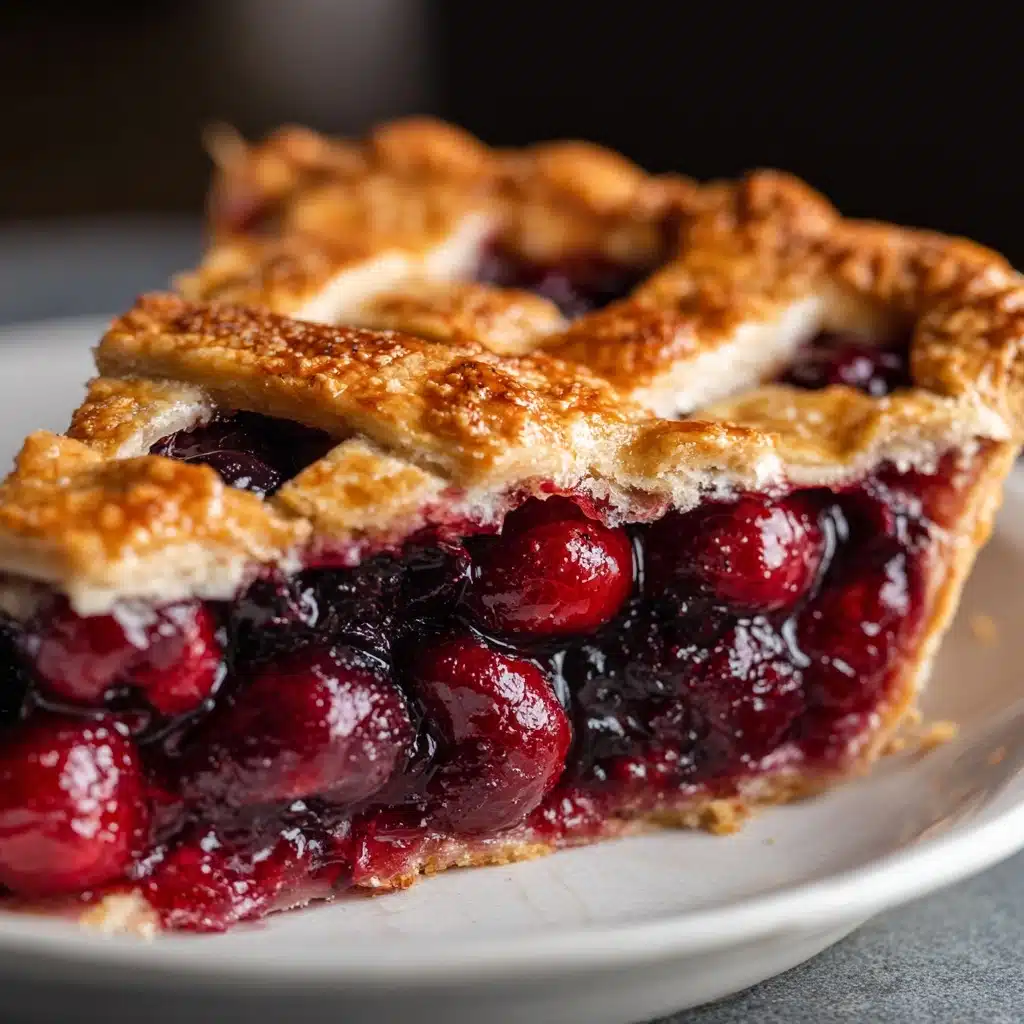
If there’s one dessert that fills a room with sweet anticipation and brings everyone running to the table, it’s Homemade Cherry Pie. With its buttery, golden crust and glossy, jewel-like filling, this pie embodies the flavors, colors, and spirit of long summer afternoons and special family gatherings. Whether you’re making it for a holiday, a potluck, or just a well-deserved treat, Homemade Cherry Pie is a celebration baked right into a flaky shell—comforting, nostalgic, and always a showstopper.
Ingredients You’ll Need
Gathering your ingredients for Homemade Cherry Pie is delightfully simple—each item plays a starring role. From the perfectly crisp pastry shell to the lush, fruity filling, every element contributes to a dessert that feels both rustic and luxurious.
- All-purpose flour (2 1/2 cups): Gives the crust its sturdy yet tender texture, providing the perfect foundation for your pie.
- Salt (1 teaspoon): Just a pinch heightens all the golden, buttery flavors in the crust.
- Unsalted butter, cold and cubed (1 cup): Cold butter is key for a pie crust that’s flaky and delicious—don’t let it soften!
- Ice water (6–8 tablespoons): Keeps the dough cool, which means more flakiness and better texture in every bite.
- Fresh or frozen pitted cherries (5 cups): The vibrant heart of the pie; both fresh and well-drained frozen cherries work beautifully.
- Granulated sugar (1 cup): Sweetens the cherries without overpowering their natural tartness.
- Cornstarch (1/4 cup): Thickens the cherry filling so you get luscious slices without excess liquid.
- Lemon juice (1 tablespoon): Balances sweetness and adds a touch of brightness to the filling.
- Vanilla extract (1 teaspoon): Rounds out the fruit’s flavor for a warm, inviting finish.
- Unsalted butter, cut into small pieces (1 tablespoon): Helps enrich and gloss the cherry filling as it bakes.
- Egg, beaten (1): Brushed over the top crust, the egg wash creates a gorgeous, shiny finish.
- Coarse sugar (1 tablespoon, optional): Sprinkled on top for sparkle and a hint of crunch.
How to Make Homemade Cherry Pie
Step 1: Prep the Pie Dough
Start by whisking your flour and salt in a large mixing bowl. Then, using a pastry cutter or two forks, work in the cubed, cold butter until the mixture resembles pea-sized crumbs—this is where all the magic flakiness begins. Gradually add ice water, one tablespoon at a time, gently mixing just until the dough starts to come together. Divide the dough in half, shape into two disks, wrap each in plastic, and chill for at least an hour. This rest time ensures your crust bakes up unbelievably tender.
Step 2: Mix the Cherry Filling
In another large bowl, toss your cherries with sugar, cornstarch, lemon juice, and vanilla extract. This quick mix brings out the cherries’ best flavors and guarantees the perfect pie consistency—glossy, thick, and bursting with fruit in every bite. Don’t forget: if you’re using frozen cherries, make sure they’re thawed and well-drained to keep your filling from being watery.
Step 3: Roll Out the Dough
Lightly flour your work surface and rolling pin. Roll one dough disk into a 12-inch circle, about 1/8-inch thick. Carefully transfer it to your 9-inch pie dish, gently pressing it into the corners and trimming away any hanging edges. Keep the second dough disk in the fridge while you complete the next step.
Step 4: Fill and Top the Pie
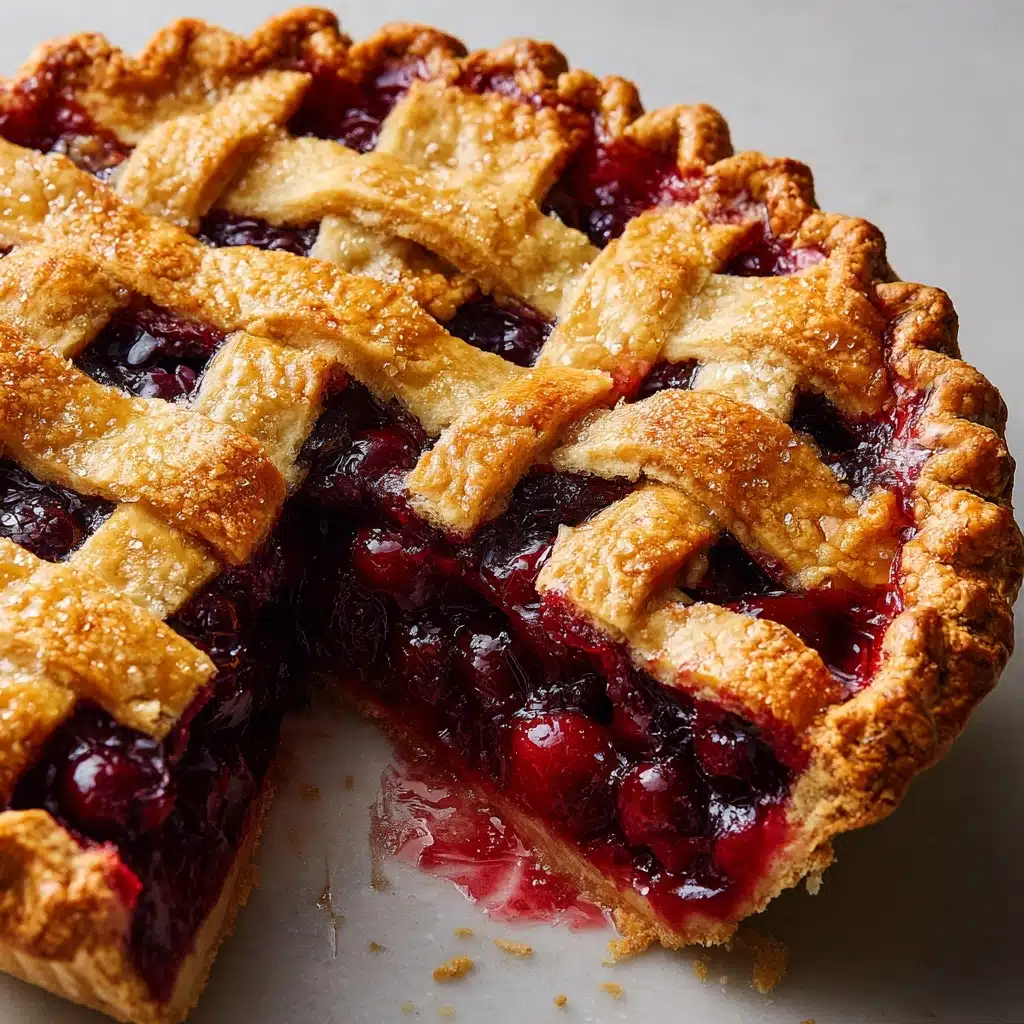
Spoon your juicy cherry filling into the prepared crust and dot it evenly with the small pieces of butter. Next, roll out your second disk of dough and place it on top, or, for a classic look, cut it into strips and weave a beautiful lattice. Crimp or seal the edges well, and if you’re using a solid top crust, don’t forget to cut a few small steam vents. Brush the top with the beaten egg and, if you want an extra-special finish, sprinkle with coarse sugar.
Step 5: Bake the Pie
Place your pie on the middle oven rack and bake at 400°F (200°C) for 20 minutes. Then reduce the temperature to 375°F (190°C) and continue baking for another 35 to 40 minutes, until your crust is golden brown and the filling is bubbling through the slits or lattice. The irresistible aroma is your cue that Homemade Cherry Pie happiness is not far away!
Step 6: Cool and Slice
Once your masterpiece emerges from the oven, let it cool for at least two hours. This patience pays off—you’ll be rewarded with filling that sets perfectly, so every slice holds together. Trust me, the wait is worth every minute.
How to Serve Homemade Cherry Pie
Garnishes
A classic slice of Homemade Cherry Pie is made even more inviting with a few thoughtful garnishes. A generous scoop of creamy vanilla ice cream melting over the warm pie is always a hit, or try a dollop of softly whipped cream sprinkled with a hint of lemon zest. For an elegant touch, add a scattering of fresh whole cherries or a few fresh mint leaves on top before serving.
Side Dishes
This iconic dessert pairs beautifully with simple sides. Offer bowls of fresh seasonal berries, a pitcher of cold milk, or even a tangy Greek yogurt parfait. If you like to mix temperatures and textures, serve with a side of roasted nuts or a platter of crisp butter cookies to round out the experience.
Creative Ways to Present
Pour a warm cherry sauce (made from extra cherry filling) over each slice for an extra punch of fruitiness. For parties, bake the pie filling in individual ramekins topped with circles of pastry. Or, cut the cooled Homemade Cherry Pie into small squares and serve them “pie bar” style for picnics or crowd-pleasing buffets.
Make Ahead and Storage
Storing Leftovers
Simply cover any leftover Homemade Cherry Pie loosely with foil or plastic wrap and keep at room temperature for up to two days. For longer storage, refrigerate for up to four days. This pie tastes just as delightful cold or gently rewarmed, so enjoy it at your own pace.
Freezing
If you want to save pie for a future craving or busy day, wrap the fully cooled pie tightly in plastic wrap and then foil, and freeze for up to three months. You can also freeze unbaked, assembled pies—just add the egg wash right before baking from frozen, adjusting the baking time as needed.
Reheating
Warm individual slices in the microwave for 20–30 seconds for quick enjoyment. To reheat a larger amount or restore crispness to the crust, place pie slices in a 300°F oven for about 10 minutes. Nothing beats the welcoming fragrance of a pie perfectly reheated!
FAQs
Can I use canned cherries instead of fresh or frozen?
Yes, you can use canned cherries, but make sure to select unsweetened cherries, drain them well, and adjust the sugar to taste since canned varieties can sometimes be sweeter or more tart.
How do I prevent the bottom crust from getting soggy?
For a crisp bottom crust, try chilling your assembled pie before baking, use a glass or metal pie pan, and bake on a preheated baking sheet. All of these steps help the crust set quickly and resist excess moisture from the filling.
What if I don’t have a pastry cutter?
No worries! You can use two forks or even your fingertips to rub the butter into the flour. Just work quickly so the butter stays cold and your crust stays flaky.
Can I make Homemade Cherry Pie with other fruits?
Absolutely! This recipe is a lovely template—swap the cherries for blueberries, blackberries, or a berry medley for a delicious twist. Just be mindful of the varying sweetness and juiciness of different fruits and adjust sugar and cornstarch as needed.
Should the pie be served warm or cold?
Homemade Cherry Pie tastes wonderful both ways! Many prefer it slightly warm with melting ice cream, but it’s equally irresistible chilled from the fridge or at room temperature.
Final Thoughts
Few things say “home” quite like the scent and taste of a Homemade Cherry Pie baking in your kitchen. I promise, every moment spent making this classic dessert is completely worth the sweet, memory-filled bites you’ll share. Gather your ingredients and bake up a slice of pure joy!
Print
Homemade Cherry Pie Recipe
- Total Time: 1 hour 30 minutes plus chilling time
- Yield: 8 servings 1x
- Diet: Vegetarian
Description
Indulge in the sweet and tangy flavors of a classic Homemade Cherry Pie. This recipe features a buttery, flaky crust filled with a luscious cherry filling that’s perfect for any occasion.
Ingredients
For the Crust:
- 2 1/2 cups all-purpose flour
- 1 teaspoon salt
- 1 cup unsalted butter, cold and cubed
- 6–8 tablespoons ice water
For the Filling:
- 5 cups fresh or frozen pitted cherries
- 1 cup granulated sugar
- 1/4 cup cornstarch
- 1 tablespoon lemon juice
- 1 teaspoon vanilla extract
- 1 tablespoon unsalted butter, cut into small pieces
For Assembly:
- 1 egg, beaten (for egg wash)
- 1 tablespoon coarse sugar (optional, for topping)
Instructions
- Prepare the Crust: In a large mixing bowl, whisk together the flour and salt. Cut in the cold butter until the mixture resembles coarse crumbs. Add ice water, mixing until the dough comes together. Divide into two disks, wrap in plastic, and refrigerate for at least 1 hour.
- Make the Filling: Combine cherries, sugar, cornstarch, lemon juice, and vanilla in a bowl, tossing until coated.
- Assemble the Pie: Preheat oven to 400°F (200°C). Roll out one dough disk to fit a 9-inch pie dish, transfer dough, fill with cherry mixture, dot with butter, cover with second dough disk or lattice top. Seal, crimp edges, cut slits, brush with egg wash, sprinkle with sugar. Bake at 400°F for 20 minutes, then reduce to 375°F and bake for 35–40 minutes.
- Cool and Serve: Cool for 2 hours before slicing.
Notes
- For a richer flavor, use a mix of sweet and tart cherries.
- If using frozen cherries, thaw and drain well before making the filling.
- Serve with vanilla ice cream or whipped cream for a classic pairing.
- Prep Time: 30 minutes
- Cook Time: 1 hour
- Category: Dessert
- Method: Baking
- Cuisine: American
Nutrition
- Serving Size: 1 slice
- Calories: 410
- Sugar: 31 g
- Sodium: 200 mg
- Fat: 20 g
- Saturated Fat: 12 g
- Unsaturated Fat: 6 g
- Trans Fat: 0 g
- Carbohydrates: 55 g
- Fiber: 3 g
- Protein: 4 g
- Cholesterol: 60 mg


