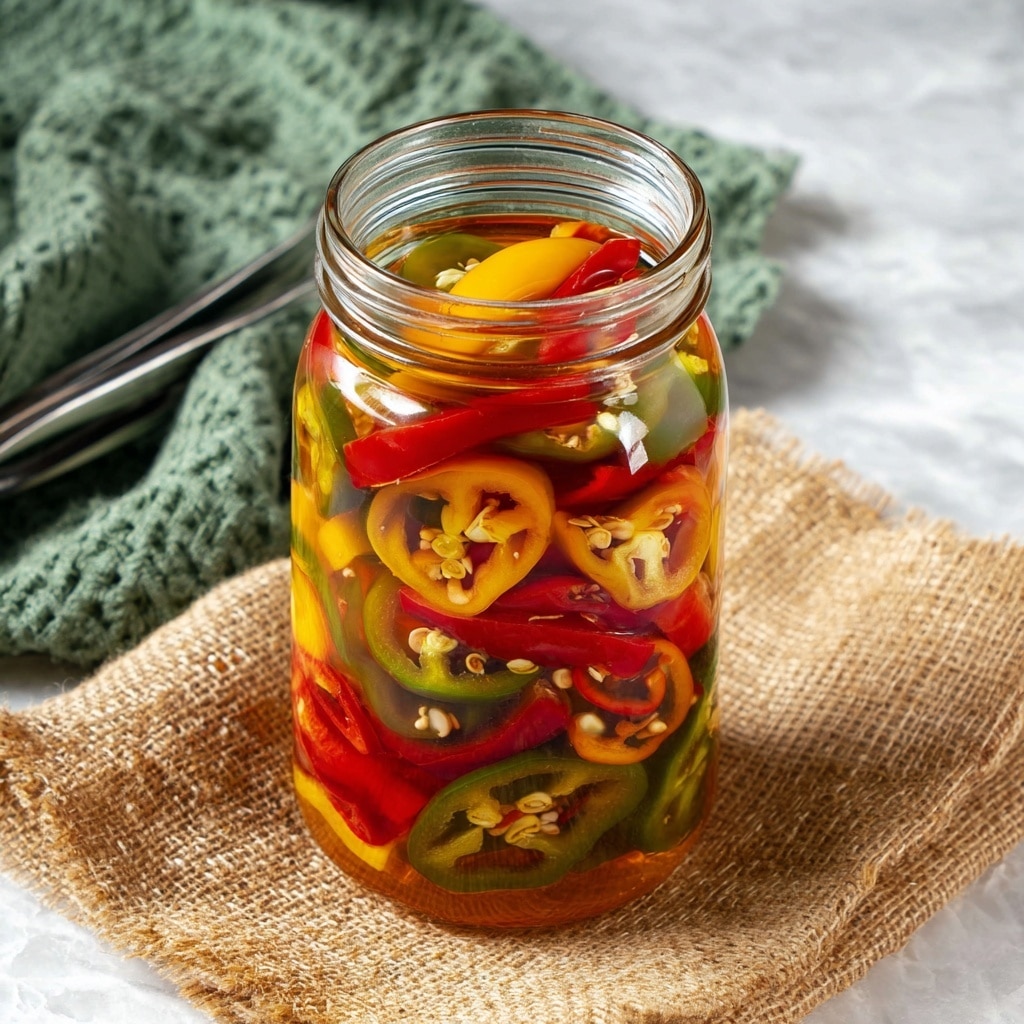
If you’re craving a tangy, spicy snack with just the right kick, this Pickled Peppers Recipe is going to become your new pantry hero. Imagine crunchy, vibrant chili peppers soaking in a perfectly balanced blend of vinegar, garlic, and spices—each bite bursting with bold, lively flavor. Whether you use fiery habaneros, milder jalapeños, or a colorful mix, this recipe is incredibly flexible and wonderfully easy to make. It’s the kind of homemade relish that wakes up any dish and becomes addictive all on its own.

Ingredients You’ll Need
Gathering simple, fresh ingredients is the key to this Pickled Peppers Recipe’s incredible flavor. Each element plays an essential role, from the spicy punch of the chili peppers to the tang of vinegar and aromatic garlic that all blend together beautifully.
- 3-4 cups chili peppers: Choosing a variety of heat levels keeps the pickles exciting—punchy but balanced.
- 1 cup white vinegar: The acid base that creates that classic pickle tang and helps preserve the peppers.
- 1 cup water: Dilutes the vinegar slightly for a more mellow, approachable flavor.
- 4 garlic cloves (chopped): Adds a rich, savory depth that complements the peppers perfectly.
- 3 tablespoons black peppercorns: For a warm, peppery bite that enhances complexity.
- 2 tablespoons pickling salt: Helps the peppers retain crunch and brings out their natural flavor without bitterness.
- 2 tablespoons sugar: Balances the acidity and adds a hint of sweetness to round out the brine.
How to Make Pickled Peppers Recipe
Step 1: Prepare Your Peppers
Start by washing and drying your chili peppers carefully. For larger peppers, chop them into small chunks so they can absorb the brine deeply. Smaller peppers can stay whole, but be sure to poke a few holes so the pickling liquid seeps right inside, infusing every bite.
Step 2: Make the Pickling Brine
In a large pot, combine the white vinegar, water, chopped garlic, black peppercorns, pickling salt, and sugar. Stir everything together to blend the flavors well before heating.
Step 3: Simmer the Brine
Bring the mixture to a quick boil over medium heat, then reduce the heat and simmer gently for about 2 minutes. This brief simmer helps the flavors meld without cooking off the brightness of the vinegar.
Step 4: Jar the Peppers
Pack your peppers tightly into a clean quart jar, then carefully pour the hot brine over the top, making sure all the peppers are submerged. Seal the jar tightly with a lid, allow it to cool to room temperature, and then refrigerate. The peppers will start tasting amazing after just a day or two!
How to Serve Pickled Peppers Recipe
Garnishes
Pickled peppers add a fabulous zing when used as a garnish. Sprinkle them atop creamy hummus, mix into guacamole, or scatter over a fresh salad to infuse a bright burst of flavor and color that instantly lifts the dish.
Side Dishes
These pickled delights shine alongside grilled meats, roasted vegetables, or charcuterie boards. Their acidic crunch cuts through rich flavors and fatty textures, making them the perfect palate cleanser and sidekick to hearty meals.
Creative Ways to Present
Try chopping your pickled peppers finely and folding them into cheese spreads or egg salads for a spicy surprise. Or use whole peppers as vibrant cocktail garnishes, adding a flavorful twist that friends will rave about at your next gathering.
Make Ahead and Storage
Storing Leftovers
Because they are pickled, your peppers keep beautifully in the fridge for several weeks. Just make sure the peppers stay submerged in the brine to maintain their crispness and flavor.
Freezing
Freezing isn’t ideal for pickled peppers since it can affect their texture, making them softer and less crunchy. It’s best to enjoy them fresh or refrigerated for optimum crunch and zest.
Reheating
Typically, reheating isn’t necessary or recommended for pickled peppers as their charm lies in their cold, crisp texture. Just grab a spoonful straight from the fridge whenever you want a tangy snack or flavor boost.
FAQs
Can I use any type of chili peppers in this Pickled Peppers Recipe?
Absolutely! This recipe is very flexible. Feel free to mix mild and hot varieties for a range of heat and color. Just adjust the quantity based on the size and your spice preference.
How long do pickled peppers last in the fridge?
Stored properly in a sealed jar with enough brine, pickled peppers can last 3-4 weeks refrigerated. Always check for any off smells or mold before eating.
Do I need special pickling salt?
Pickling salt is preferred because it’s free of additives that can cloud the brine or alter flavor. If you don’t have it, use non-iodized regular salt in a pinch, but avoid table salt with iodine.
How soon can I eat the pickled peppers after making them?
While they’re best after a couple of days to let the flavors develop, you can enjoy a taste right away if you’re impatient. The flavor deepens beautifully over a week or more.
Can I add other spices or herbs to the brine?
Definitely! Pickling is versatile, so you can experiment with bay leaves, mustard seeds, coriander, or fresh herbs like dill to create your own signature flavor profile.
Final Thoughts
There’s something truly satisfying about making your very own Pickled Peppers Recipe at home. It’s simple, vibrant, and endlessly versatile, and once you taste that first crunchy, tangy bite, you’ll wonder how you ever lived without it. Grab some peppers, get pickling, and enjoy this flavorful staple that effortlessly spices up everyday meals.
Print
Pickled Peppers Recipe
- Total Time: 40 minutes
- Yield: 10 servings 1x
- Diet: Gluten Free
Description
This Pickled Peppers recipe is a simple and flavorful way to preserve chili peppers using a tangy vinegar-based brine infused with garlic and black peppercorns. Perfect for adding a spicy kick to sandwiches, salads, and appetizers, these pickled peppers are quick to prepare and can be refrigerated for long-lasting enjoyment.
Ingredients
Peppers
- 3–4 cups chili peppers (any type, chopped or whole with poked holes)
Pickling Brine
- 1 cup white vinegar
- 1 cup water
- 4 garlic cloves, chopped
- 3 tablespoons black peppercorns
- 2 tablespoons pickling salt
- 2 tablespoons sugar
Instructions
- Prepare Peppers: Wash and thoroughly dry the chili peppers. Cut the larger peppers into small chunks, and for smaller peppers, leave them whole but poke holes to allow the brine to penetrate. Pack the prepared peppers tightly into a clean quart-sized jar.
- Make Pickling Brine: In a large pot, combine white vinegar, water, chopped garlic cloves, black peppercorns, pickling salt, and sugar. Stir the mixture well to combine all ingredients evenly.
- Heat Brine: Place the pot over medium heat and bring the mixture to a quick boil. Once boiling, reduce the heat and let it simmer for about 2 minutes, ensuring all the salt and sugar dissolve. Remove from heat and allow the brine to cool slightly.
- Assemble Jar: Carefully pour the warm brine over the packed peppers in the jar, making sure the peppers are fully submerged. Seal the jar tightly with a lid.
- Cool and Refrigerate: Let the jar cool to room temperature before placing it in the refrigerator. Allow the flavors to meld for at least a few hours before serving. These pickled peppers will keep well refrigerated for several weeks.
Notes
- You can use any type of chili peppers, adjusting the spice level according to your preference.
- Make sure to poke holes in whole small peppers to ensure proper pickling.
- This recipe is great for quick pickling and does not require sterilization of jars for longer shelf life.
- Store the prepared pickled peppers in the refrigerator and consume within 3-4 weeks for best flavor.
- Adjust sugar and salt amounts to taste depending on dietary preferences.
- Prep Time: 10 minutes
- Cook Time: 10 minutes
- Category: Condiment
- Method: Stovetop
- Cuisine: American


