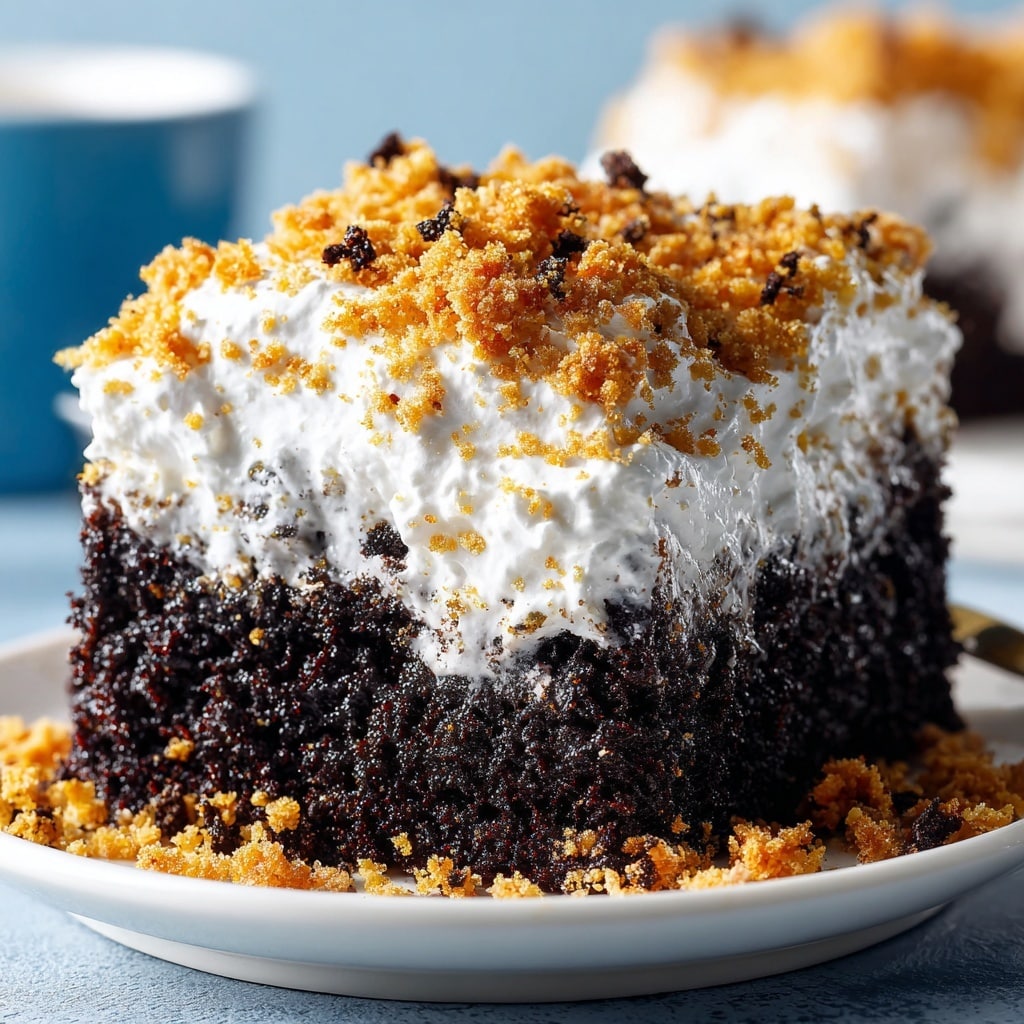
If you have a sweet tooth that craves something rich, decadent, and absolutely unforgettable, this Butterfinger Cake Recipe is a must-try that will quickly become one of your all-time favorites. Combining the intense chocolate flavor of Devil’s Food Cake with a luscious drizzle of caramel and sweetened condensed milk, topped with fluffy Cool Whip and crunchy Butterfinger pieces, this dessert creates a perfect harmony of creamy, crunchy, and gooey textures. It’s fun, indulgent, and surprisingly simple to prepare, making it an ideal treat for gatherings or just spoiling yourself at home.
Ingredients You’ll Need
The magic of the Butterfinger Cake Recipe lies in its handful of simple ingredients that each bring something special to the table. From the rich chocolate cake base to the sweet layers that follow, every component plays a vital role in crafting the perfect bite.
- Devil’s Food Cake Mix: Provides a moist, intense chocolate foundation that’s easy to prepare and bakes up beautifully.
- Caramel Topping: Adds a smooth, buttery sweetness that complements the chocolate with a sticky richness.
- Sweetened Condensed Milk: Brings creamy sweetness that seeps into the cake, keeping it tender and moist.
- Cool Whip: Offers a light, fluffy layer that balances the dense cake and sweet toppings perfectly.
- Butterfinger Bar: The star crunch that adds texture and that signature peanut butter and chocolate flavor that makes this cake unique.
How to Make Butterfinger Cake Recipe
Step 1: Bake the Chocolate Cake
Start by preparing the Devil’s Food Cake according to the instructions on the box. The simplicity of a boxed mix makes this recipe accessible but don’t underestimate the deep chocolate flavor it provides. Once out of the oven, while the cake is still hot, gently poke holes all over the top with a fork. These holes are key to allowing the next layers to soak in perfectly.
Step 2: Add the Sweet Topping
Mix together the sweetened condensed milk and caramel topping in a bowl until fully combined. Pour this luscious mixture evenly over the warm cake, making sure to spread it out so every bit is soaked with the sweet drizzle. This is where the cake gets incredibly moist and flavorful, and then you’ll want to chill it thoroughly for a few hours to let it set right.
Step 3: Top with Cool Whip and Butterfinger
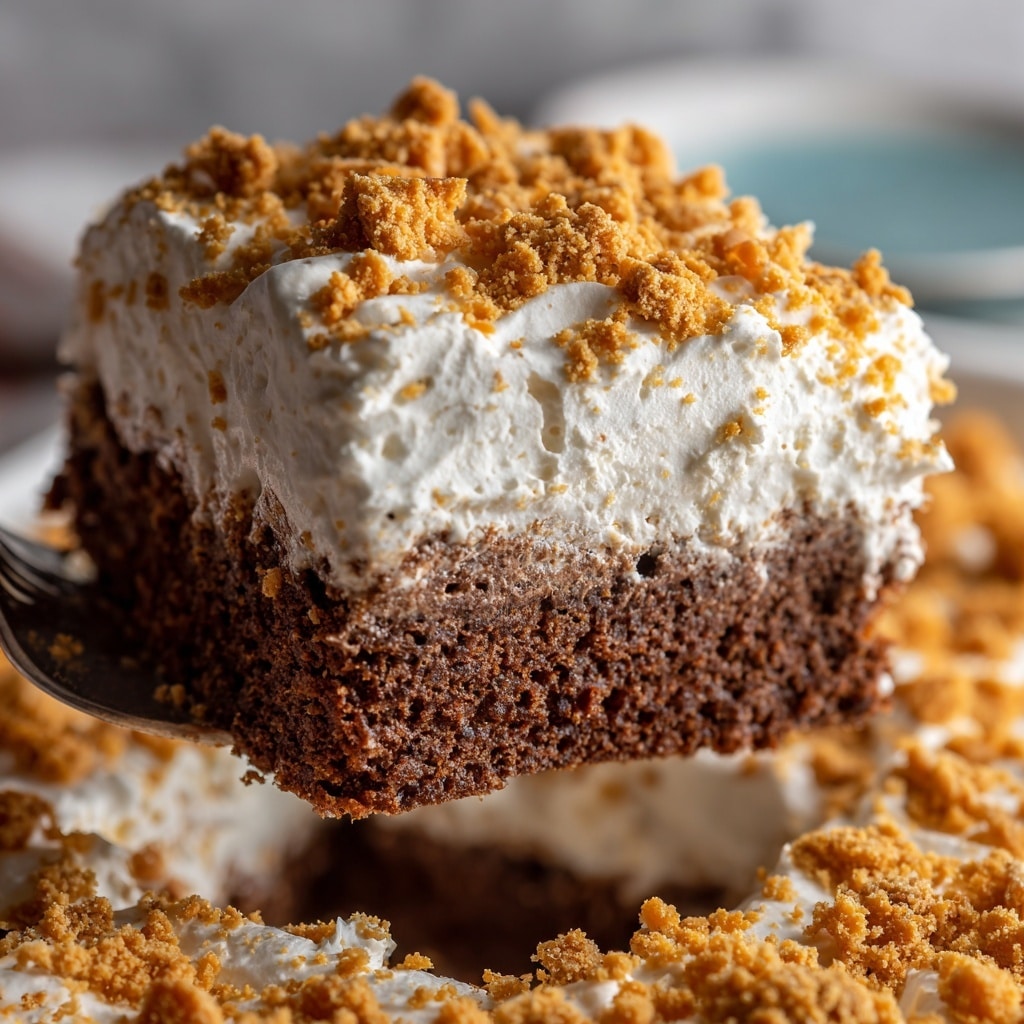
Once the cake has chilled completely and is firm to the touch, spread a thick, even layer of Cool Whip over the top. This airy layer balances the richness underneath beautifully. Finally, sprinkle crushed Butterfinger bars all over the whipped topping, adding a delightful crunch and that unmistakable peanut butter chocolate taste that makes the Butterfinger Cake Recipe truly special.
How to Serve Butterfinger Cake Recipe
Garnishes
For an extra festive touch, consider adding a drizzle of caramel sauce or a few whole Butterfinger pieces on top. A light dusting of cocoa powder or even a few mini chocolate chips can elevate the presentation and flavor, making the cake irresistible before anyone even takes a bite.
Side Dishes
This cake is quite rich and satisfying on its own, but if you want to serve it alongside something else, fresh berries or a simple fruit salad can provide a refreshing contrast. A scoop of vanilla ice cream can also complement the warm chocolate notes and crunchy topping beautifully.
Creative Ways to Present
For a party, serve the Butterfinger Cake Recipe in individual clear cups or trifle bowls to showcase the colorful layers. You could also turn it into cupcakes by baking the cake mix in muffin tins, following the same topping process for single-serve dessert bites that’s perfect for sharing.
Make Ahead and Storage
Storing Leftovers
This cake keeps best in the refrigerator, covered tightly with plastic wrap or stored in an airtight container. The flavors actually meld and improve after a day or so. It remains moist, and the topping stays fresh for up to 3-4 days.
Freezing
You can freeze Butterfinger Cake Recipe leftovers, though it’s best to freeze before applying the Cool Whip topping for optimal texture. Wrap the cake tightly in foil and plastic wrap and freeze for up to two months. Thaw overnight in the fridge before topping and serving.
Reheating
This cake is best enjoyed chilled, so reheating isn’t usually necessary. However, if you prefer a slightly warmer dessert, let it sit at room temperature for 20-30 minutes before serving—this softens the cake and intensifies flavors without melting the whipped topping.
FAQs
Can I make Butterfinger Cake Recipe from scratch instead of using cake mix?
Absolutely! While the boxed mix saves time and ensures consistency, a homemade chocolate cake recipe with strong cocoa flavor works wonderfully if you prefer from-scratch baking.
What if I’m allergic to nuts—is there a substitute for Butterfinger bars?
You can replace Butterfinger bars with any crunchy chocolate candy bar that’s nut-free, or use crushed pretzels or toffee bits for a similar texture.
Can I use homemade caramel sauce instead of store-bought caramel topping?
Yes, homemade caramel sauce will add a fresh and rich flavor, and it can easily substitute the bottled caramel topping in this recipe.
How important is the chilling time?
Chilling is essential because it allows the sweetened milk and caramel to soak deeply into the cake, making it moist and flavorful, and helps the Cool Whip topping set perfectly.
Is Butterfinger Cake Recipe suitable for large gatherings?
Definitely! You can easily double the ingredients and bake in larger pans or trays, making it a fantastic party dessert that pleases a crowd.
Final Thoughts
There’s just something about the Butterfinger Cake Recipe that feels like a warm hug on a plate—comforting, indulgent, and filled with delightful surprises in every bite. I encourage you to give it a try for your next special occasion or whenever you want to treat yourself and loved ones to a simple yet show-stopping dessert. Once you taste it, you’ll understand why it’s such a beloved recipe, perfect for sharing happiness one forkful at a time.
Print
Butterfinger Cake Recipe
- Total Time: 1 hour 45 minutes
- Yield: 4 servings 1x
Description
This indulgent Butterfinger Cake combines a moist Devil’s Food cake with a luscious caramel and sweetened condensed milk drizzle, topped with fluffy Cool Whip and crunchy Butterfinger candy bits. Perfect for satisfying your sweet tooth, this dessert is simple to make yet impressively delicious with layers of rich chocolate, caramel sweetness, and crisp peanut butter candy.
Ingredients
Cake Base
- 1 box Devil’s Food Cake Mix
Topping & Filling
- 1 bottle caramel topping (about 12 oz)
- 1 can sweetened condensed milk (14 oz)
- 1 large tub Cool Whip (approximately 8 oz)
- 1 Butterfinger bar (about 2.8 oz), crushed
Instructions
- Prepare the Cake: Follow the package directions to make the Devil’s Food cake batter and bake it in the recommended pan size and temperature. Once baked, immediately remove the cake from the oven and use a fork to poke several holes evenly all over the top surface of the hot cake.
- Add Caramel and Condensed Milk Mixture: In a bowl, mix the sweetened condensed milk and caramel topping together until well combined. Pour this mixture evenly over the hot cake, carefully spreading it to cover the entire top so it seeps into the holes. This step allows the cake to absorb rich moisture and flavor. Then, refrigerate the cake thoroughly until it is completely chilled.
- Top with Cool Whip and Butterfinger: After the cake has chilled, spread the Cool Whip evenly over the top layer to create a smooth, fluffy frosting. Finally, sprinkle the crushed Butterfinger bar pieces generously over the whipped topping to add a crunchy, peanut buttery finish. Serve chilled for best taste.
Notes
- Use a fork rather than a toothpick to poke holes so the topping can penetrate better.
- Ensure the cake is completely cooled and chilled before spreading Cool Whip to prevent it from melting.
- For extra crunch, you can add chopped Butterfinger inside the cake batter before baking.
- This cake keeps well refrigerated for up to 3 days, making it a great make-ahead dessert.
- Substitute whipped topping with homemade whipped cream for a fresher taste.
- Prep Time: 20 minutes
- Cook Time: 30 minutes
- Category: Dessert
- Method: Baking
- Cuisine: American
