If you’re on the hunt for a delightful treat that kids can enjoy without any fuss in the kitchen, look no further than this Homemade Kid-Friendly No-Bake Chocolate Recipe. It’s rich, creamy, and packed with wholesome ingredients that not only satisfy sweet cravings but also bring a little joy to snack time. Perfectly smooth and naturally sweetened, this chocolate is a fantastic way to share a homemade dessert that everyone will love, and best of all, it requires zero baking. Whether you’re making it for a party, an afternoon snack, or a fun activity with the little ones, this recipe is bound to become your new favorite go-to.

Ingredients You’ll Need
The magic of this Homemade Kid-Friendly No-Bake Chocolate Recipe lies in its simplicity and the quality of each ingredient. These essentials work beautifully together to create a luscious, smooth chocolate that’s naturally sweetened and irresistibly creamy.
- 1 cup cocoa powder (unsweetened): Provides that deep, rich chocolate flavor that’s essential for any great treat.
- ½ cup coconut oil (melted): Adds smoothness and helps the chocolate set perfectly without baking.
- ¼ cup honey or maple syrup: A natural sweetener that makes this chocolate kid-friendly and wholesome.
- 1 teaspoon vanilla extract: Enhances the flavor with a warm, comforting aroma that blends beautifully with cocoa.
- Pinch of salt: Balances the sweetness and elevates the chocolate’s depth of flavor.
- Optional: ¼ cup milk powder: For a creamier texture that mimics traditional milk chocolate.
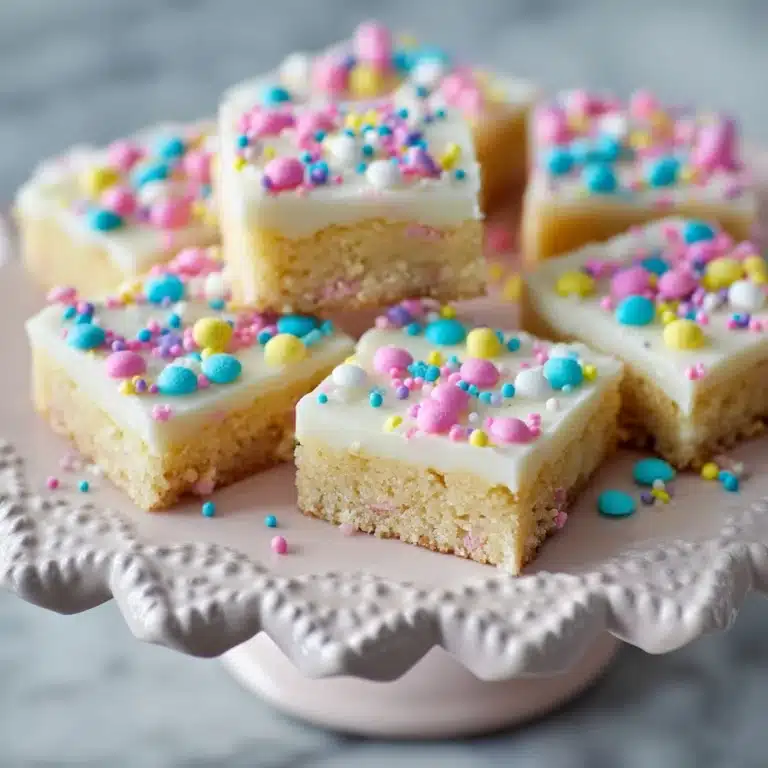
- Sprinkles or chopped nuts for topping: Adds a fun crunch and visual appeal to entice the kids even more.
How to Make Homemade Kid-Friendly No-Bake Chocolate Recipe
Step 1: Mix the Wet Ingredients
Start by whisking together the melted coconut oil, honey or maple syrup, and vanilla extract in a mixing bowl until the mixture is smooth and well combined. This step is key to ensuring your chocolate has a perfectly glossy finish and an even sweetness throughout.
Step 2: Incorporate the Cocoa Powder and Salt
Next, sift the cocoa powder into your wet ingredients to avoid lumps and make the chocolate silky smooth. Then add just a pinch of salt to bring out the richness of the cocoa and balance the sweetness, stirring until you have a uniform, glossy chocolate mixture.
Step 3: Add Milk Powder for Creaminess (Optional)
If you want your chocolate to have a creamy, velvety texture similar to store-bought milk chocolate, gently fold in the milk powder at this stage. It’s optional, but it can really boost the indulgence factor for little ones who love milky treats.
Step 4: Pour and Decorate
Pour the chocolate mixture into fun silicone molds or a lined baking dish for easy cutting later. Tap the molds gently on the counter to release any trapped air bubbles, then sprinkle the top with colorful sprinkles or crunchy chopped nuts for added texture and a burst of fun.
Step 5: Chill Until Set
Place your molds or dish into the refrigerator or freezer for at least 30 minutes. This chilling time allows the chocolate to harden perfectly so you can pop it out in neat little pieces that are ready to be enjoyed.
How to Serve Homemade Kid-Friendly No-Bake Chocolate Recipe

Garnishes
Adding garnishes like festive sprinkles or finely chopped nuts not only makes the chocolate visually appealing but also adds exciting textures that kids absolutely adore. For a touch of elegance, a light dusting of cocoa powder or edible glitter can elevate these sweet bites for special occasions.
Side Dishes
This chocolate pairs beautifully with fresh fruit such as strawberries, banana slices, or orange segments to balance its sweetness with a juicy contrast. It’s also fantastic alongside simple cookies or crunchy pretzels for an assortment of kid-approved treats.
Creative Ways to Present
Make snack time even more memorable by using themed silicone molds—think stars, hearts, or animals. You could also cut the chocolate into fun shapes and layer them with fruit or cookie slices on skewers, turning a simple snack into a festive dessert kabob that kids will love to assemble and eat.
Make Ahead and Storage
Storing Leftovers
Store any leftover homemade chocolate in an airtight container in the refrigerator to keep it firm and fresh. This will prevent melting and help the flavors stay vibrant for several days, perfect for when you want a quick treat ready whenever cravings strike.
Freezing
If you want to keep your chocolate fresh for longer or prepare it well in advance, freezing is a great option. Just place pieces in a freezer-safe container, separated by parchment paper to avoid sticking. When you’re ready to enjoy, thaw briefly at room temperature or serve chilled for an extra refreshing break.
Reheating
This no-bake chocolate is best enjoyed cold or at room temperature, so reheating isn’t usually necessary. However, if it gets too firm, let it sit out for a few minutes to soften slightly before serving—this keeps the luscious texture intact without any loss of flavor.
FAQs
Can I use a different sweetener instead of honey or maple syrup?
Absolutely! You can swap honey or maple syrup with agave nectar, brown rice syrup, or even a bit of coconut sugar dissolved into the coconut oil. Just keep in mind that the flavor and sweetness level may vary slightly.
Is this recipe safe for kids with dairy allergies?
Yes, this recipe can be completely dairy-free if you skip the milk powder. The coconut oil and cocoa powder provide plenty of richness and texture without any dairy ingredients.
Can I add other flavors to this Homemade Kid-Friendly No-Bake Chocolate Recipe?
Definitely! Try zesting an orange, stirring in cinnamon, or a tiny dash of chili powder for a unique twist. Just a little flavor addition can make this recipe exciting and keep kids curious about their treats.
How long will the homemade chocolate keep?
Stored properly in the fridge, these chocolates will stay fresh for up to 1 week. If frozen, they can last for up to a month. Just make sure to keep them in an airtight container to maintain their flavor and texture.
Is it possible to make this chocolate vegan?
Yes! Simply use maple syrup instead of honey, and omit the milk powder, or substitute with a plant-based powdered milk alternative. This keeps your Homemade Kid-Friendly No-Bake Chocolate Recipe entirely vegan and kid-approved.
Final Thoughts
There’s something truly special about making treats from scratch that kids can enjoy proudly and safely, and this Homemade Kid-Friendly No-Bake Chocolate Recipe hits every note for ease, deliciousness, and fun. It’s a perfect introduction to homemade chocolate, free from the worry of ovens or complicated techniques, and just right for sharing those sweet moments together. I encourage you to whip up a batch soon—you’ll love how it brings smiles and joy with every bite!
Print
Homemade Kid-Friendly No-Bake Chocolate Recipe
- Total Time: 40 minutes
- Yield: 12 small pieces 1x
- Diet: Gluten Free
Description
This homemade chocolate recipe is a kid-friendly, no-bake treat made with simple and natural ingredients like cocoa powder, coconut oil, and honey. It’s easy to prepare, customizable with optional milk powder for creaminess and various toppings, and perfect for a healthy snack or dessert that can be stored in the fridge.
Ingredients
Main Ingredients
- 1 cup cocoa powder (unsweetened)
- ½ cup coconut oil (melted)
- ¼ cup honey or maple syrup
- 1 teaspoon vanilla extract
- Pinch of salt
Optional Ingredients
- ¼ cup milk powder (for creaminess)
- Sprinkles or chopped nuts (for topping)
Instructions
- Mix Wet Ingredients: In a mixing bowl, whisk together the melted coconut oil, honey or maple syrup, and vanilla extract until the mixture is smooth and well combined.
- Add Dry Ingredients: Sift the cocoa powder into the wet mixture and add a pinch of salt. Stir the mixture well until it becomes fully combined and glossy.
- Incorporate Milk Powder (Optional): If you want a creamier texture, stir in the milk powder thoroughly at this stage.
- Pour into Molds: Transfer the chocolate mixture into silicone molds or a lined baking dish. Tap the mold gently to release any air bubbles trapped inside.
- Add Toppings: Sprinkle sprinkles or chopped nuts on top if desired, to add texture and enhance the visual appeal.
- Chill to Set: Place the molds or dish into the refrigerator or freezer for at least 30 minutes or until the chocolate is firm and set.
- Serve and Store: Once set, carefully pop the chocolates out of the molds or cut them into small pieces. Store the chocolates in the fridge to prevent melting and enjoy as a healthy, homemade treat.
Notes
- Use silicone molds with fun shapes to make the chocolate more exciting for children.
- You can add natural flavor variations like orange zest or a pinch of cinnamon to customize the taste.
- Always supervise children when eating to ensure they consume safe and appropriate portion sizes.
- Prep Time: 10 minutes
- Cook Time: 0 minutes
- Category: Snack
- Method: No-Cook
- Cuisine: American
